Running your website
Stories, annual reports and documents
Impact stories with consent recorded, annual report figures, documents such as accounts and policies, your trustees and registration details, and the newsletter sign-up.
On this page
This chapter covers the parts of the website that show what your charity has done and how it's run: impact stories, annual reports, documents, trustees and your registration details. It also covers the newsletter sign-up.
Impact stories
A story is only published once its consent is recorded: the date the person agreed and what they agreed to. The website won't publish a story without it, and the blocks never show one without it.
How to add a story
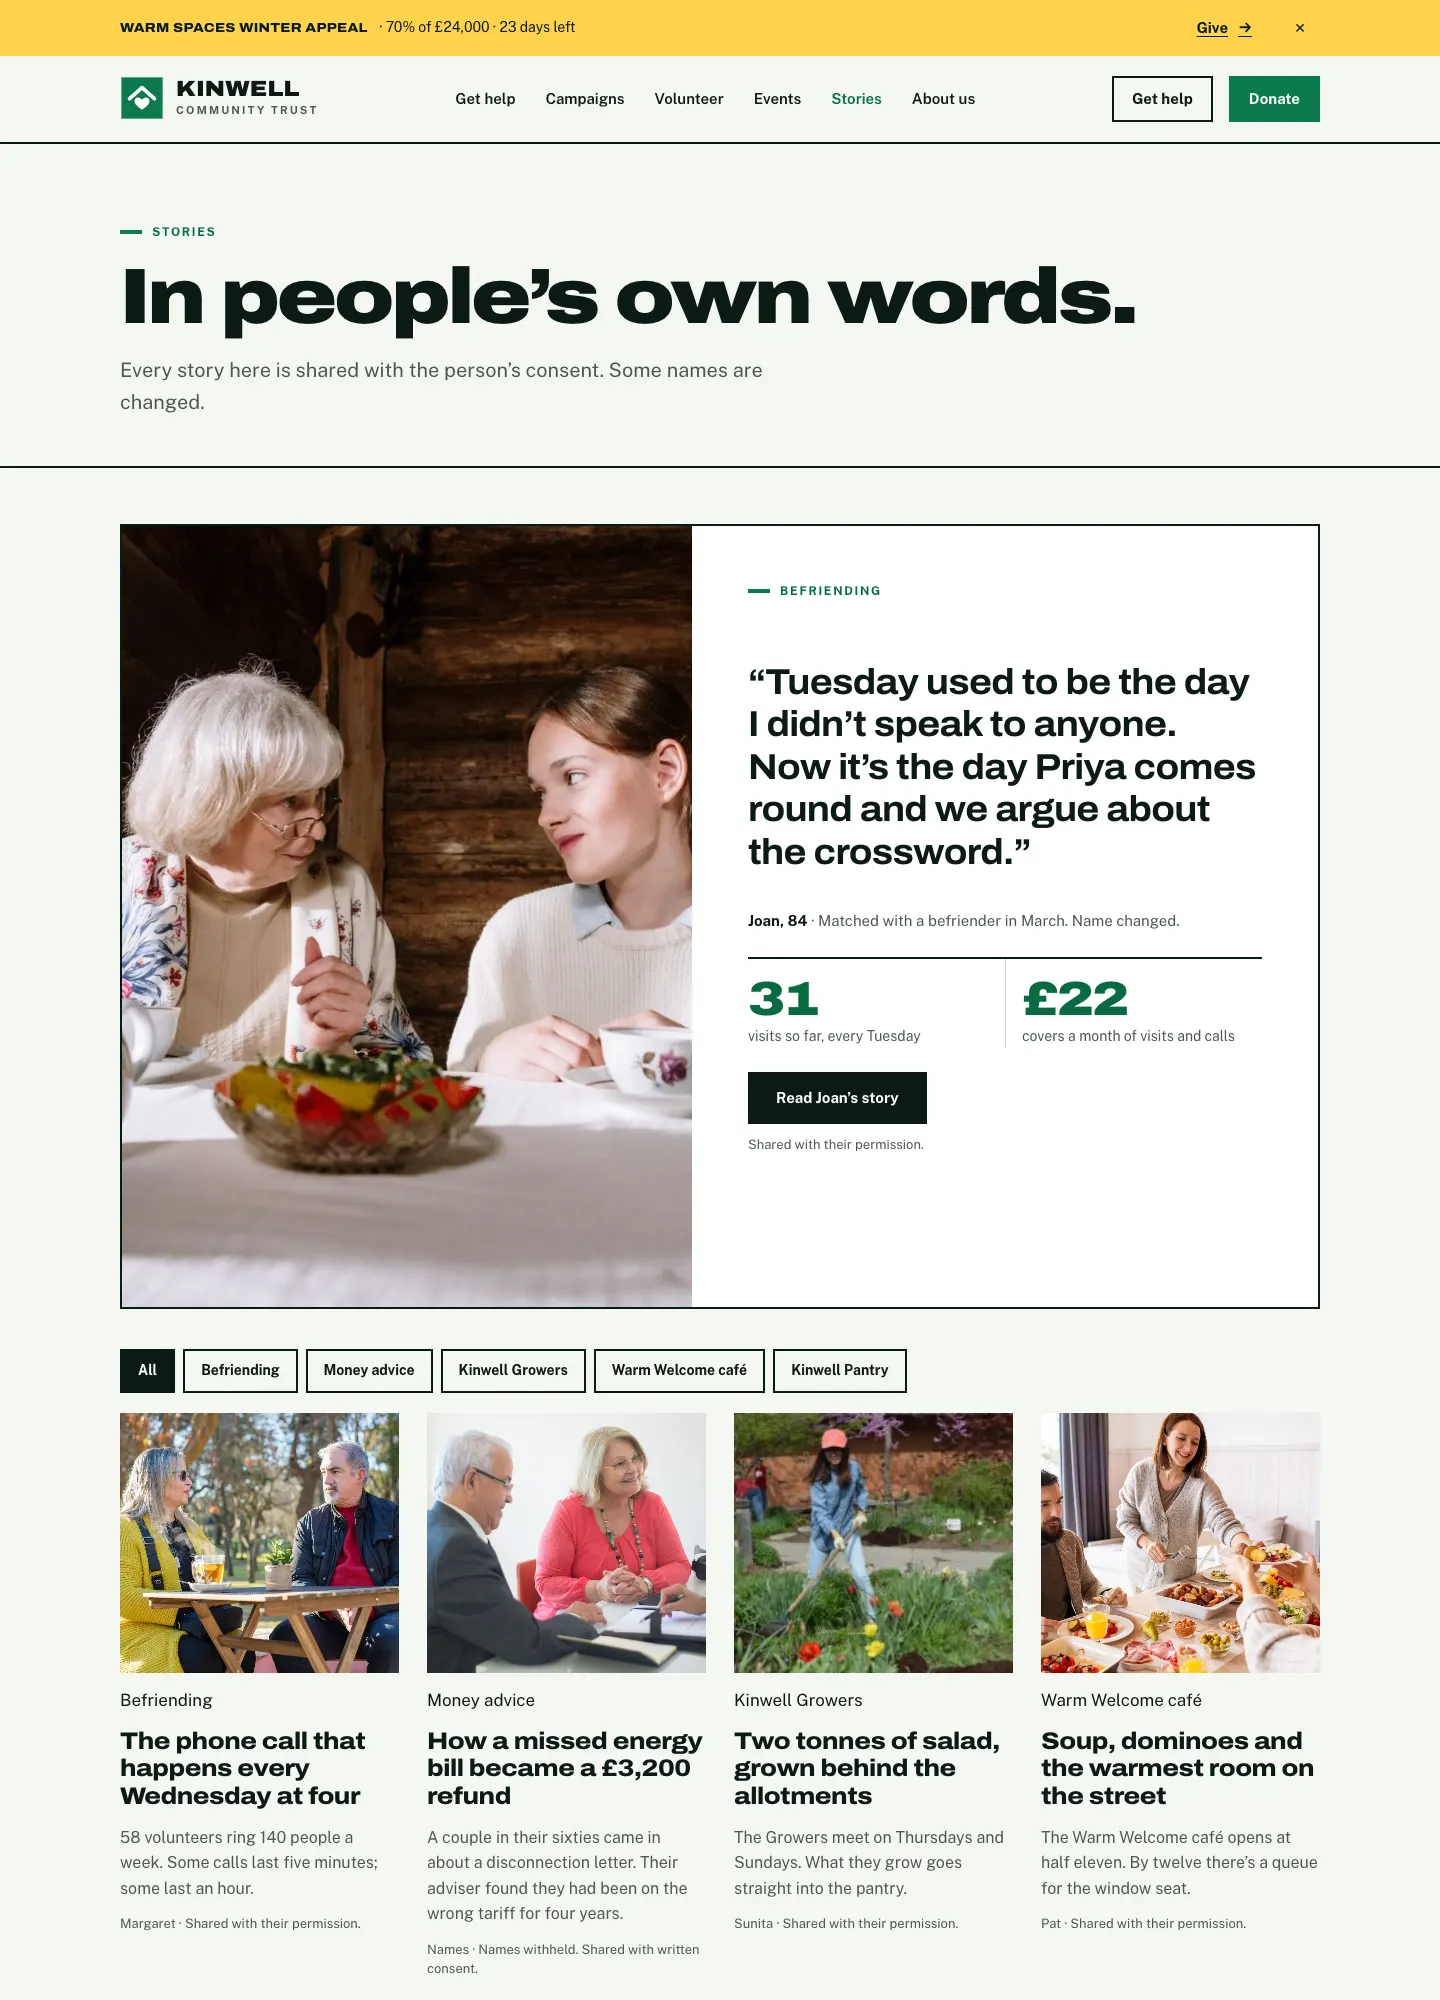
- Go to Charity → Impact stories and click Add impact story.
- Type the title (often their words) and write the story.
- Add a photo as the Featured image only if they're happy with it.
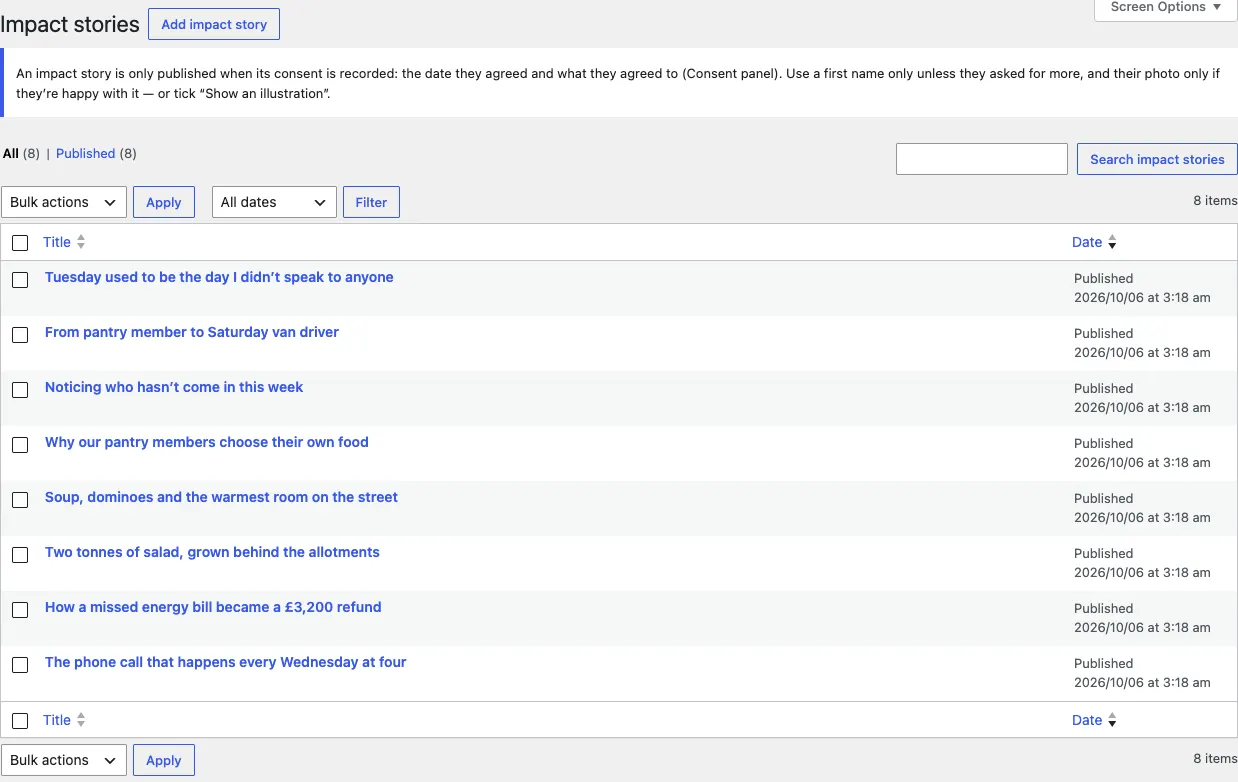
- In The story:
- Service: which service it's about.
- Their words (a short quote).
- Name as shown, for example "Joan, 84". With "hide the surname", only the first word is shown.
- Who they are, for example "Pantry member, now a volunteer".
- Figures:
value | what it counts, one per line, for example31 | visits since March. - Feature it to show it first.
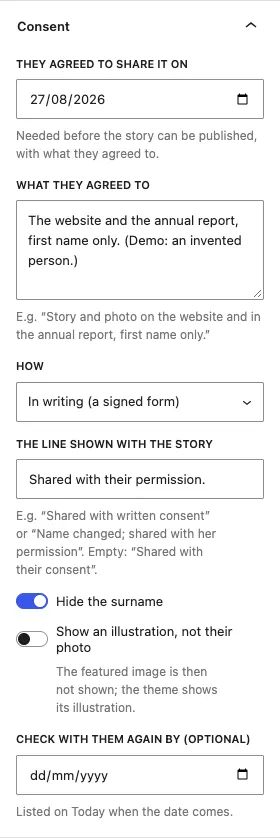
- In Consent:
- They agreed to share it on: the date. This is needed before the story can be published.
- What they agreed to, for example "Story and photo on the website and in the annual report, first name only."
- How: in writing, by email, out loud (noted by staff) or by a parent or carer.
- The line shown with the story. Empty: "Shared with their consent".
- Hide the surname.
- Show an illustration, not their photo: the featured image is then not shown.
- Check with them again by (optional): listed on Charity → Today when the date comes.
- Click Publish.
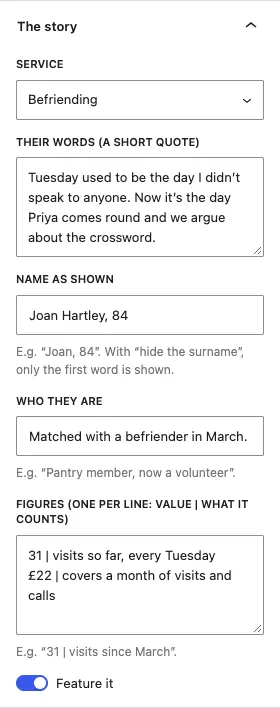
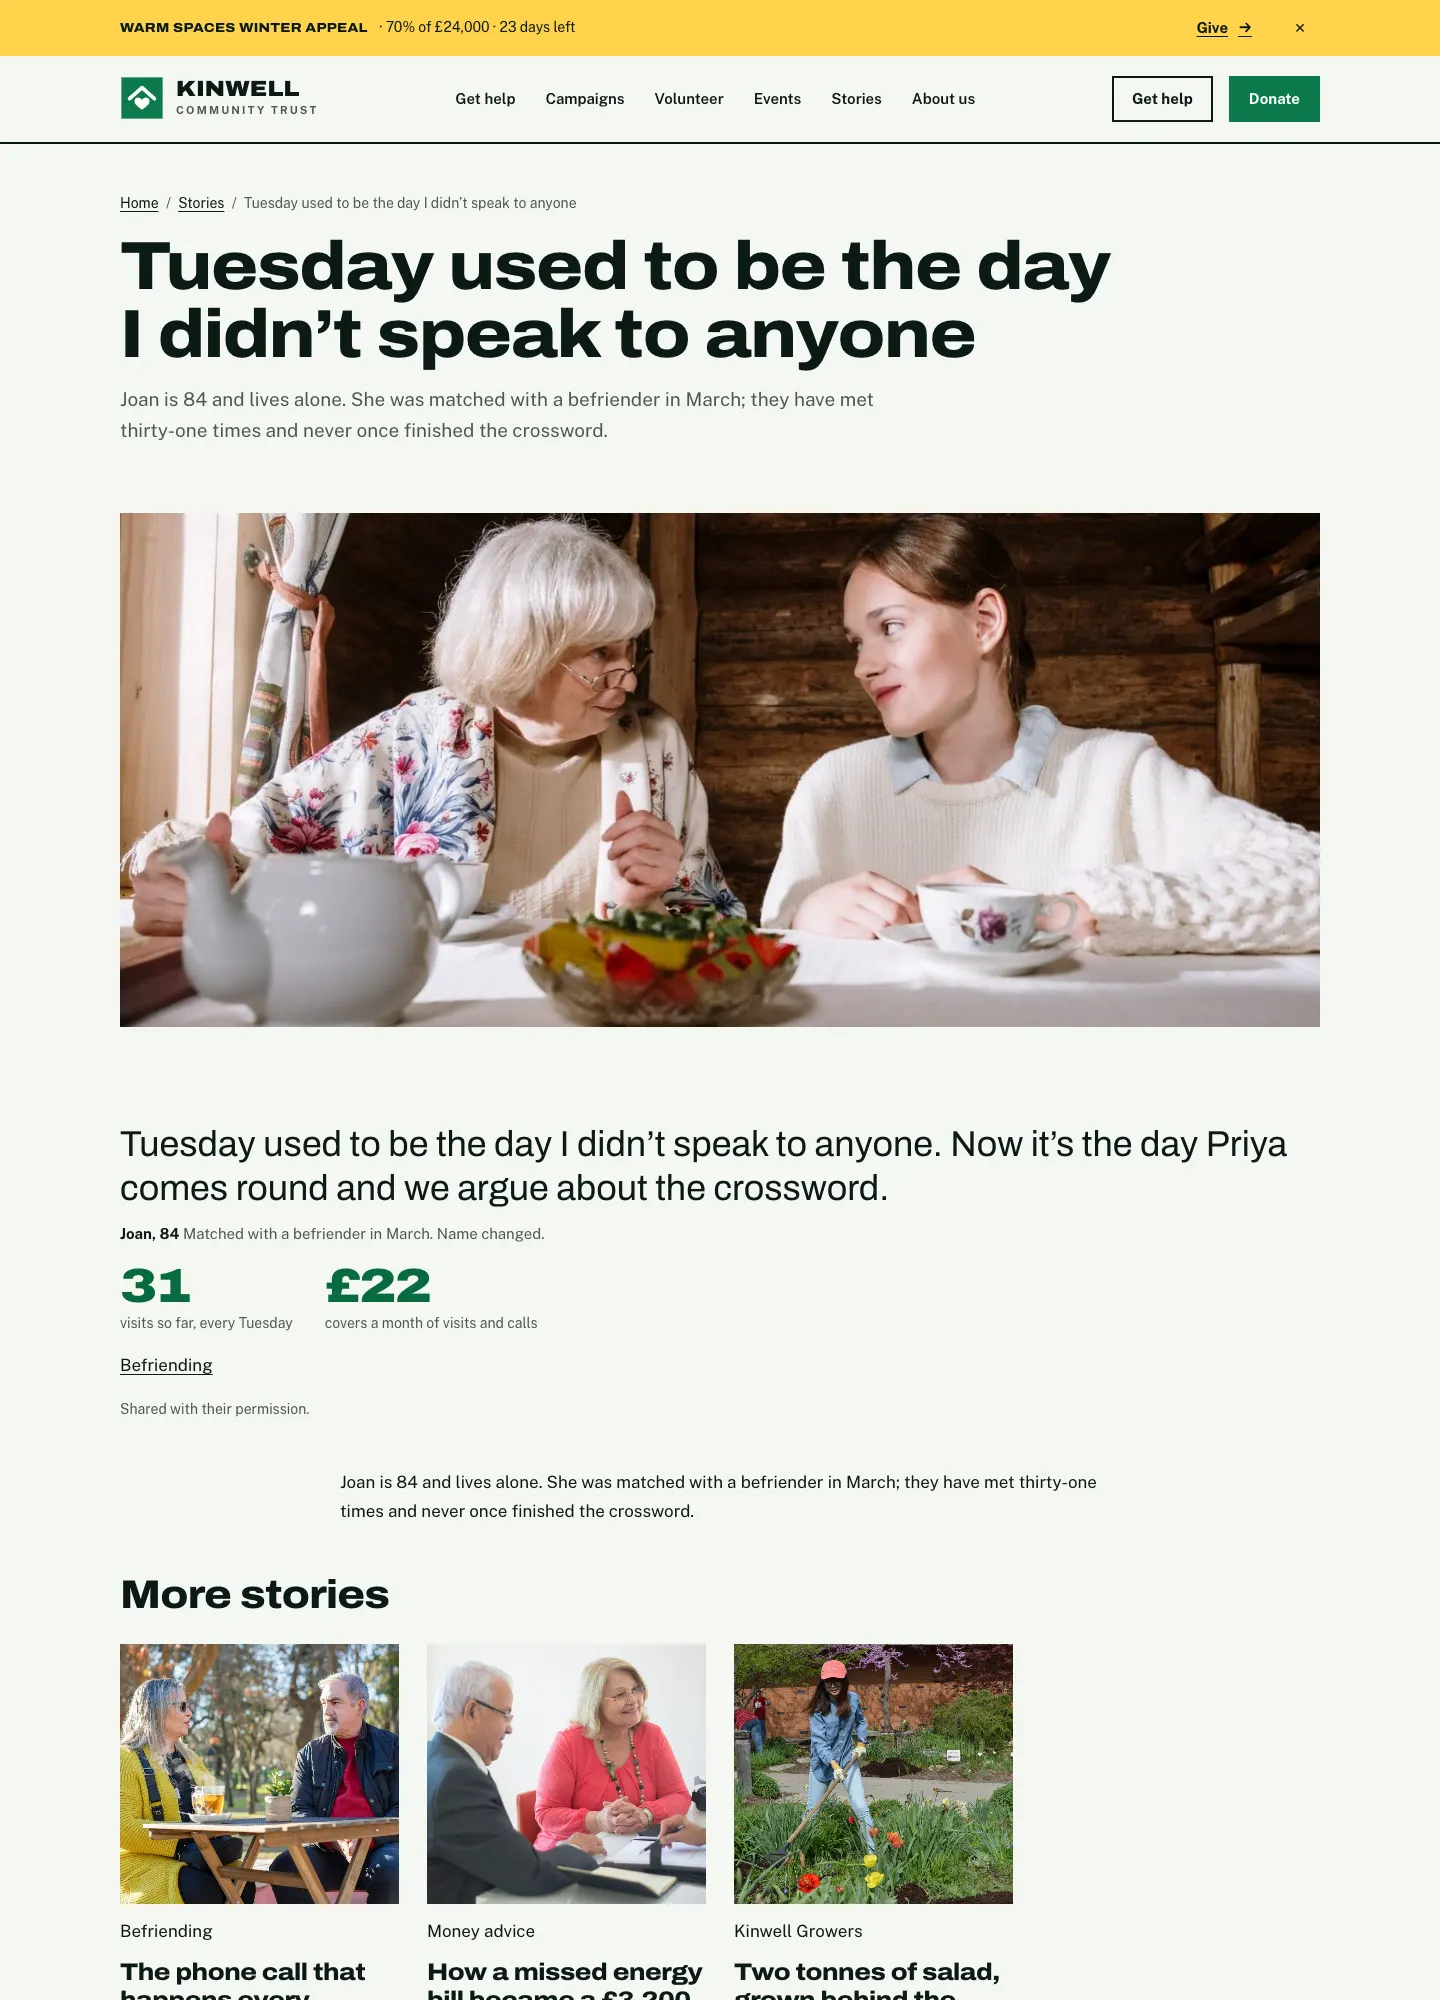
This is how a story looks on the website:
Annual reports
- Go to Charity → Annual reports and click Add annual report.
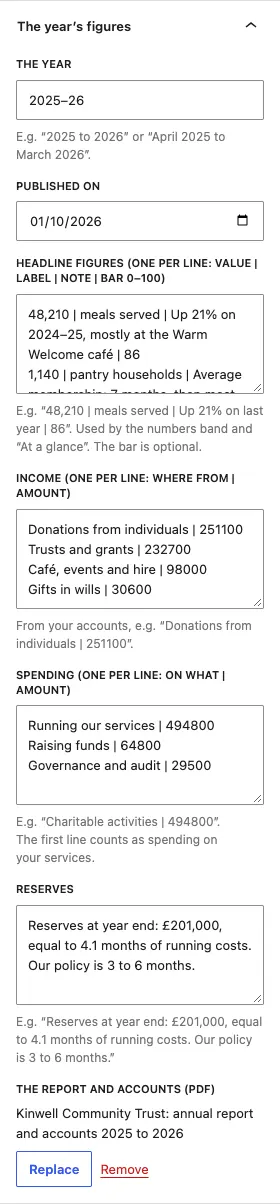
- Fill in The year's figures:
- The year, for example "2025 to 2026", and Published on.
- Headline figures:
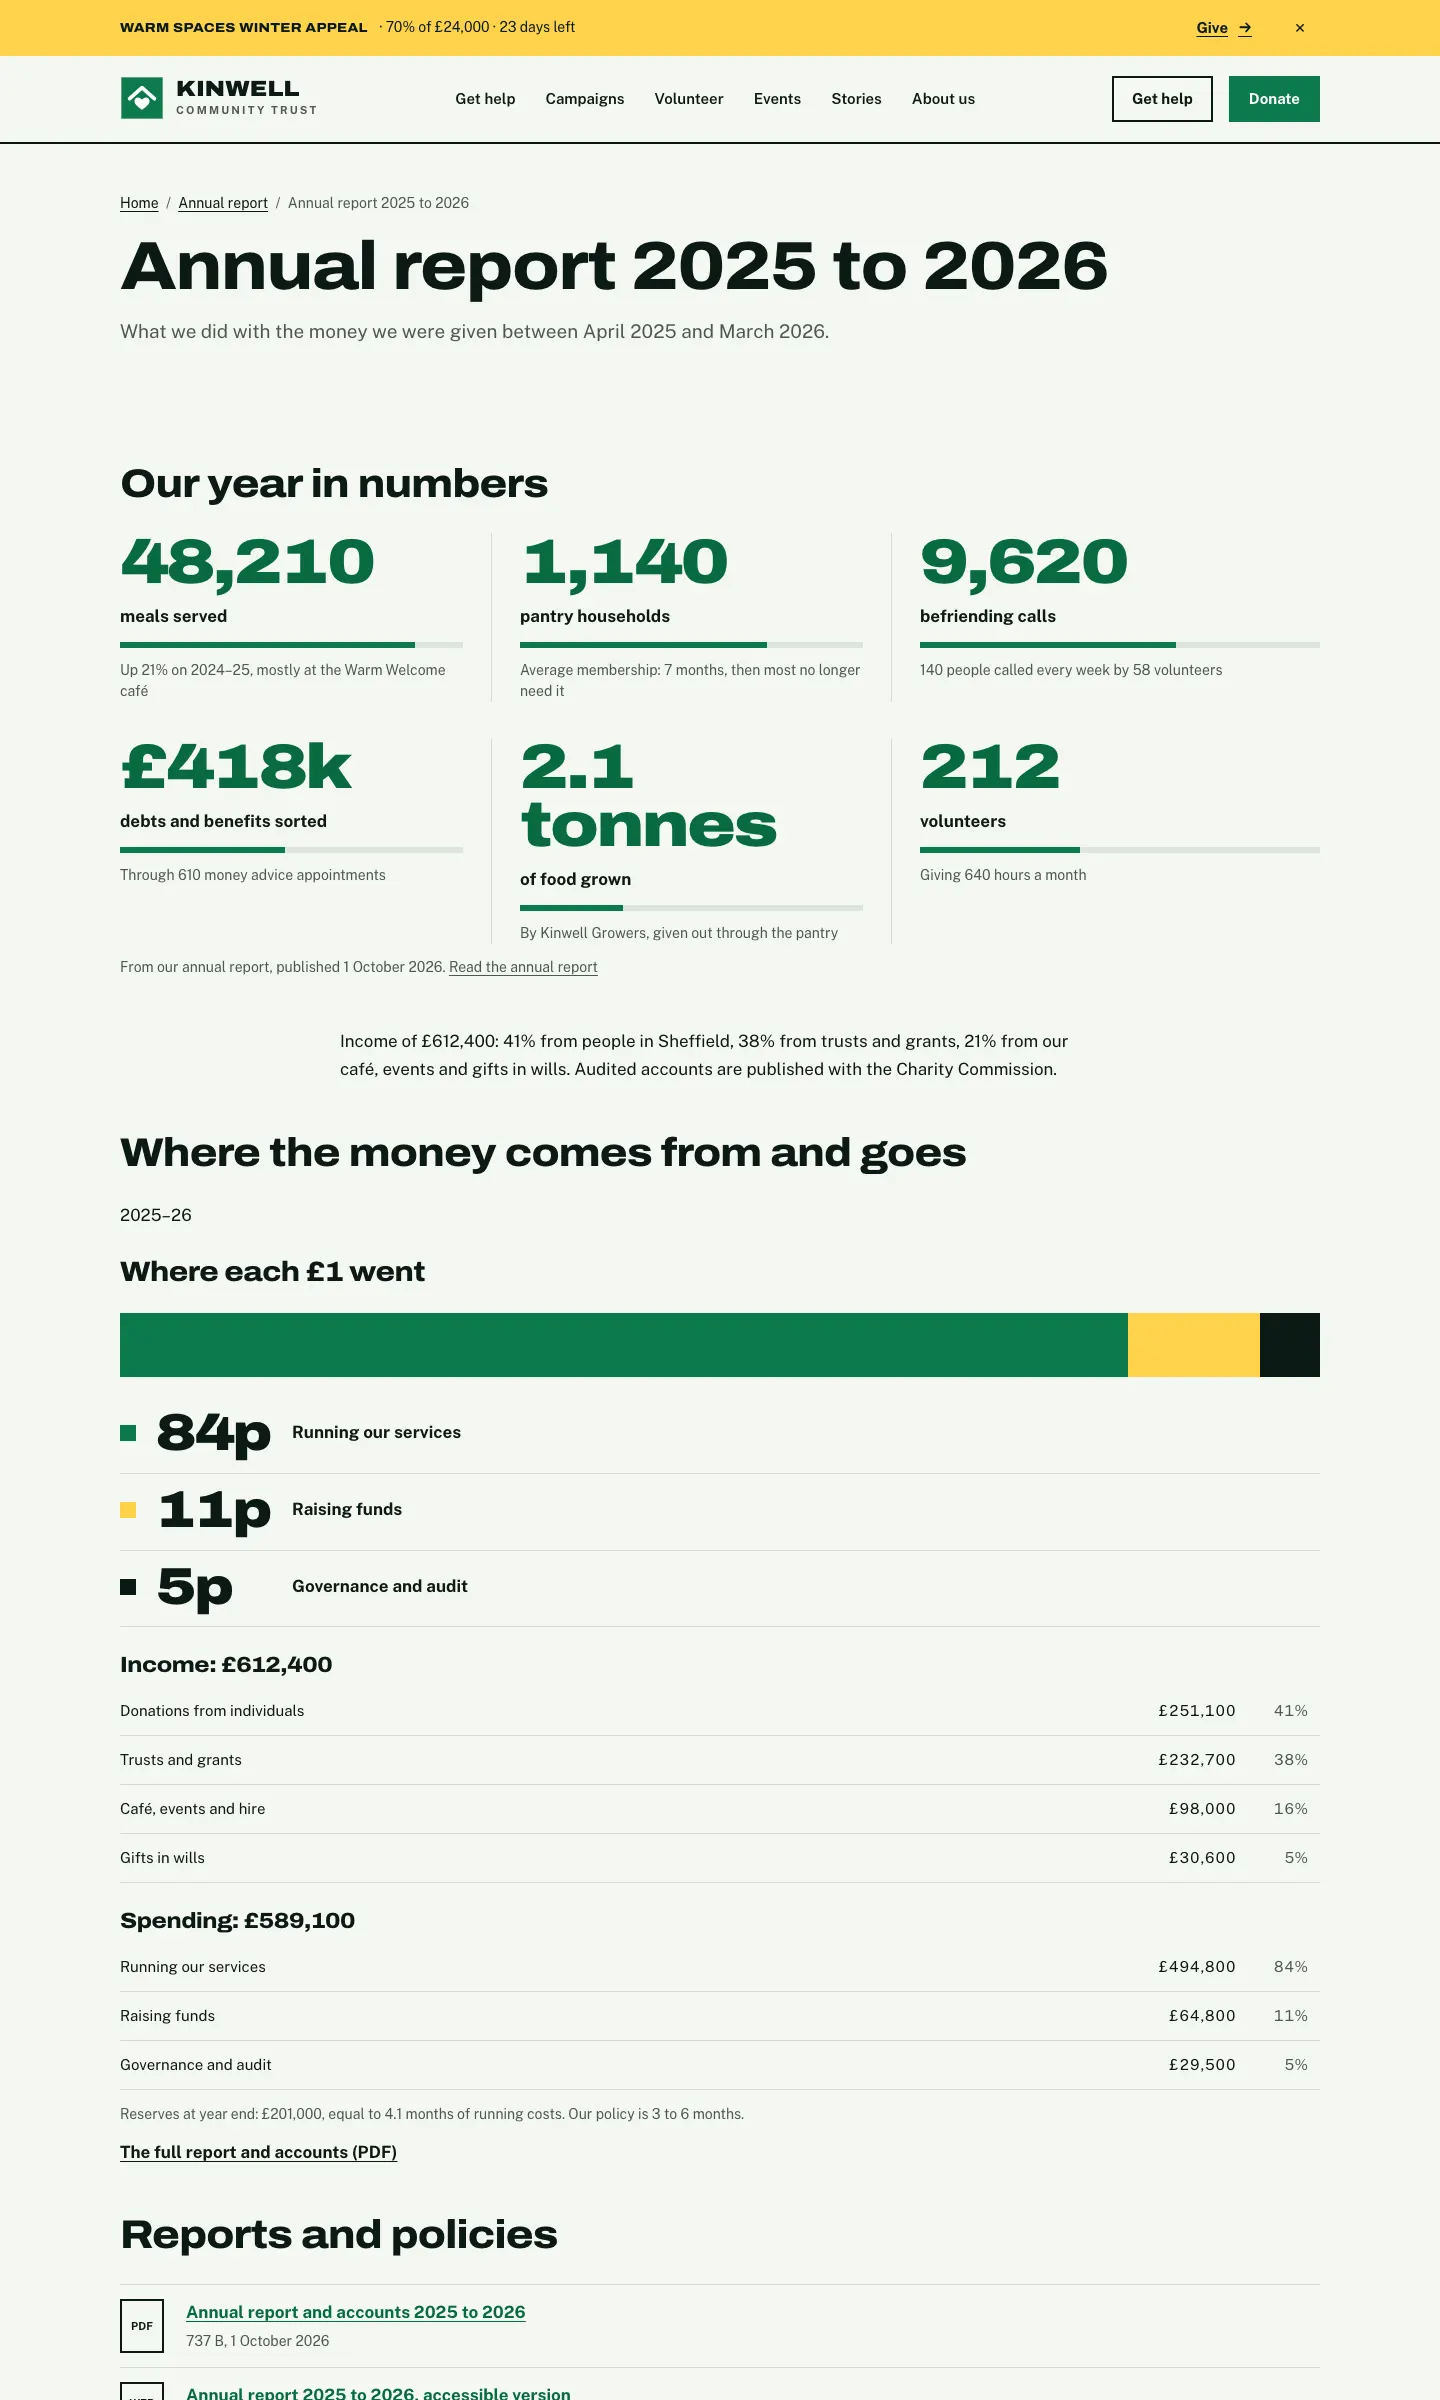
value | label | note | bar 0–100, one per line, for example48,210 | meals served | Up 21% on last year | 86. These fill the numbers band on the home page and "At a glance". The bar is optional. - Income:
where from | amount, from your accounts. - Spending:
on what | amount. The first line counts as spending on your services. - Reserves: a sentence about your reserves.
- The report and accounts (PDF).
- Click Publish.
The website works out each line's share and "where each £1 went".
Documents
Reports, accounts, policies and minutes, each with its file.
- Go to Charity → Documents and click Add document.
- Type the title, for example "Safeguarding adults policy".
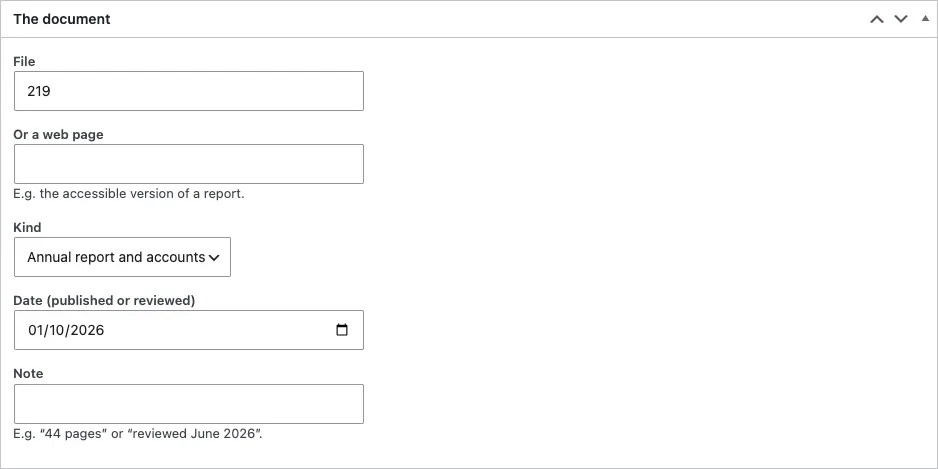
- In The document, choose the File, or give Or a web page (for example the accessible version of a report).
- Choose the Kind: Annual report and accounts, Policy, Minutes, Governing document or Other.
- Set the Date (published or reviewed) and an optional Note, such as "44 pages".
- Click Publish.
The file's type and size are shown automatically.
Trustees and your registration details
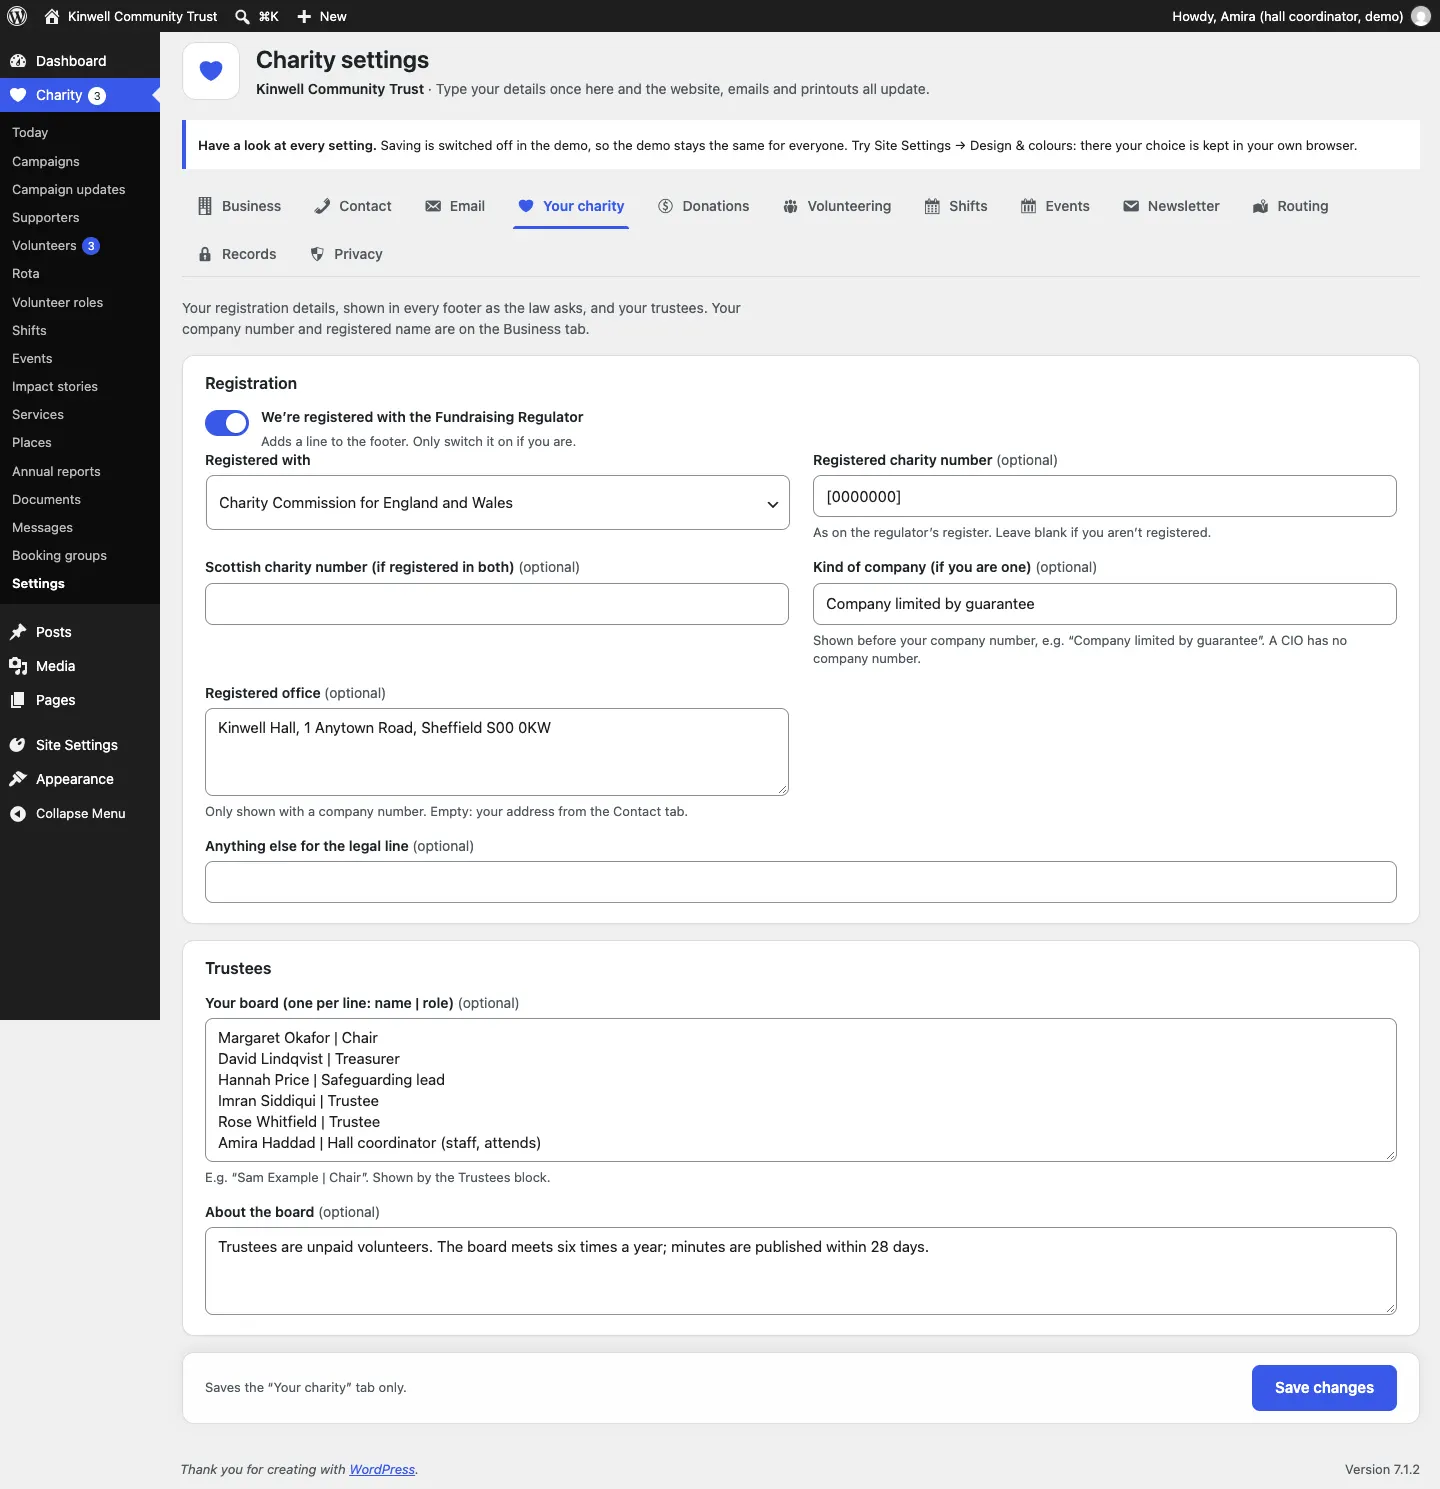
- Go to Charity → Settings → Your charity.
- Under Registration, choose who you're Registered with (or Not registered for a community group), and type your Registered charity number. If you're registered in both England and Wales and Scotland, add the Scottish charity number.
- If you're a company, set the Kind of company (for example "Company limited by guarantee") and the Registered office. Your company number and registered name are on the Business tab.
- Tick We're registered with the Fundraising Regulator only if you are.
- Under Trustees, list your board, one per line:
name | role, for exampleSam Example | Chair. Add a few words About the board. - Click Save changes.
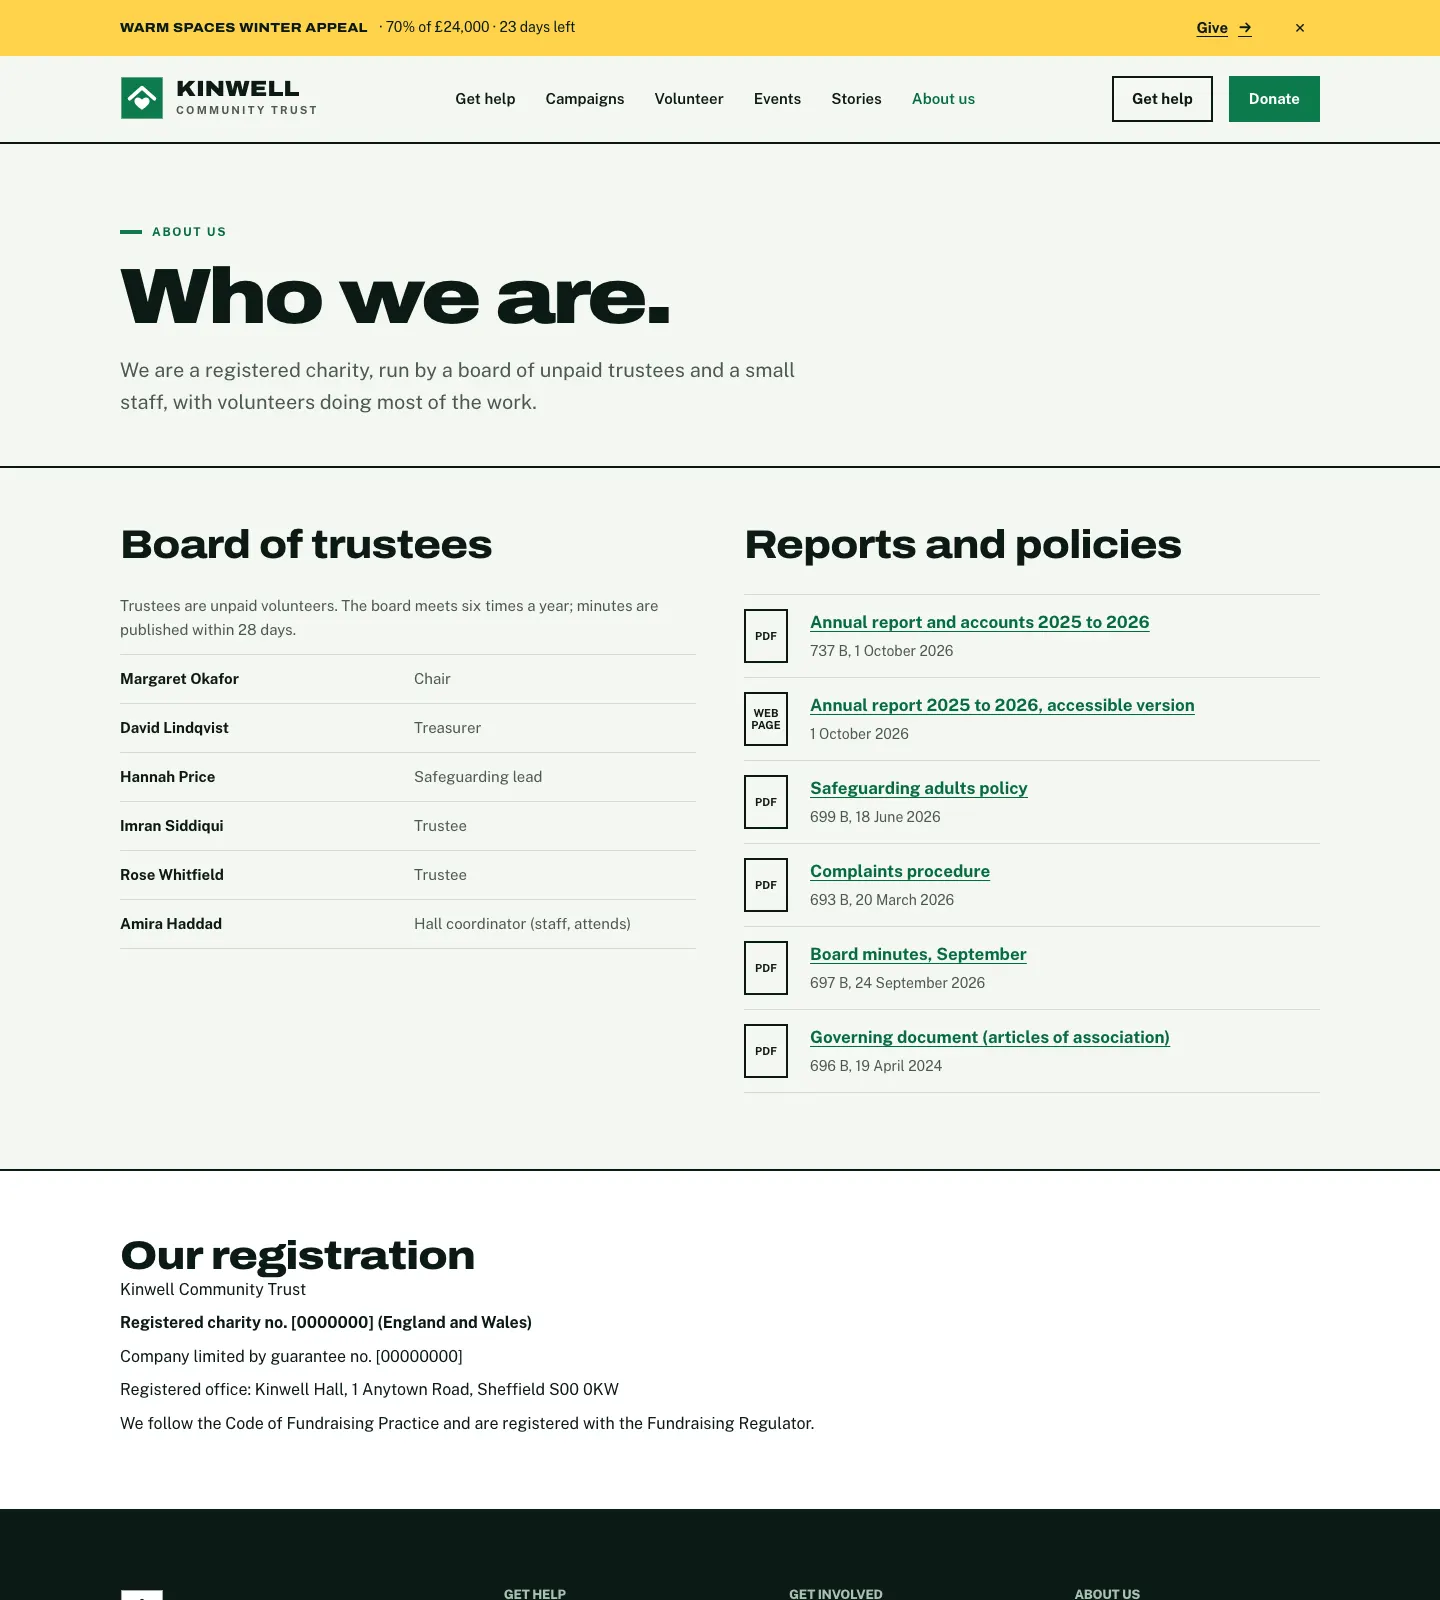
These details are shown in every footer, and the trustees and documents on the About us page.
Newsletter
The newsletter sign-up sends people to your mailing provider's list (Mailchimp, Brevo, MailerLite, Kit, Buttondown and others). Your website keeps no subscriber list.
- Go to Charity → Settings → Newsletter.
- Tick Show the newsletter sign-up.
- Choose your Mailing provider.
- Choose How:
- Our own form, sent to the provider's form address: paste The provider's form address (the "action" from your provider's embedded form code) and Its email field's name (Mailchimp and Brevo: EMAIL).
- The provider's embedded form (after cookie consent): paste the Embedded form (code or address).
- Type a Heading and A line about it.
- Click Save changes.