Running your website
Clients (Pro)
Group → Clients: add client companies, their sites and machines, invite their people to sign in, share private documents and see their requests, all on one page per client.
On this page
Group → Clients holds your client accounts: the companies you work for. One client can be served by several businesses in the group. For example, Headingley Studios rents a studio from Property and has a fridge from Vending. Each client has one page with everything about them: their orders, plans, sites and machines, the people who sign in, their documents and their requests.
The people you invite can sign in to the website's My account page and see their own company's records, and nothing else. That's the client area: see What your clients see.
Everything in this chapter is part of Pro: features marked (Pro) need a Pro or Agency licence. On a Starter website, Clients shows a Pro badge.
Orders, invoices and plans have their own chapter: Orders, invoices and plans.
The Clients list
Go to Group → Clients. The tabs at the top are Clients, Orders and Plans and renewals. The list shows each client, the businesses that serve them, and how many sites, machines and sign-ins they have.
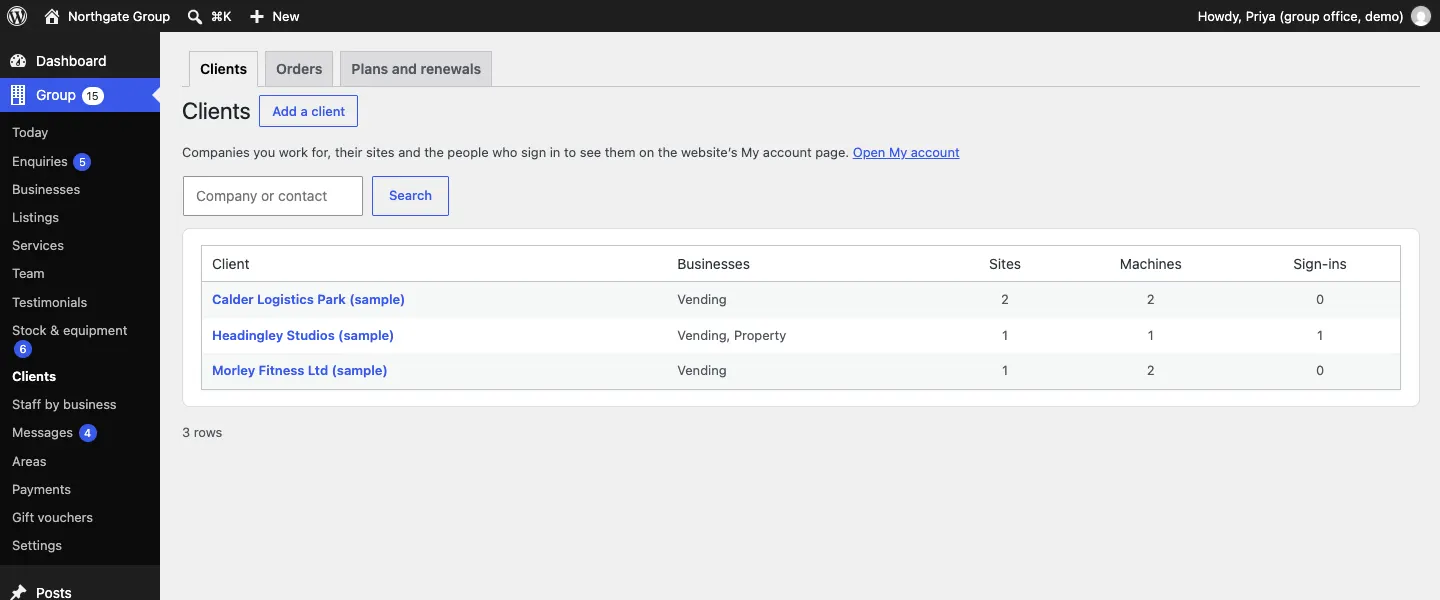
Open My account opens the client sign-in page on the website, so you can see what clients see.
How to add a client
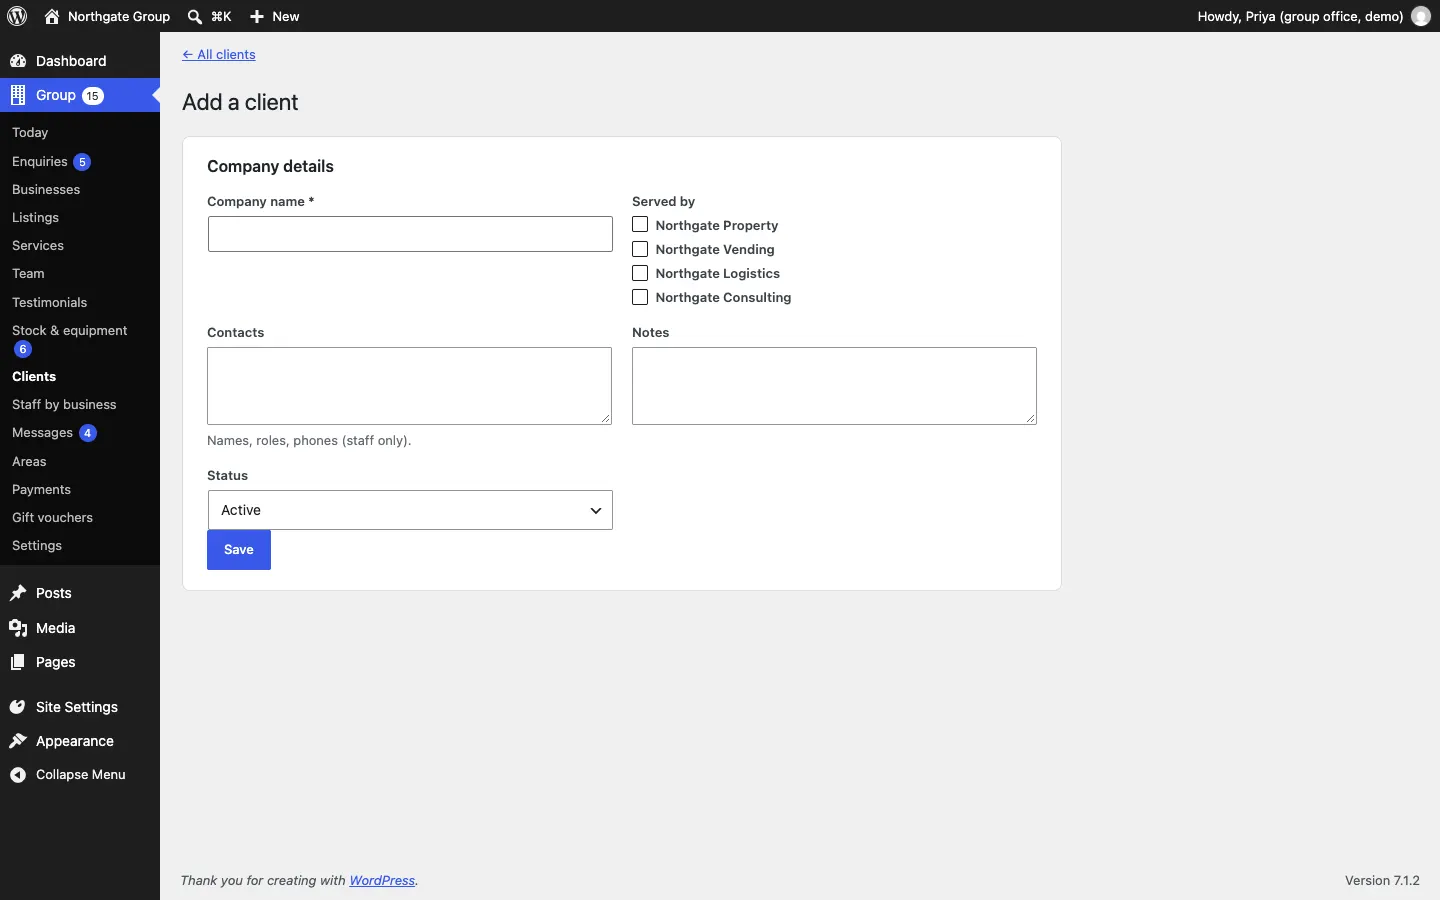
- Go to Group → Clients and click Add a client.
- Type the Company name.
- Under Served by, tick each business that works for them.
- Add Contacts (names, roles and phone numbers, for staff only) and any Notes.
- Leave Status on Active.
- Click Save.
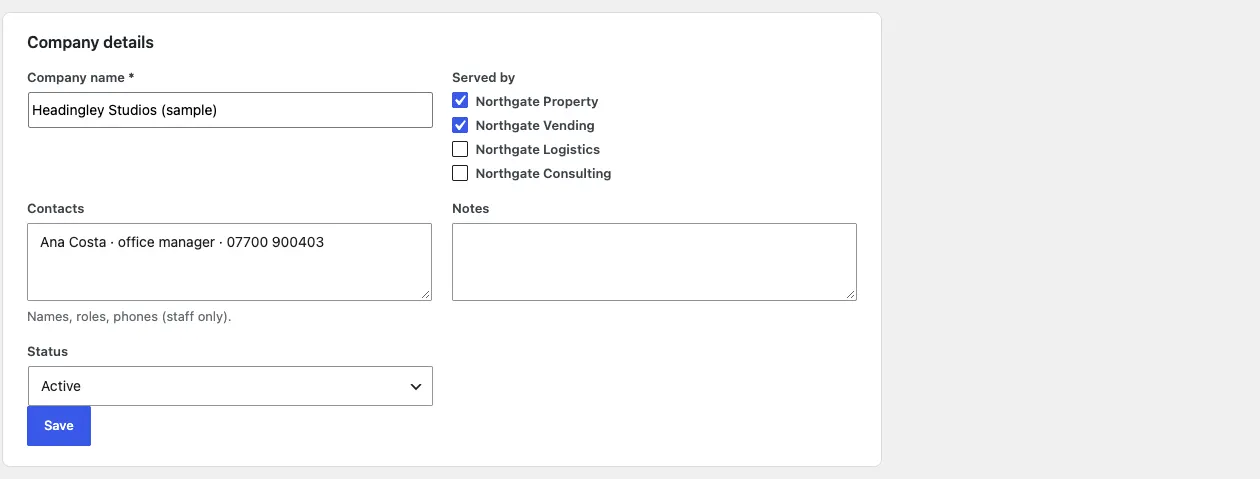
The client's page opens. To change these details later, click Company details at the top of the page.
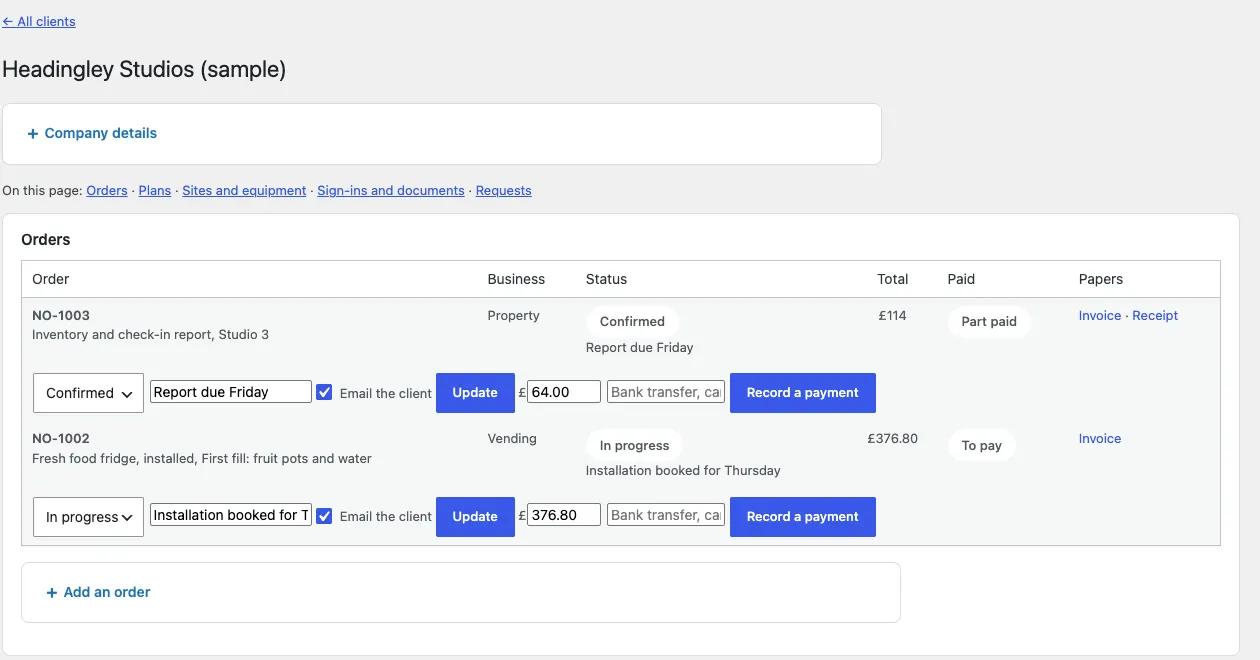
A client's page
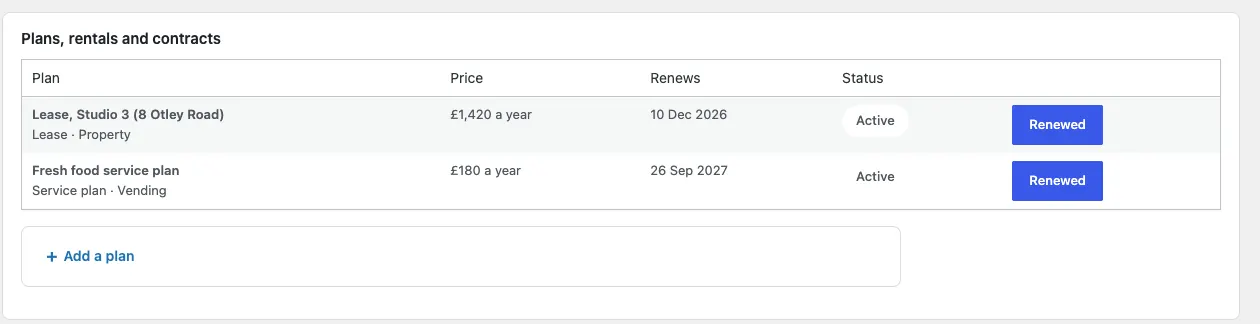
Open a client from the list. The line On this page jumps to each part: Orders, Plans, Sites and equipment, Sign-ins and documents and Requests.
How to add a site
A site is a place you work at for the client: an office, a gym, a building. Machines are placed at sites.
- On the client's page, go to Sites and click Add a site.
- Type the Site name, its Address and Postcode.
- Click Add the site.
Each site shows its address and how many machines are there. Underneath, Machines lists the client's machines with their status and site. Click a machine to open it in Stock & equipment (see Stock & equipment).
How to invite someone to sign in
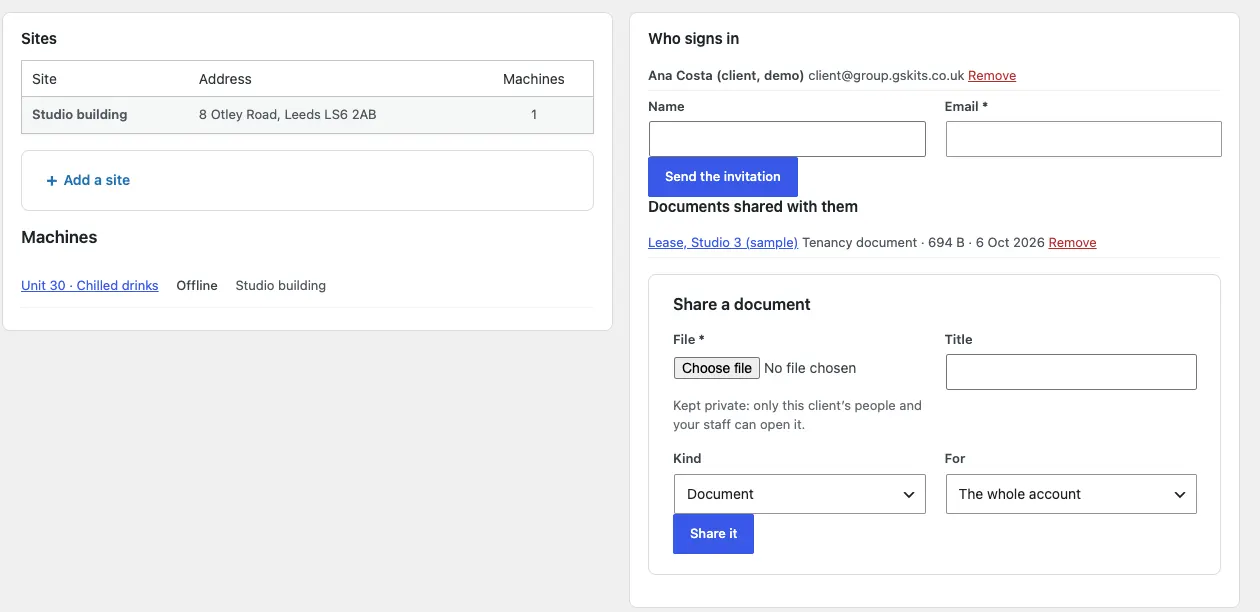
- On the client's page, go to Who signs in.
- Type their Name and Email.
- Click Send the invitation.
They get an email with a link to choose a password. After that, they sign in at My account with their password, or with Email me a sign-in link if that's switched on (see Group settings). They only ever see their own company.
To stop someone signing in, click Remove next to their name.
How to share a document
Contracts, tenancy agreements, reports, certificates, statements: PDF, JPG, PNG or WebP pictures, Word (.docx), Excel (.xlsx), CSV and text files.
- On the client's page, go to Share a document.
- Click Choose file and pick the file.
- Give it a Title.
- Choose its Kind (Document, Report, Certificate, Invoice or statement, Contract or agreement or Tenancy document) and For (The whole account, or one of their sites).
- Click Share it.
The document is kept private: only that client's people and your staff can open it. To take it away, click Remove next to it.
Their requests and enquiries
The last part of the client's page lists every request the client has sent from their client area and every enquiry linked to them, with its status. Click one to open it in Group → Enquiries and reply.

Who can see clients
Group admins see every client. With staff by business, a business manager only sees clients served by their businesses, and only their businesses' orders and documents. See Staff by business.
When a client leaves
Open Company details, set Status to Closed and save. Remove their sign-ins under Who signs in. Their orders and invoices are kept as business records.