Setting up · shared chapter
Pages, posts and pictures
Editing pages in the WordPress block editor, starting a page from your kit's ready-made layouts and sections, writing blog posts, and adding and replacing pictures in the media library.
On this page
Your website's pages (Home, About, Contact and so on) and your blog posts are edited in the WordPress block editor. Each page is made of blocks: a heading, a paragraph, a picture, a button, or a whole ready-made section. Your kit comes with dozens of ready-made page layouts and sections in its own design, so you rarely start from a blank page.
Some parts of a page fill themselves in from your kit's settings, such as your opening hours, address, services and prices, or a booking form. You change those in your kit's Settings or its own screens, not on the page. Your kit's manual explains which.
Your pages
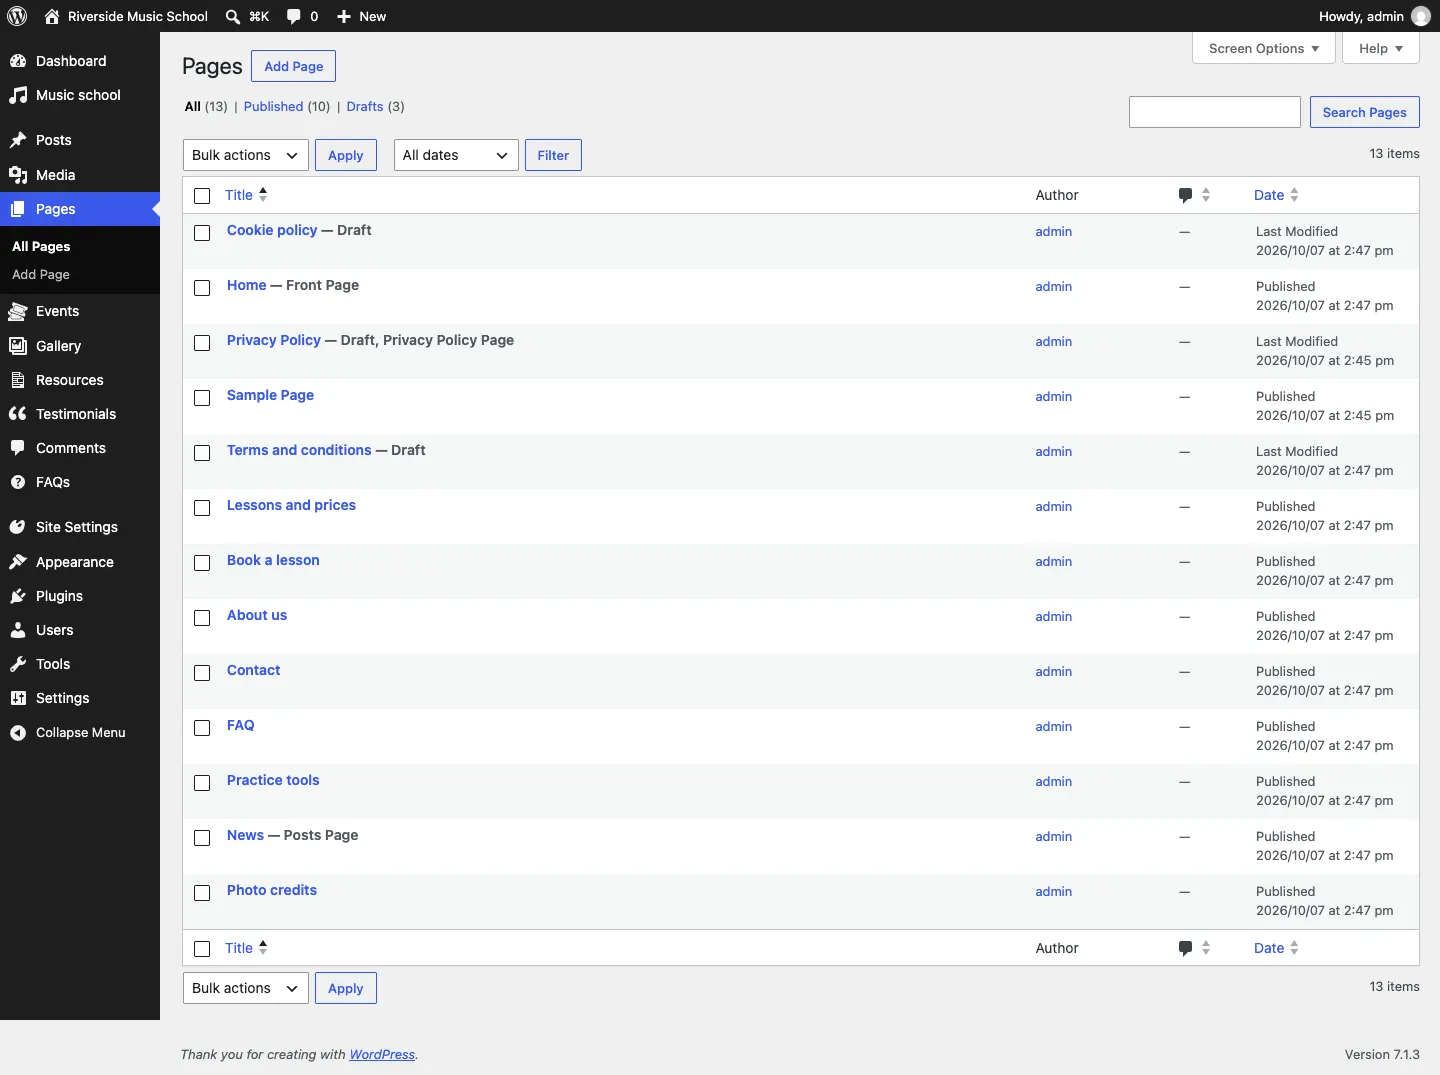
Go to Pages to see every page. The list shows each page's title and whether it's published or a draft. WordPress also marks the Front Page (your home page) and the Posts Page (your blog).
How to edit a page
- Go to Pages and click the page's title.
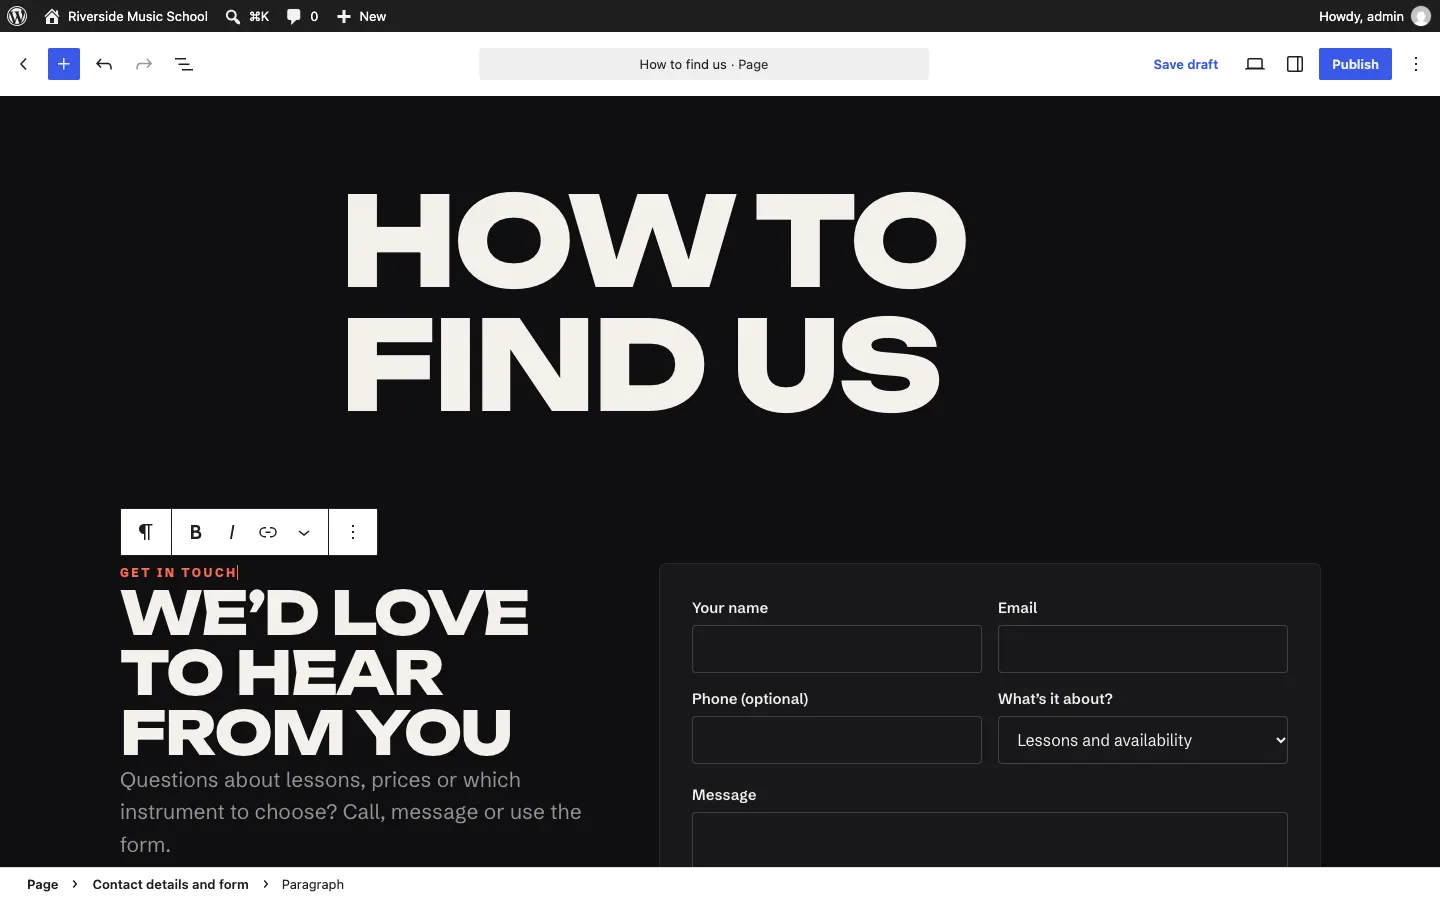
- Click the words you want to change and type. Click a picture to replace it (see How to replace a sample photo).
- When you click a block, a small toolbar appears above it with options for that block, such as bold, italic and links for a paragraph.
- Click Save at the top right. Visitors see the change straight away.
How to add a new page
-
Go to Pages → Add Page.
-
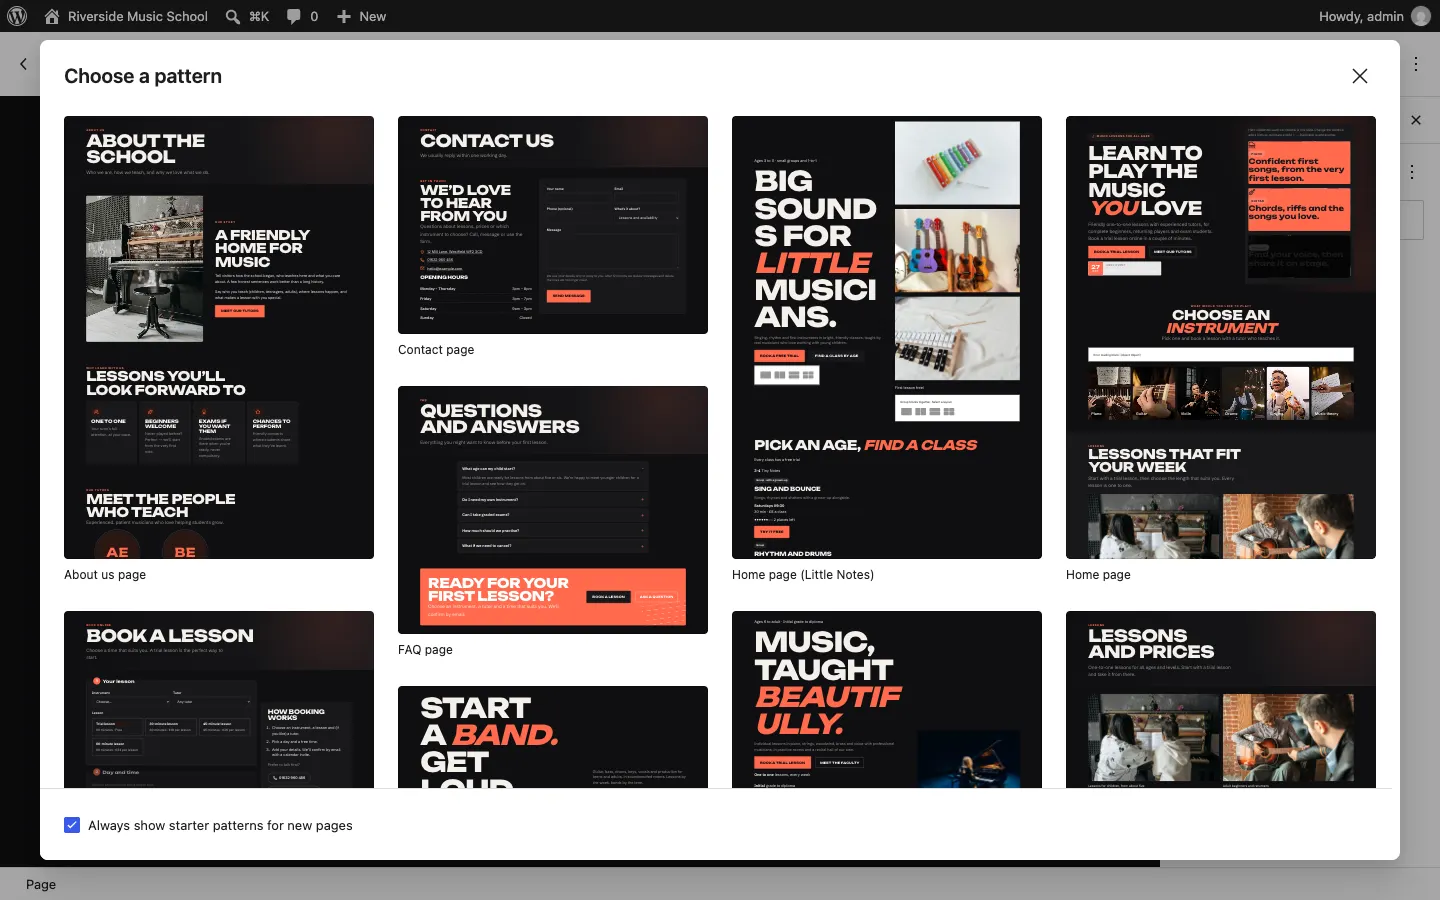
In Clinic, Church and Music, WordPress first shows Choose a pattern: ready-made page layouts from your kit, such as an About page, a Contact page or an FAQ page. Click one to start from it, or close the box with × to start with a blank page. Other kits open a blank page straight away; you add their page layouts from the block inserter instead (see How to add a ready-made section).
-
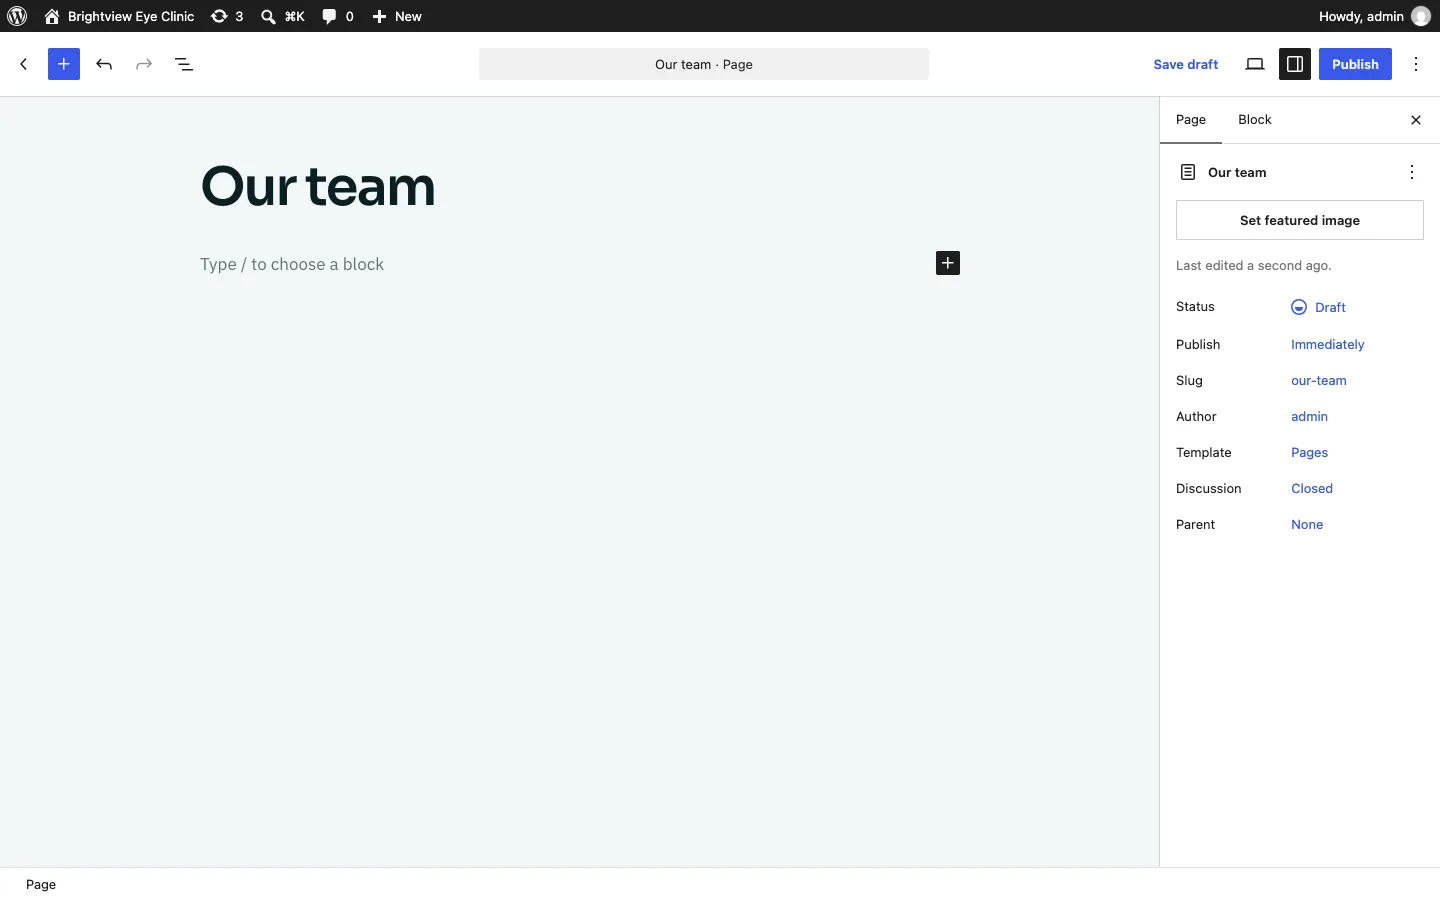
Click Add title and type the page's name, for example "Our team".
-
Add your words and sections (see below).
-
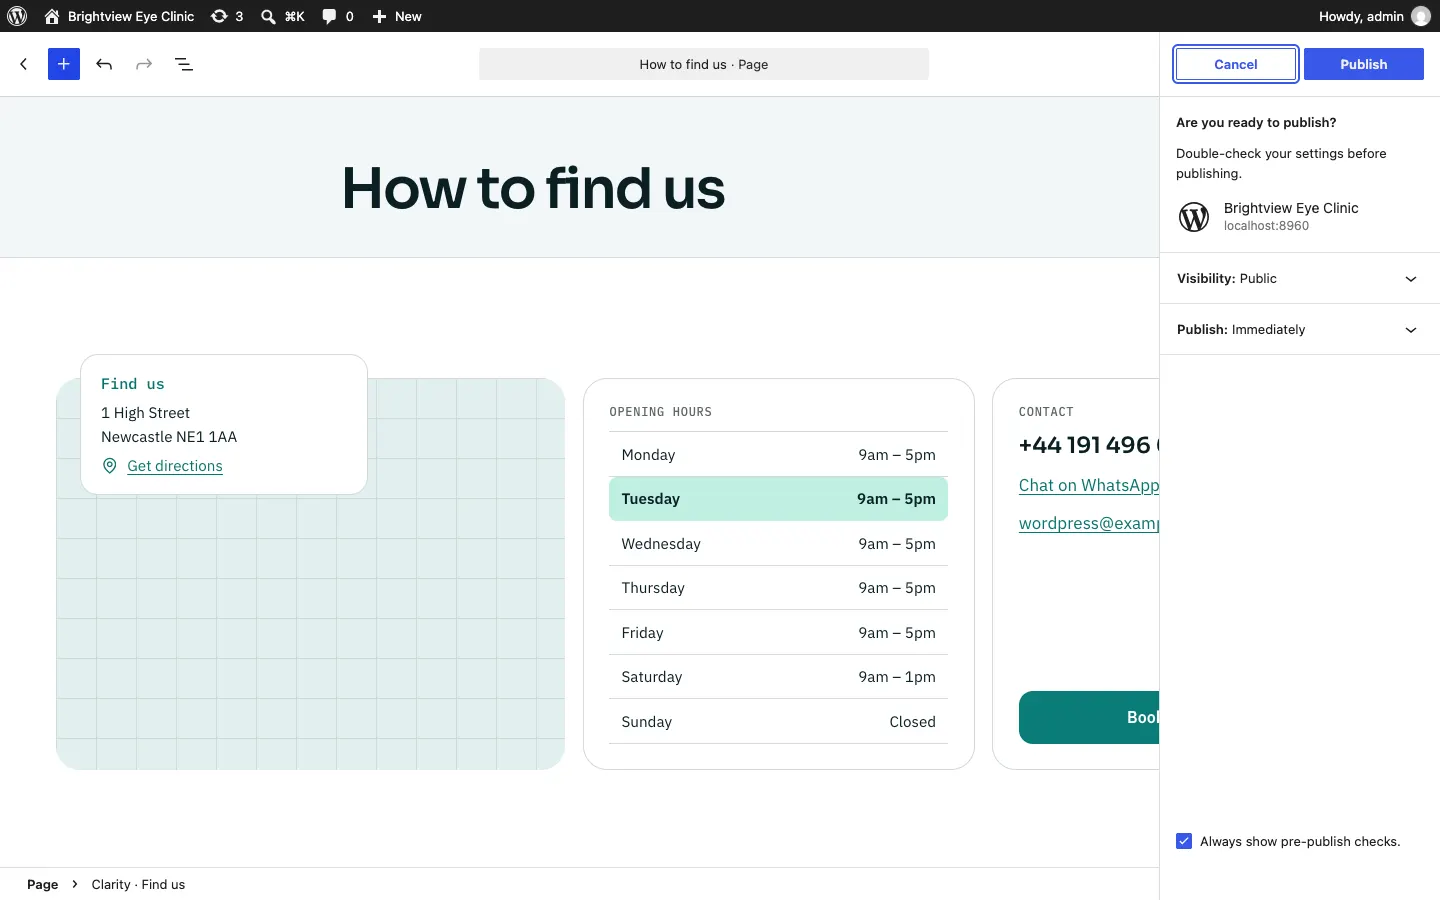
Click Publish. WordPress asks Are you ready to publish? Click Publish again.
-
WordPress says the page is now live, with View Page to see it.
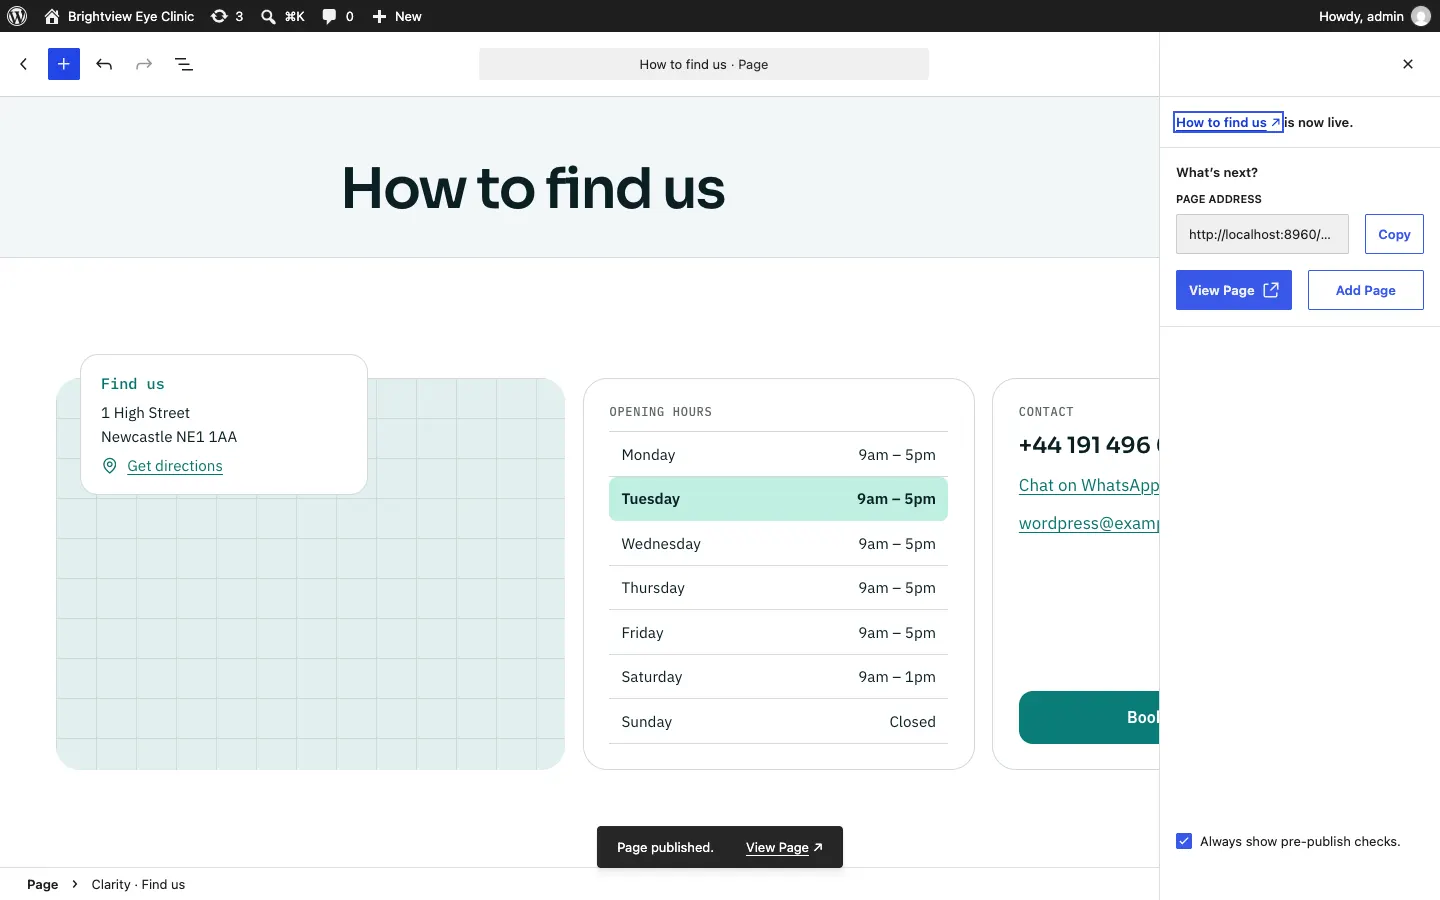
To keep working on a page before visitors see it, click Save draft instead of Publish.
How to add a ready-made section
Your kit's sections are ready-made blocks in your kit's style: a row of services, a team, a booking band, questions and answers, a "find us" card with your address and hours, and more.
-
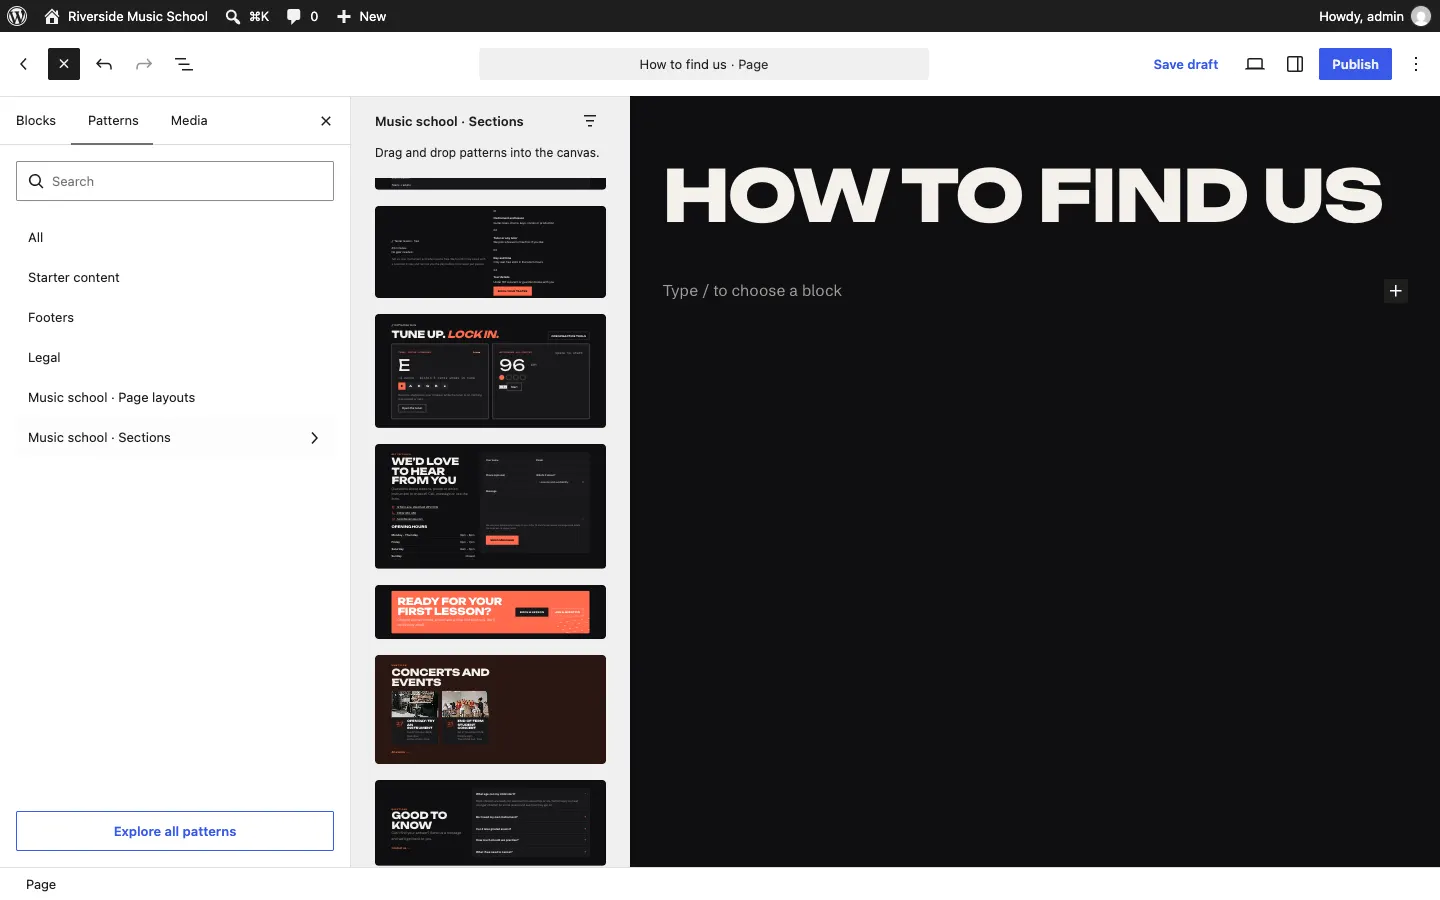
In the editor, click the blue + at the top left (the block inserter).
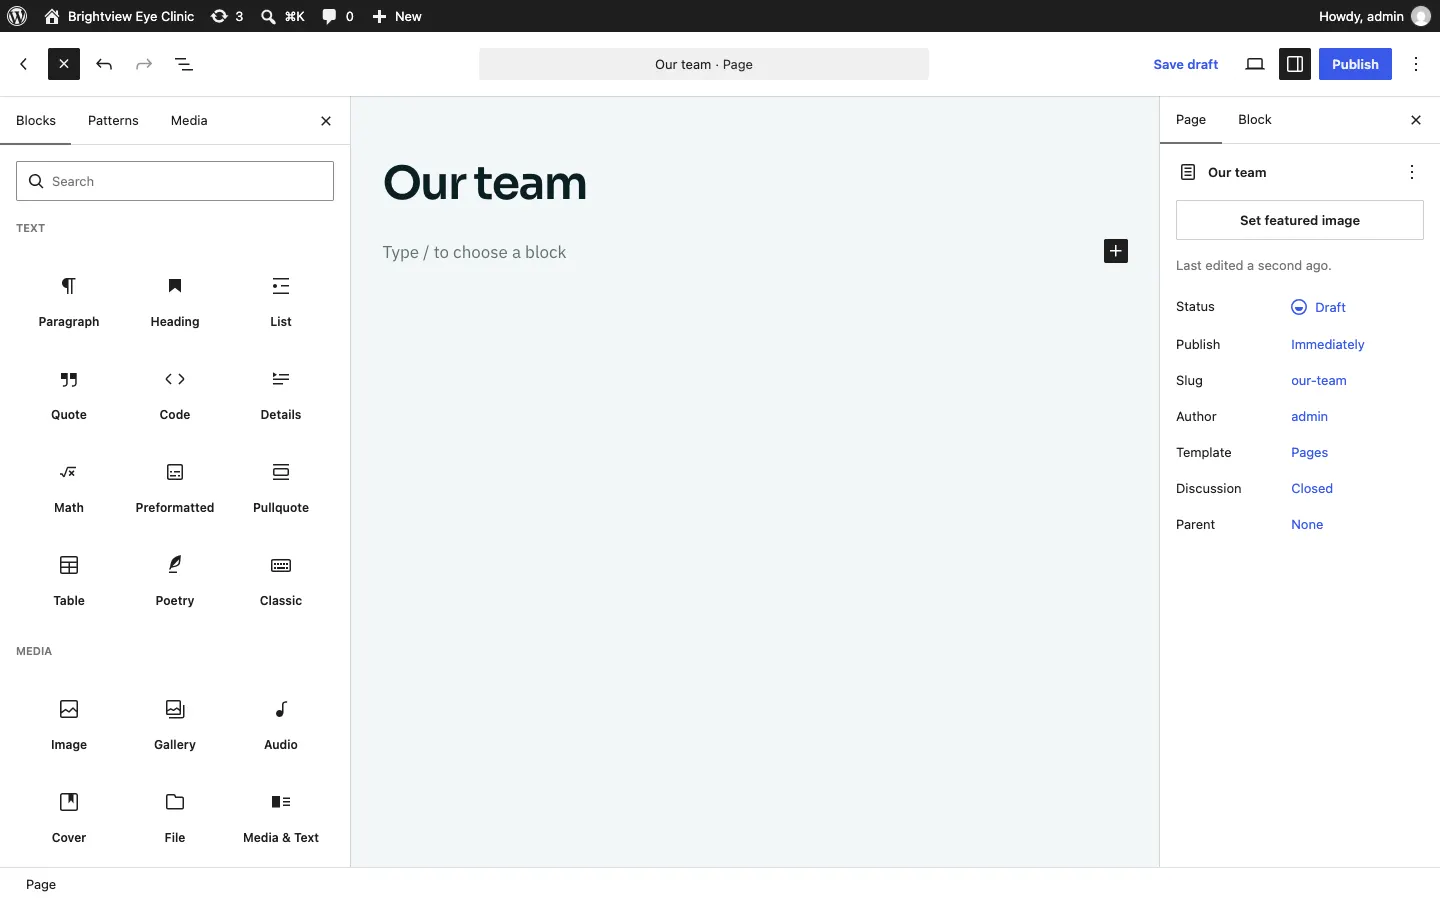
-
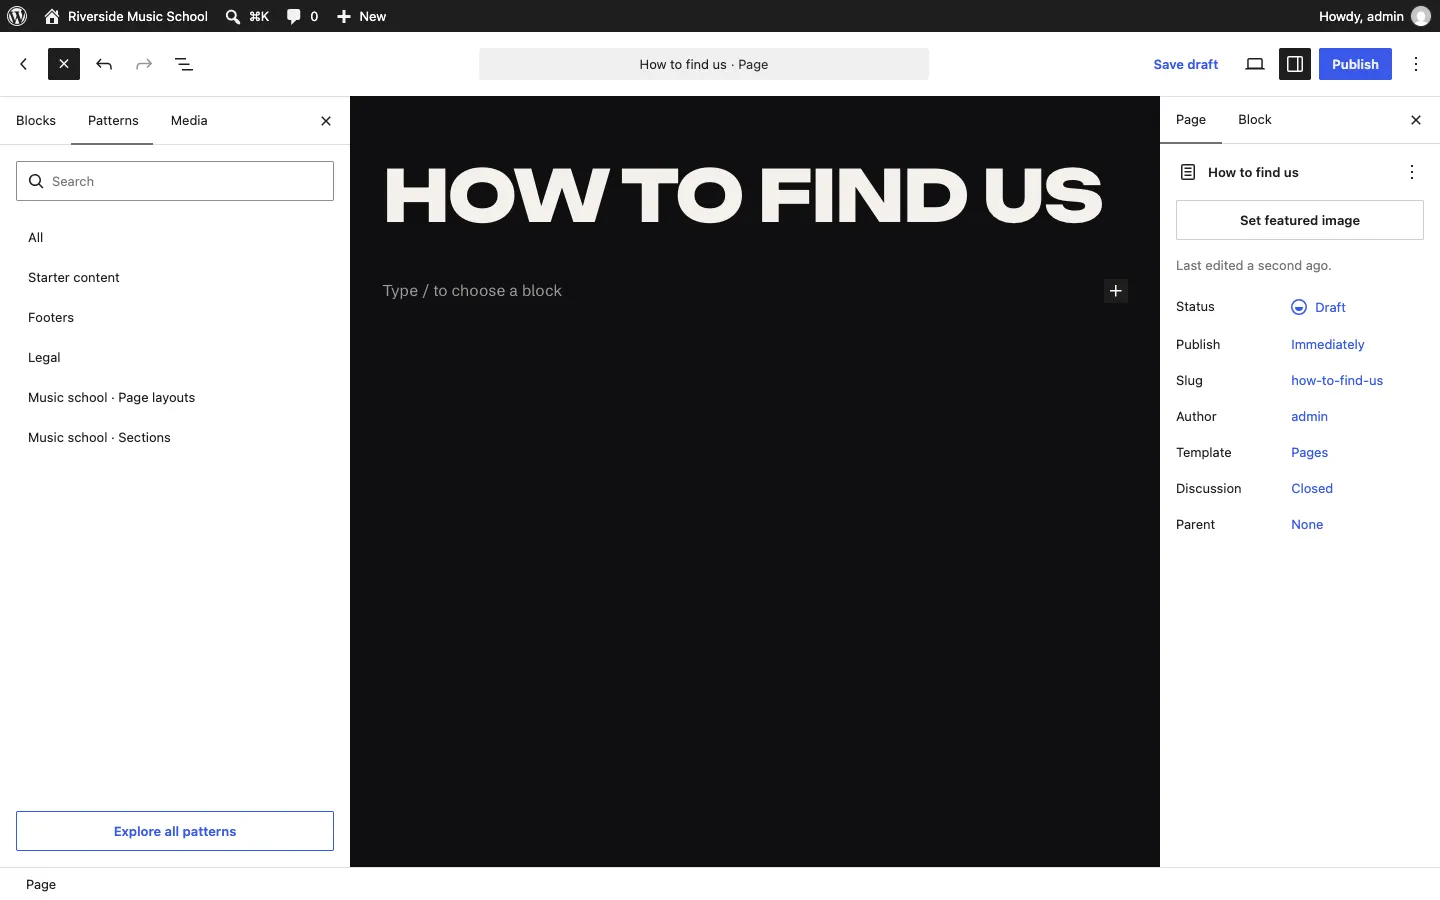
Click the Patterns tab.
-
Choose your kit's category. Each kit has two:
- Your kit · Page layouts: whole pages (for example Eye care · Page layouts in Clinic, or Church · Page layouts in Church);
- Your kit · Sections: single sections to add to any page (for example Eye care · Sections or Church · Sections).
Some kits have a few more categories of their own, such as layouts for one kind of page.
-
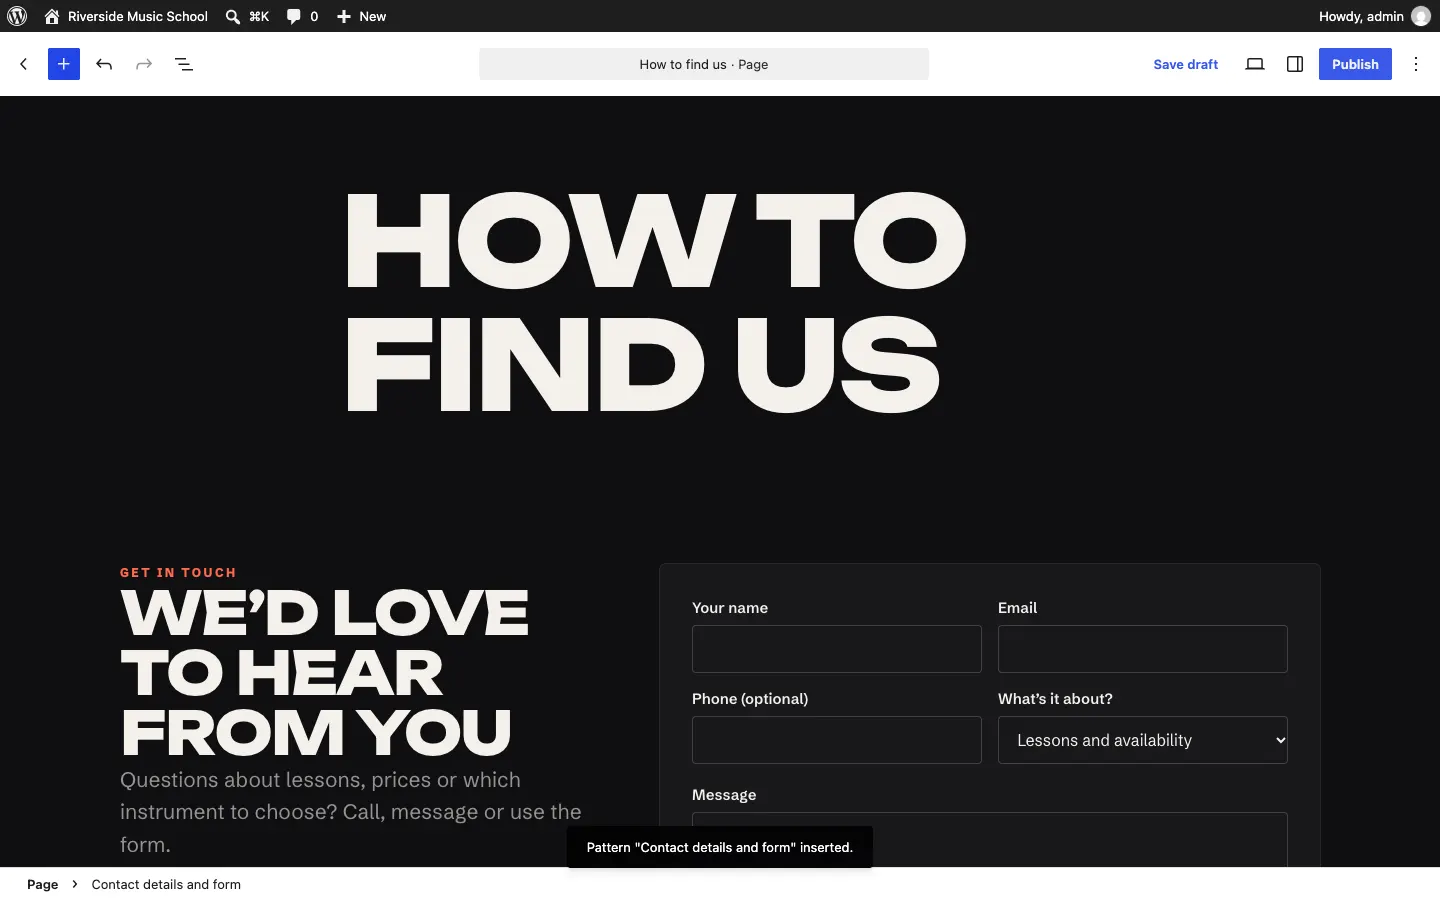
Scroll through the previews and click the one you want. It's added to the page where your cursor was.
-
Change its words and pictures, then Save or Publish.
Section names that start with a design's name (for example Clarity · Find us in Clinic, or Nave · The churches in Church) were made for that design. They work in any design, but look best in their own.
Blog posts
Posts are dated articles, such as news, tips or announcements. They appear on your blog page (the page marked Posts Page in the Pages list) with the newest first.
How to write a blog post
-
Go to Posts → Add Post.
-
Type the title, press Enter and start writing. Add headings, pictures and lists with the blue +.
-
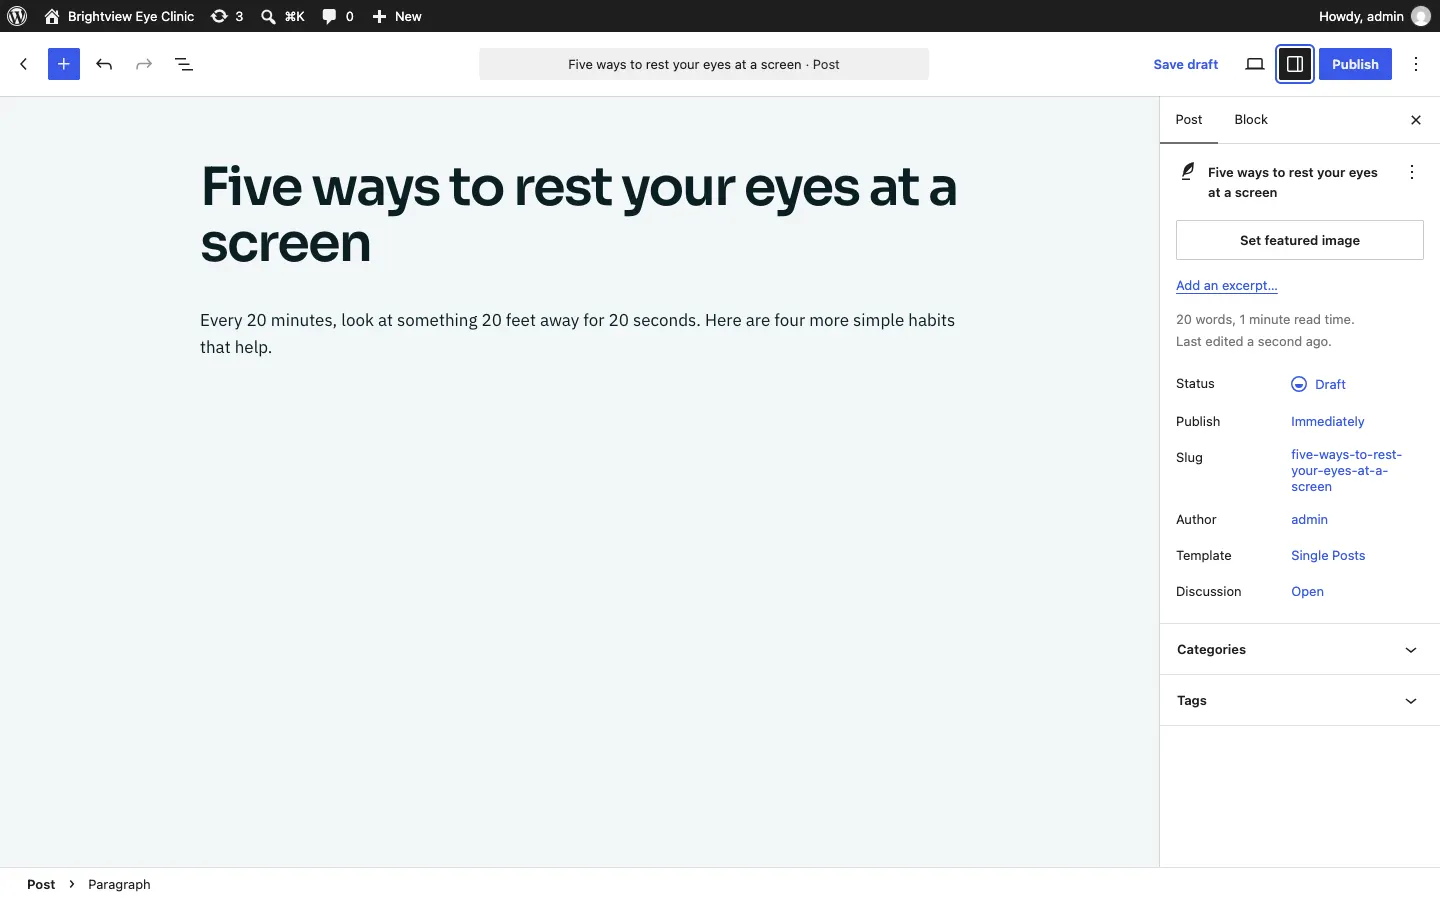
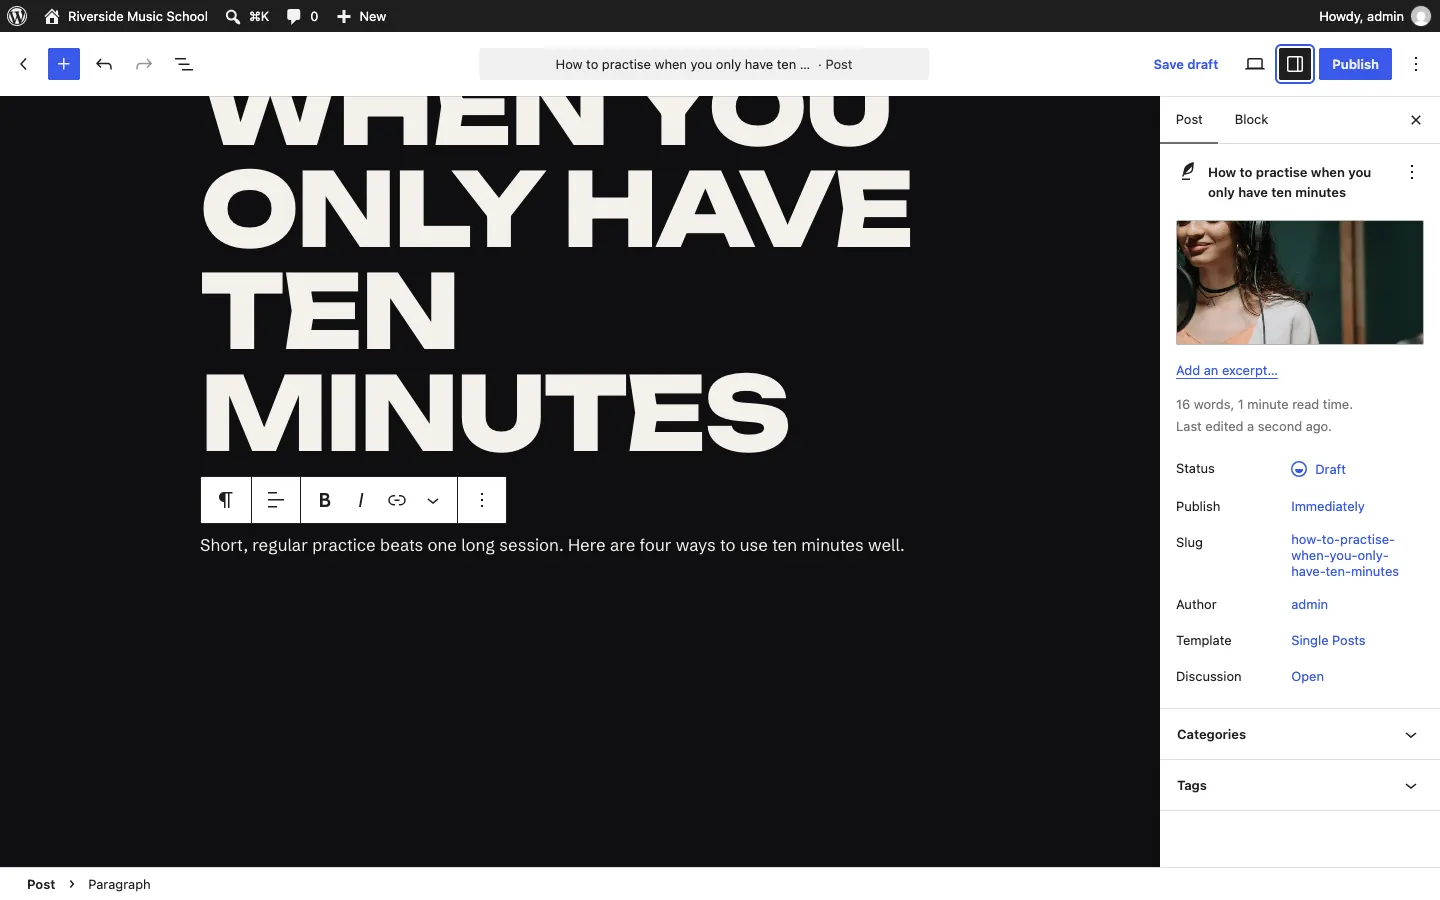
Open the settings panel on the right with the Settings button (the square icon next to Publish) and click the Post tab. Here you can:
- click Set featured image to choose the picture shown with the post on the blog page;
- open Categories and Tags to sort the post.
-
Click Publish, then Publish again.
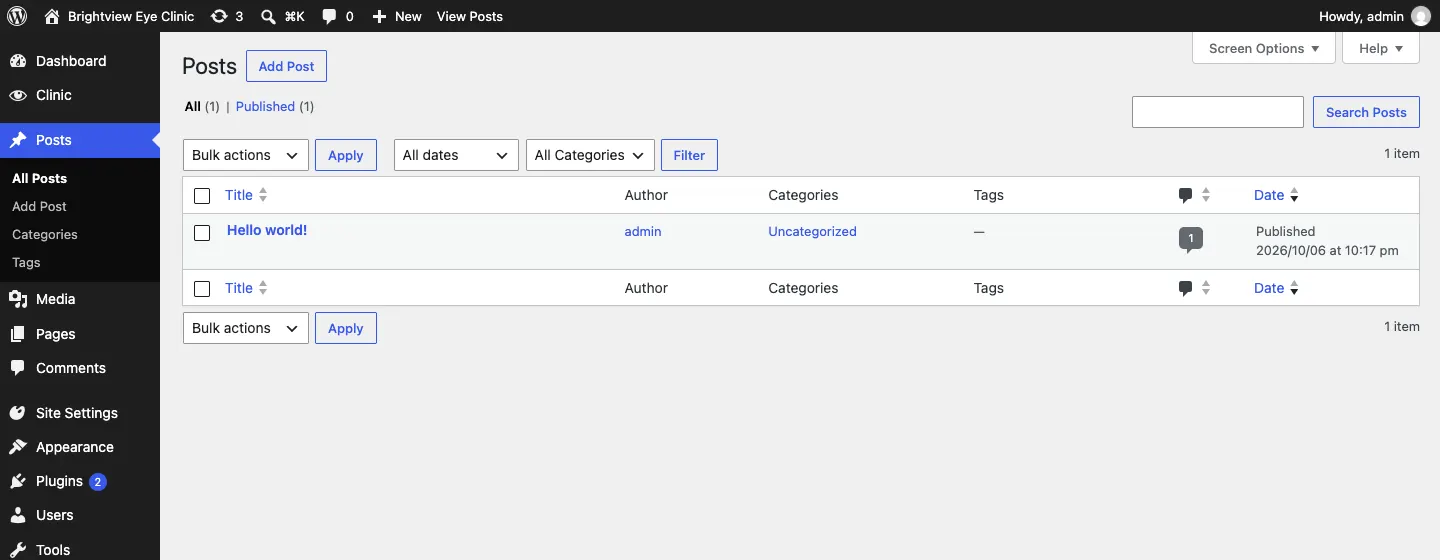
To see all your posts, go to Posts. The list shows each post's title, author, categories and date.
Pictures and the media library
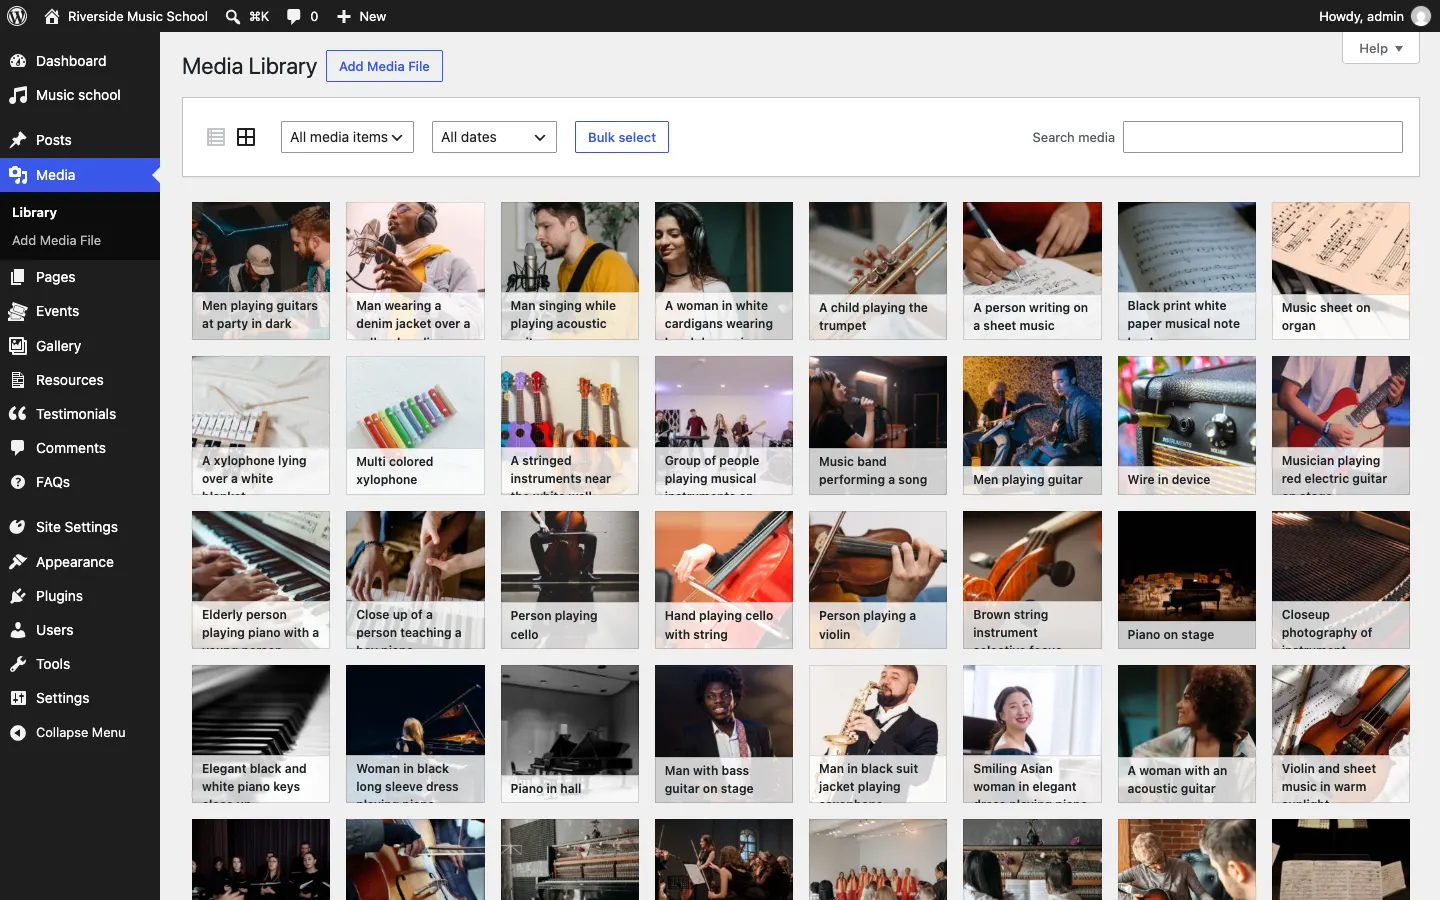
Every picture you upload is kept in the media library. You can use it on any page or post.
Go to Media → Library to see them all. If you ran the setup wizard with Sample photos, the library holds your kit's sample photos.
How to upload pictures
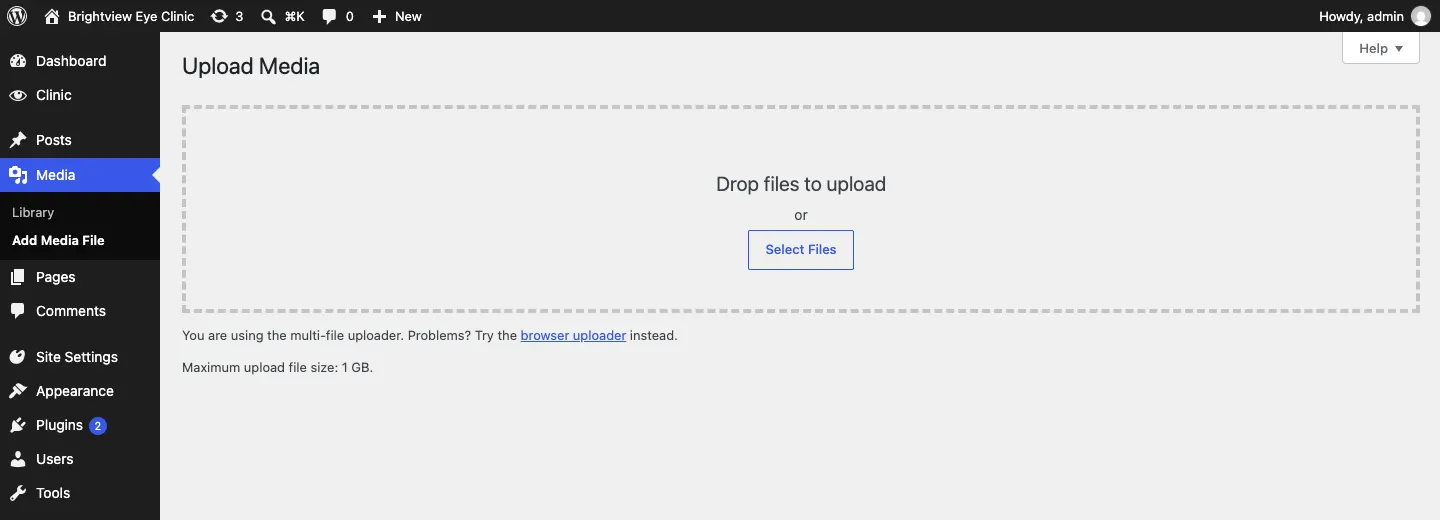
- Go to Media → Add Media File.
- Drag your pictures onto the box, or click Select Files and choose them.
You can also upload straight from a page: click a picture block, choose Replace or Upload, and pick a file from your computer.
Describe every picture
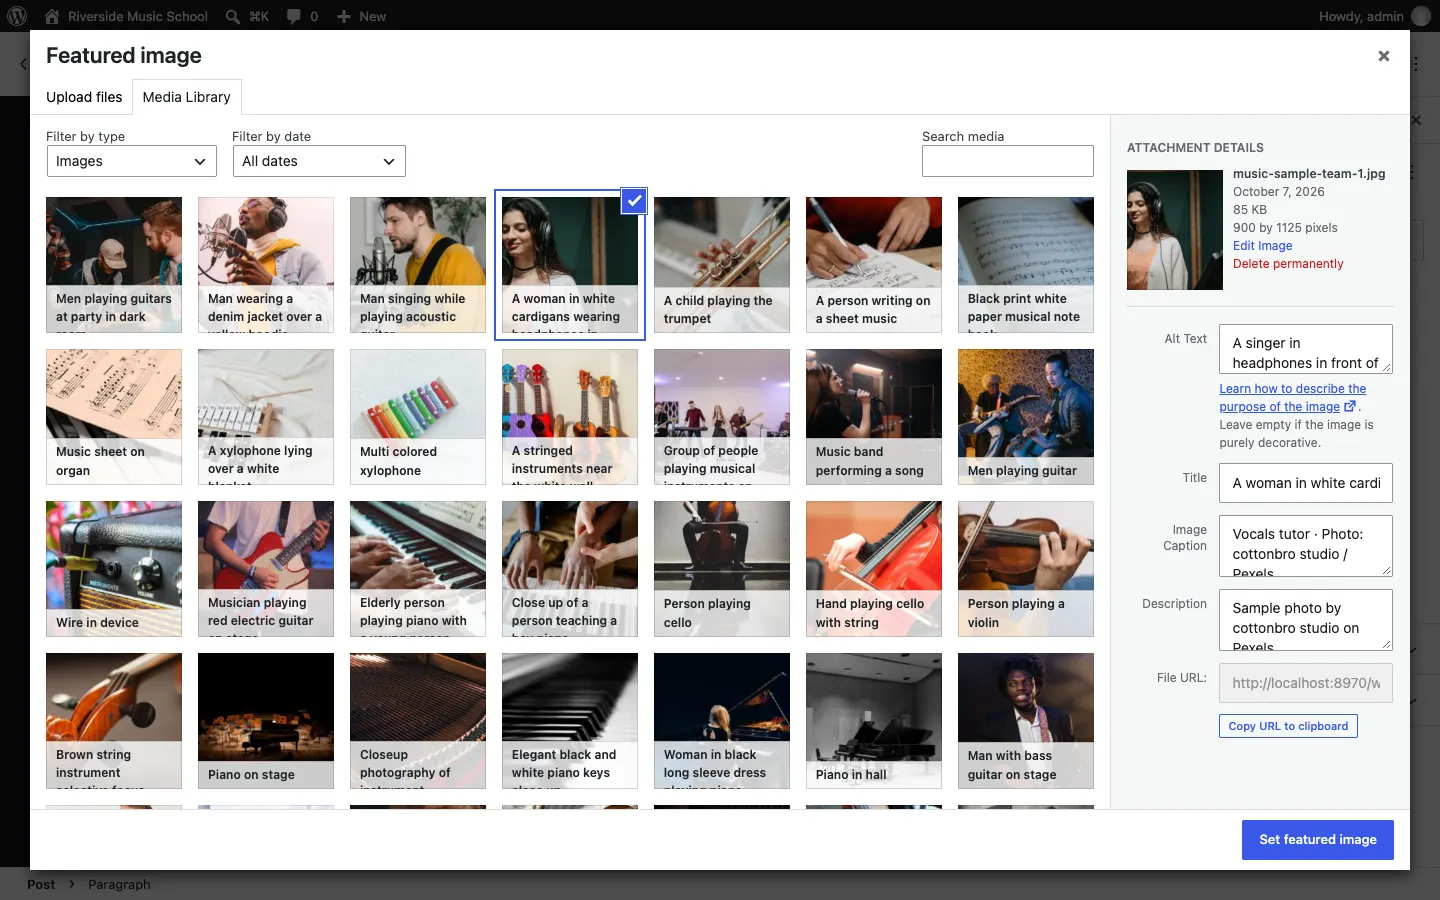
When you choose a picture, the Attachment details panel on the right has an Alt Text box. Describe what the picture shows, for example "Two of our team welcoming a visitor at the front desk". Screen readers read it to people who can't see the picture, and search engines use it too. Leave it empty only for pictures that are purely decorative.
How to replace a sample photo
The sample photos are stock photos from Pexels, free to use. Each one's Description in the media library names its photographer. The people in them are models, not your staff, so replace them with your own photos before you launch.
- Open the page with the photo.
- Click the photo. In the toolbar above it, click Replace.
- Choose Open Media Library to pick one of your own photos, or Upload to add one from your computer.
- Fill in the Alt Text.
- Click Save.
Related chapters
- Your look: your design, colours, logo, menu and footer.
- Your kit's manual: which parts of its pages fill themselves in from its settings.