Running your website
The staff sign-in page and staff access
Signing in, making the staff sign-in page your own, the Log in button, and giving each team member the right role.
On this page
Everyone who helps with the website signs in with their own account on the staff sign-in page. Each person gets a role, so the welcome team sees visitors, the media team sees sermons and only the pastor and prayer team read prayer requests.
Features marked (Pro) need a Pro or Agency licence. More about accounts and passwords is in Staff and sign-in.
How to sign in
- Go to your website's address followed by /wp-admin (for example yourchurch.org/wp-admin).
- Type your Username or Email Address and Password.
- Click Log In. You go straight to Church → Today.
Forgotten your password? Click Lost your password? under the form. After 5 wrong passwords, sign-in pauses for 15 minutes to protect the website.
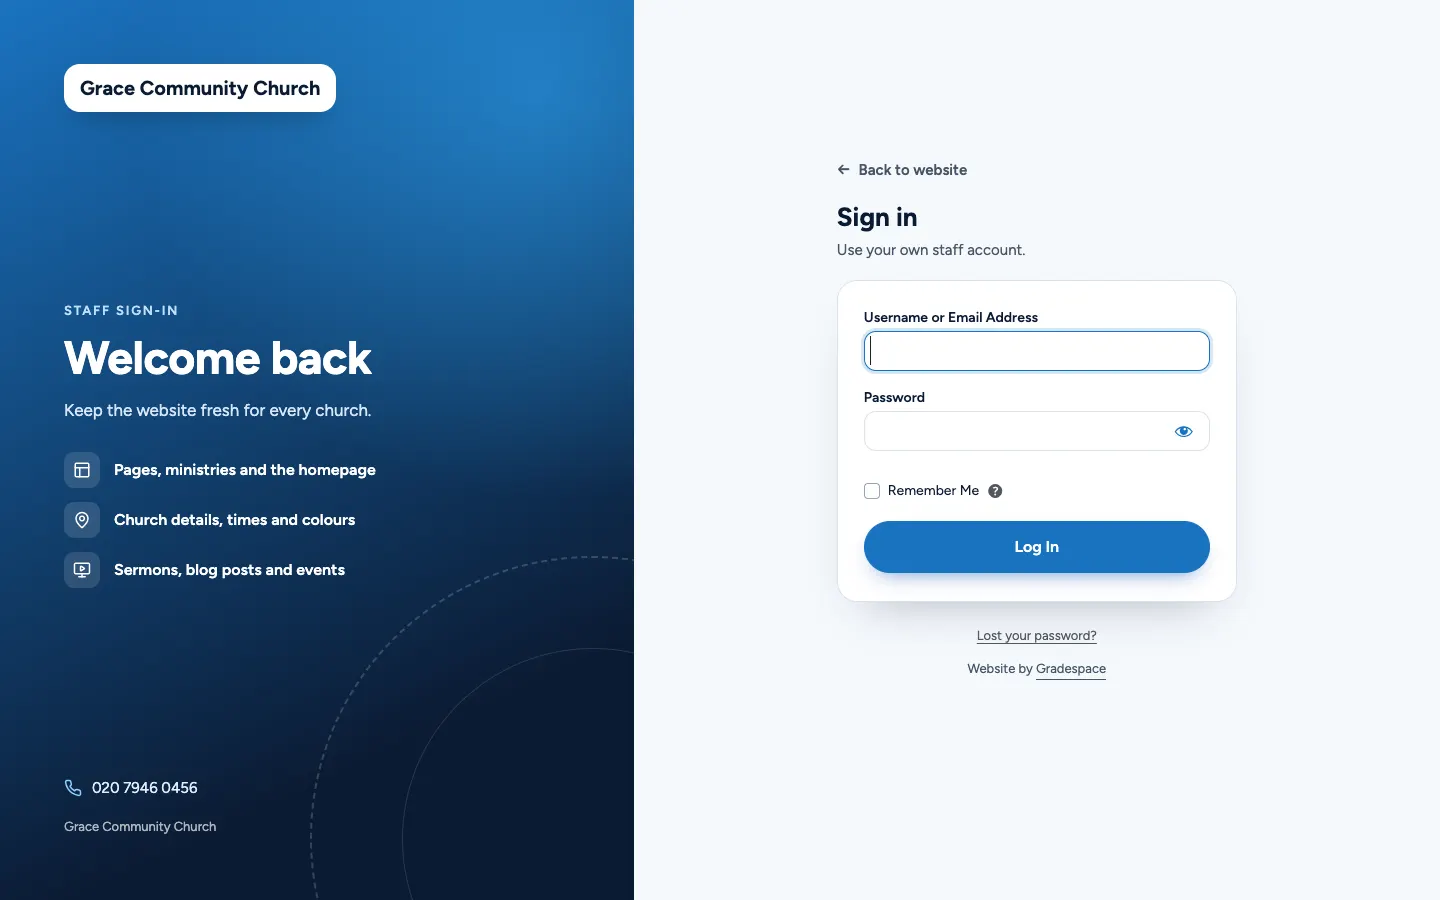
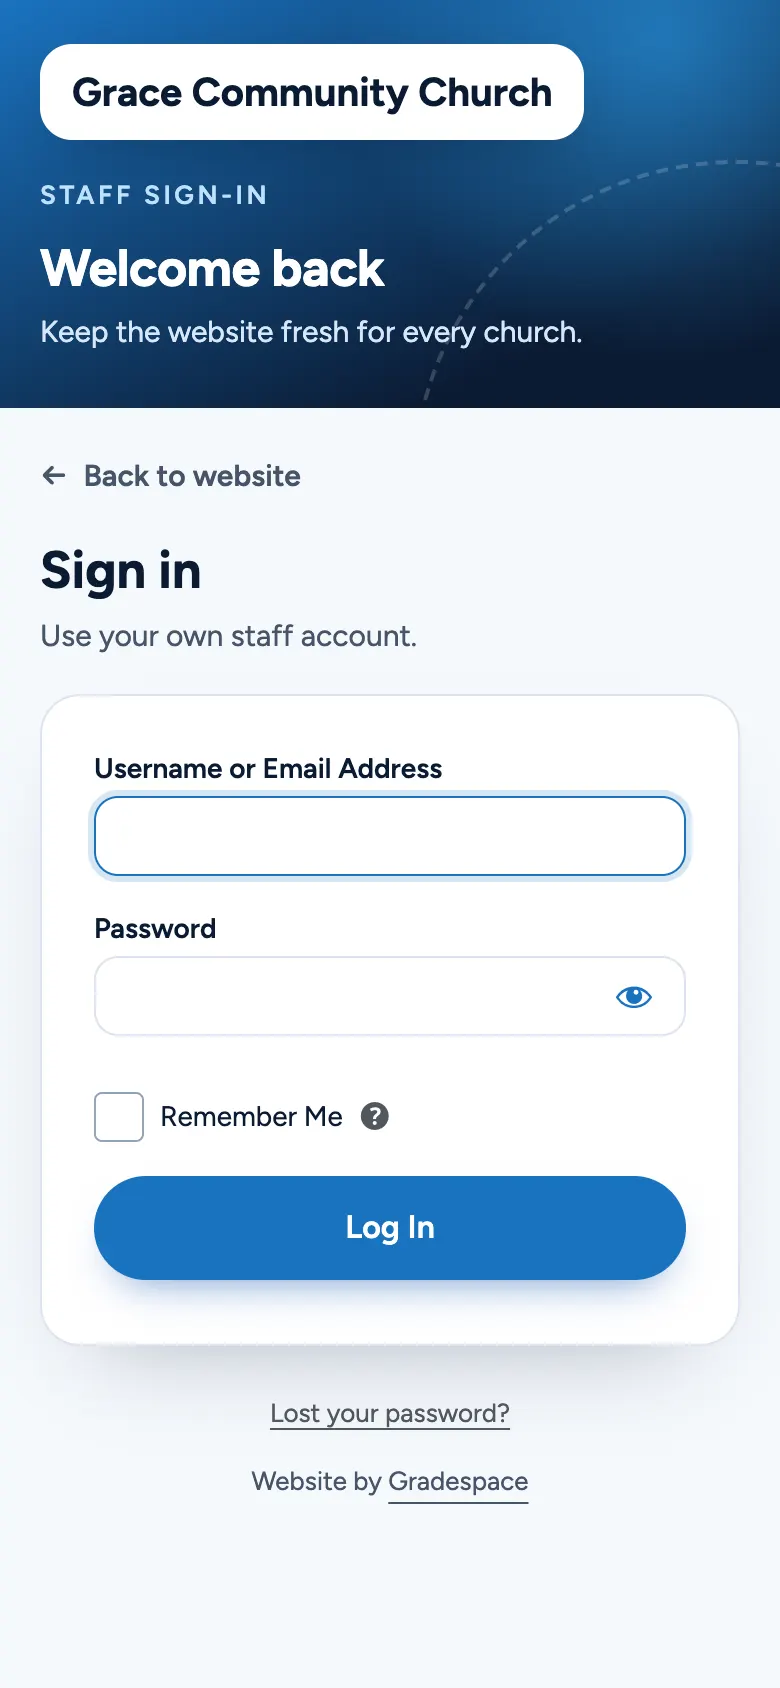
On a phone, the panel shows as a short banner above the form.
How to make the sign-in page your own
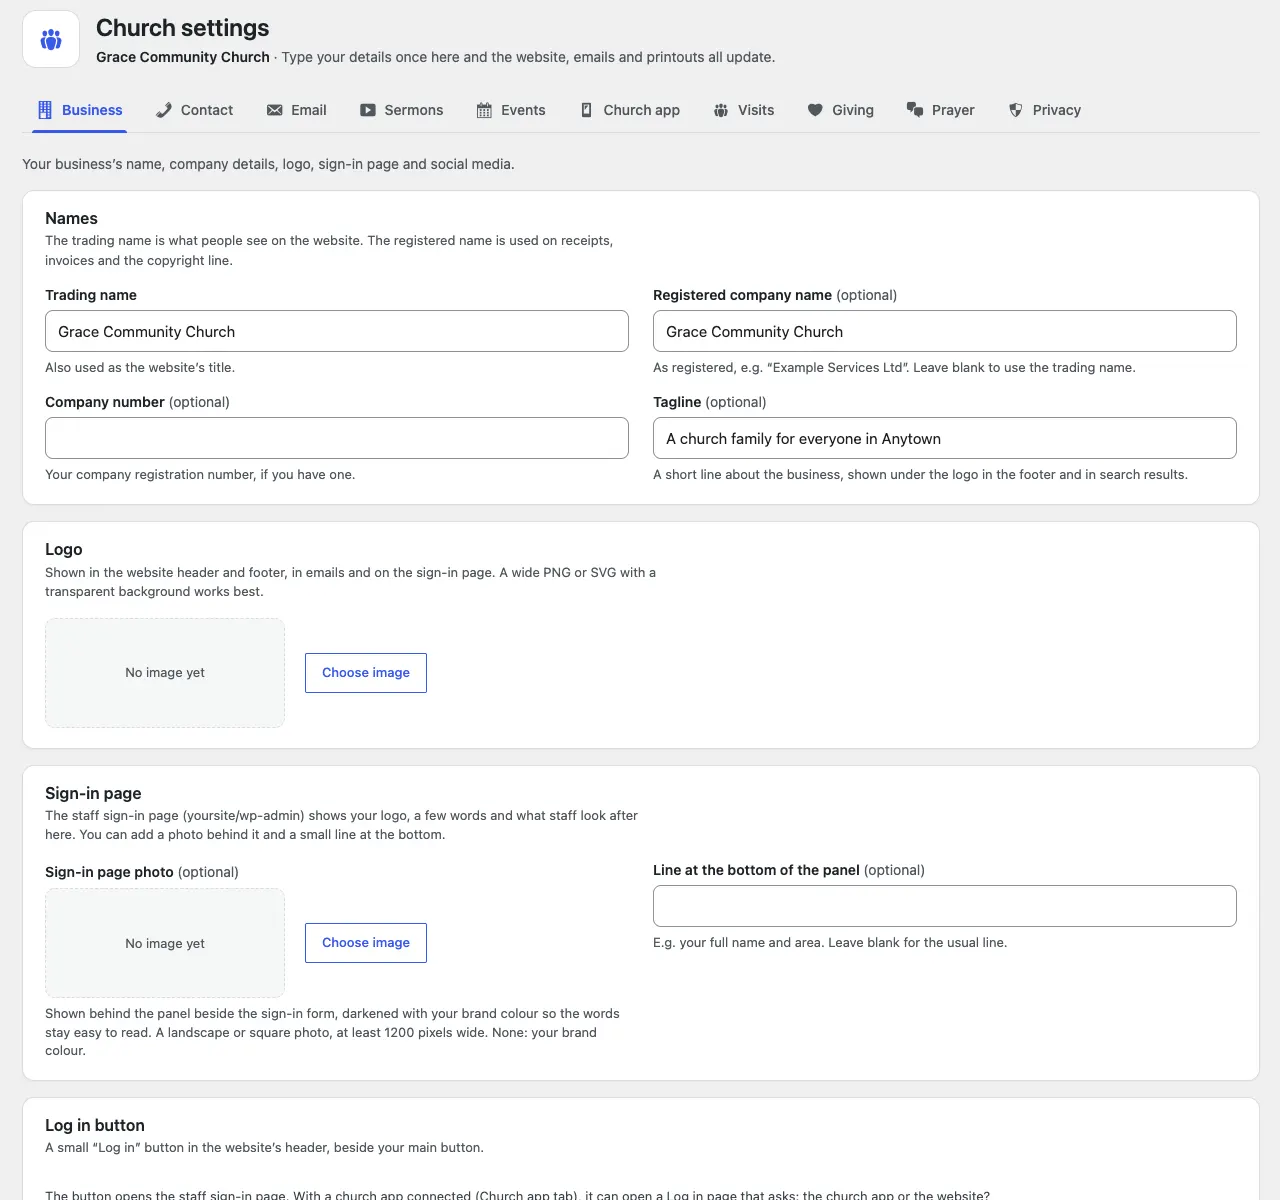
An administrator can do this under Church → Settings → Business → Sign-in page.
- Sign-in page photo (optional): click Choose image, then pick a landscape or square photo at least 1200 pixels wide from the media library (or upload one), such as your building or a service, and click Select. It's darkened with your church's colour so the words stay easy to read. Remove goes back to your colour.
- Line at the bottom of the panel (optional): for example your full name and area ("Grace Community Church · Newtown & District"). Leave it blank to show your church's name.
- Click Save changes.
Your Logo (on the same tab) also shows on the sign-in page.
With a Pro licence you can also hide the "Website by Gradespace" line under the form (Settings → Licence).
The Log in button in the header
A small Log in button can sit in the website's header beside Plan a visit (on phones, inside the menu).
- Go to Church → Settings → Business → Log in button.
- Switch Show a Log in button in the header on or off.
- Click Save changes.
Without a church app, the button opens the staff sign-in page. With a church app connected (Pro), it can open a Log in page that asks people whether they want the church app or the website, and the sign-in page can show a Church app tab. See Your church app.
Staff access
Only administrators can see Church → Staff access.
The staff roles
| Role | Can look after |
|---|---|
| Pastor or church leader | Sermons, events, stories, visits, prayer and churches |
| Media team | Sermons, events and stories |
| Welcome team | Visits and events |
| Editor | Pages, posts, sermons, events and stories |
| Administrator | Everything, including settings, staff and the licence |
All church roles can also write news posts.
How to add a staff member
- Go to Church → Staff access.
- Under Staff, choose the Role for the new staff member.
- Click Add staff member. This opens Users → Add User with the role already chosen. They get an email to set their own password.
- Fill in their username and email, and click the add button at the bottom of the form. They get an email to set their own password.
To change someone's role later, choose a new one beside their name and click Change role.
How to choose exactly what each role can do (Pro)
With a Pro licence, Access by role on the Staff access screen lets you tick exactly what each role can see and do. Some things go together (for example, changing something needs seeing it), so those are ticked for you. Click Save staff access. It applies straight away.
If you allow another role to read prayer requests, the website asks you to confirm, because that role will see every request with names and contact details.