Running your website
Projects: before and after
How to add your finished jobs to the Our work gallery with before and after photos, the service and the area, so they show on the Our work page, the home page and that area's page.
On this page
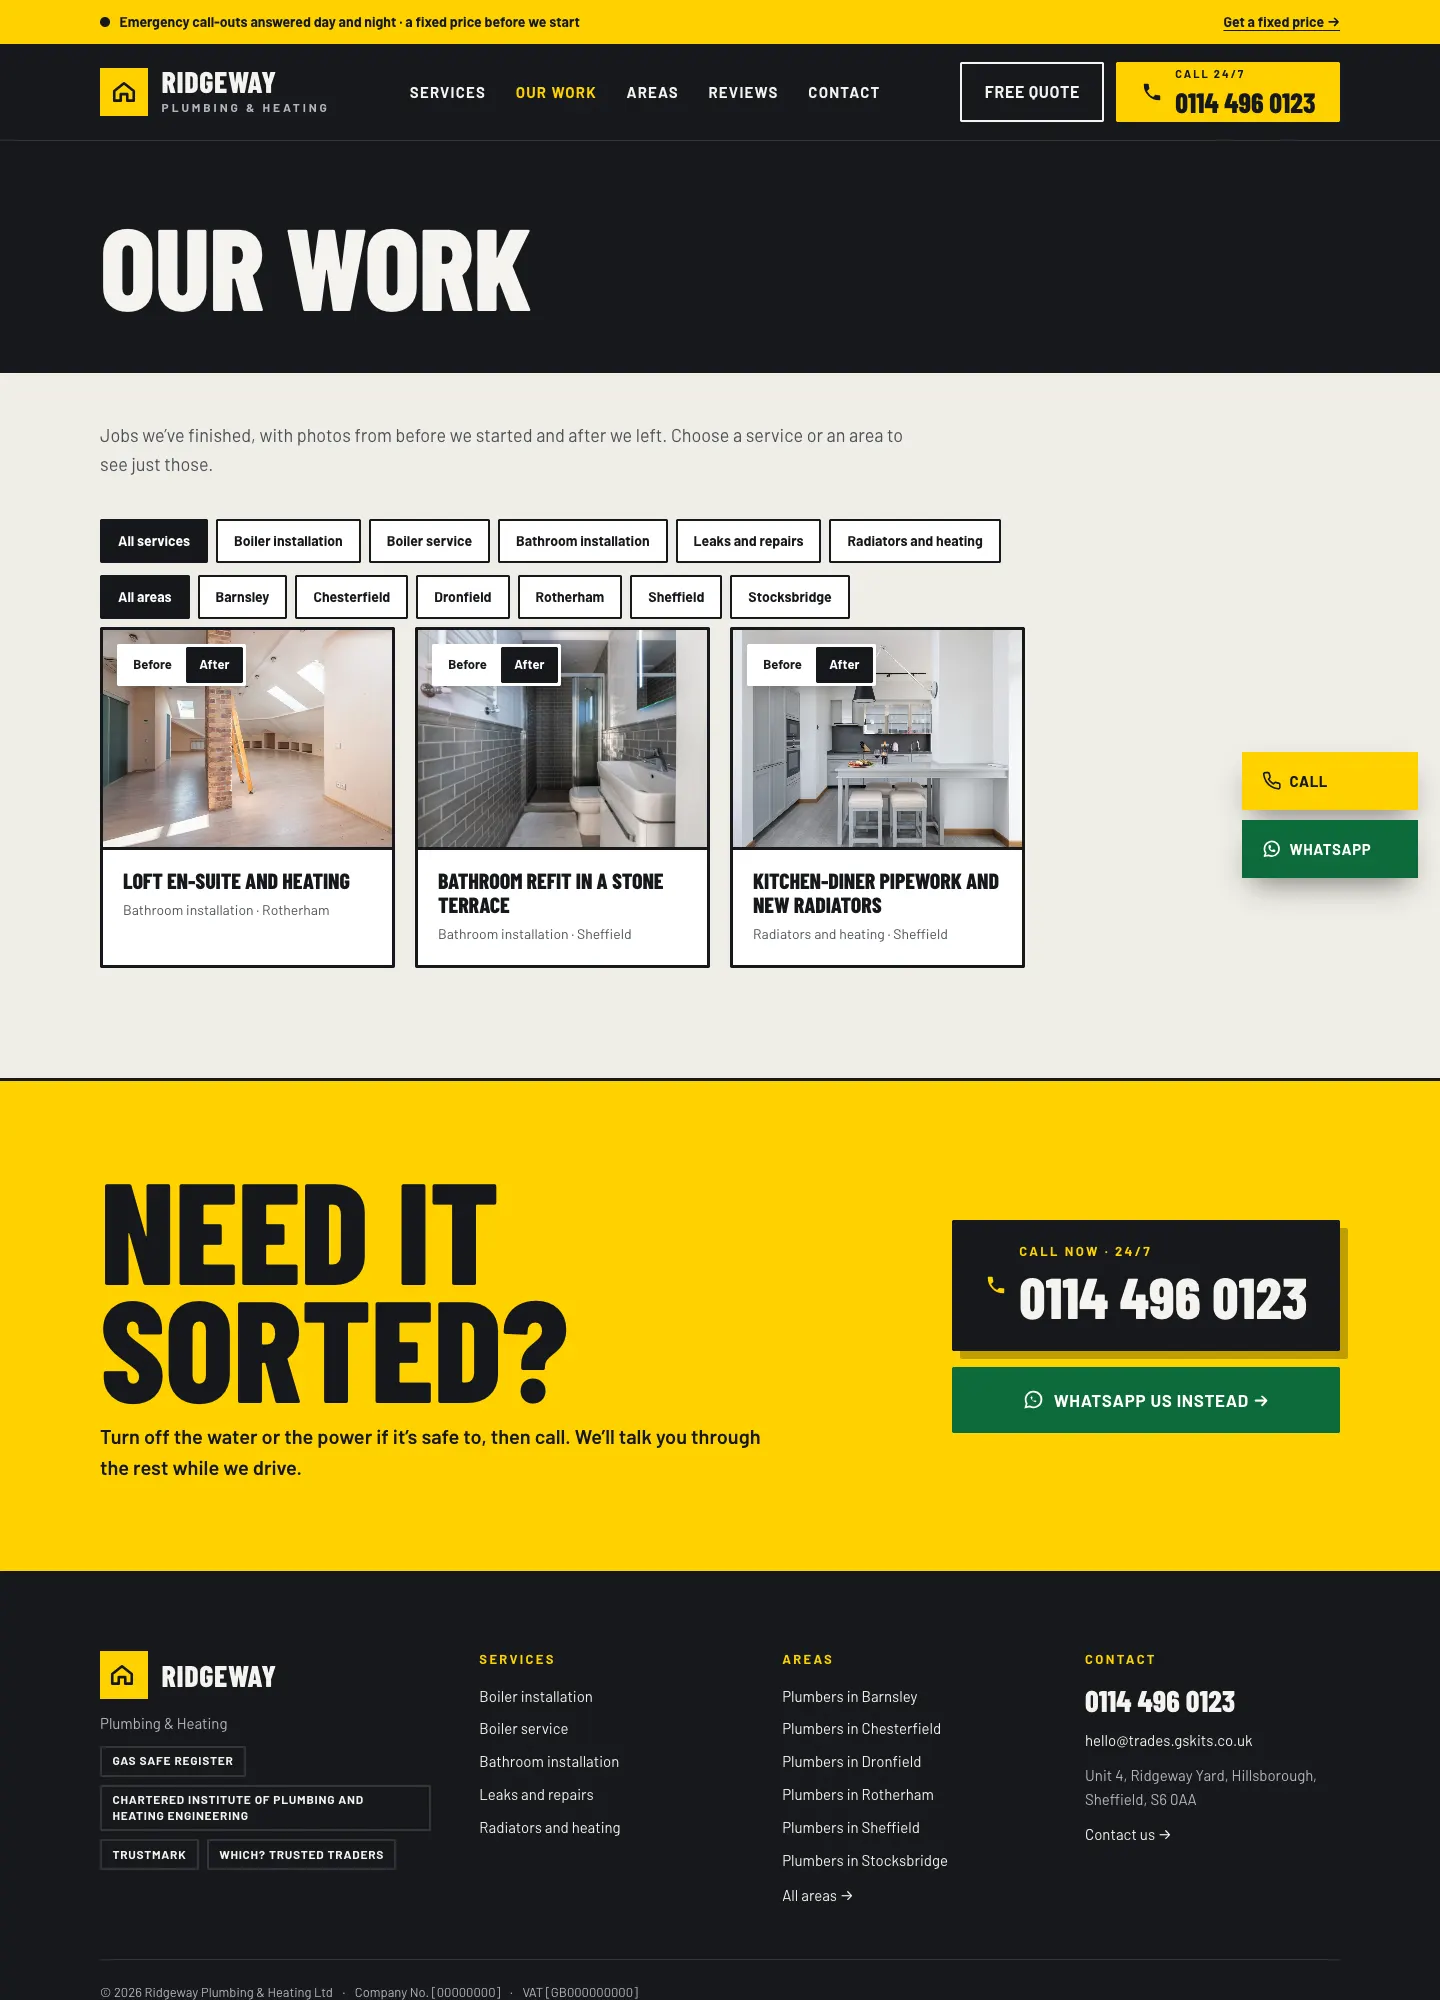
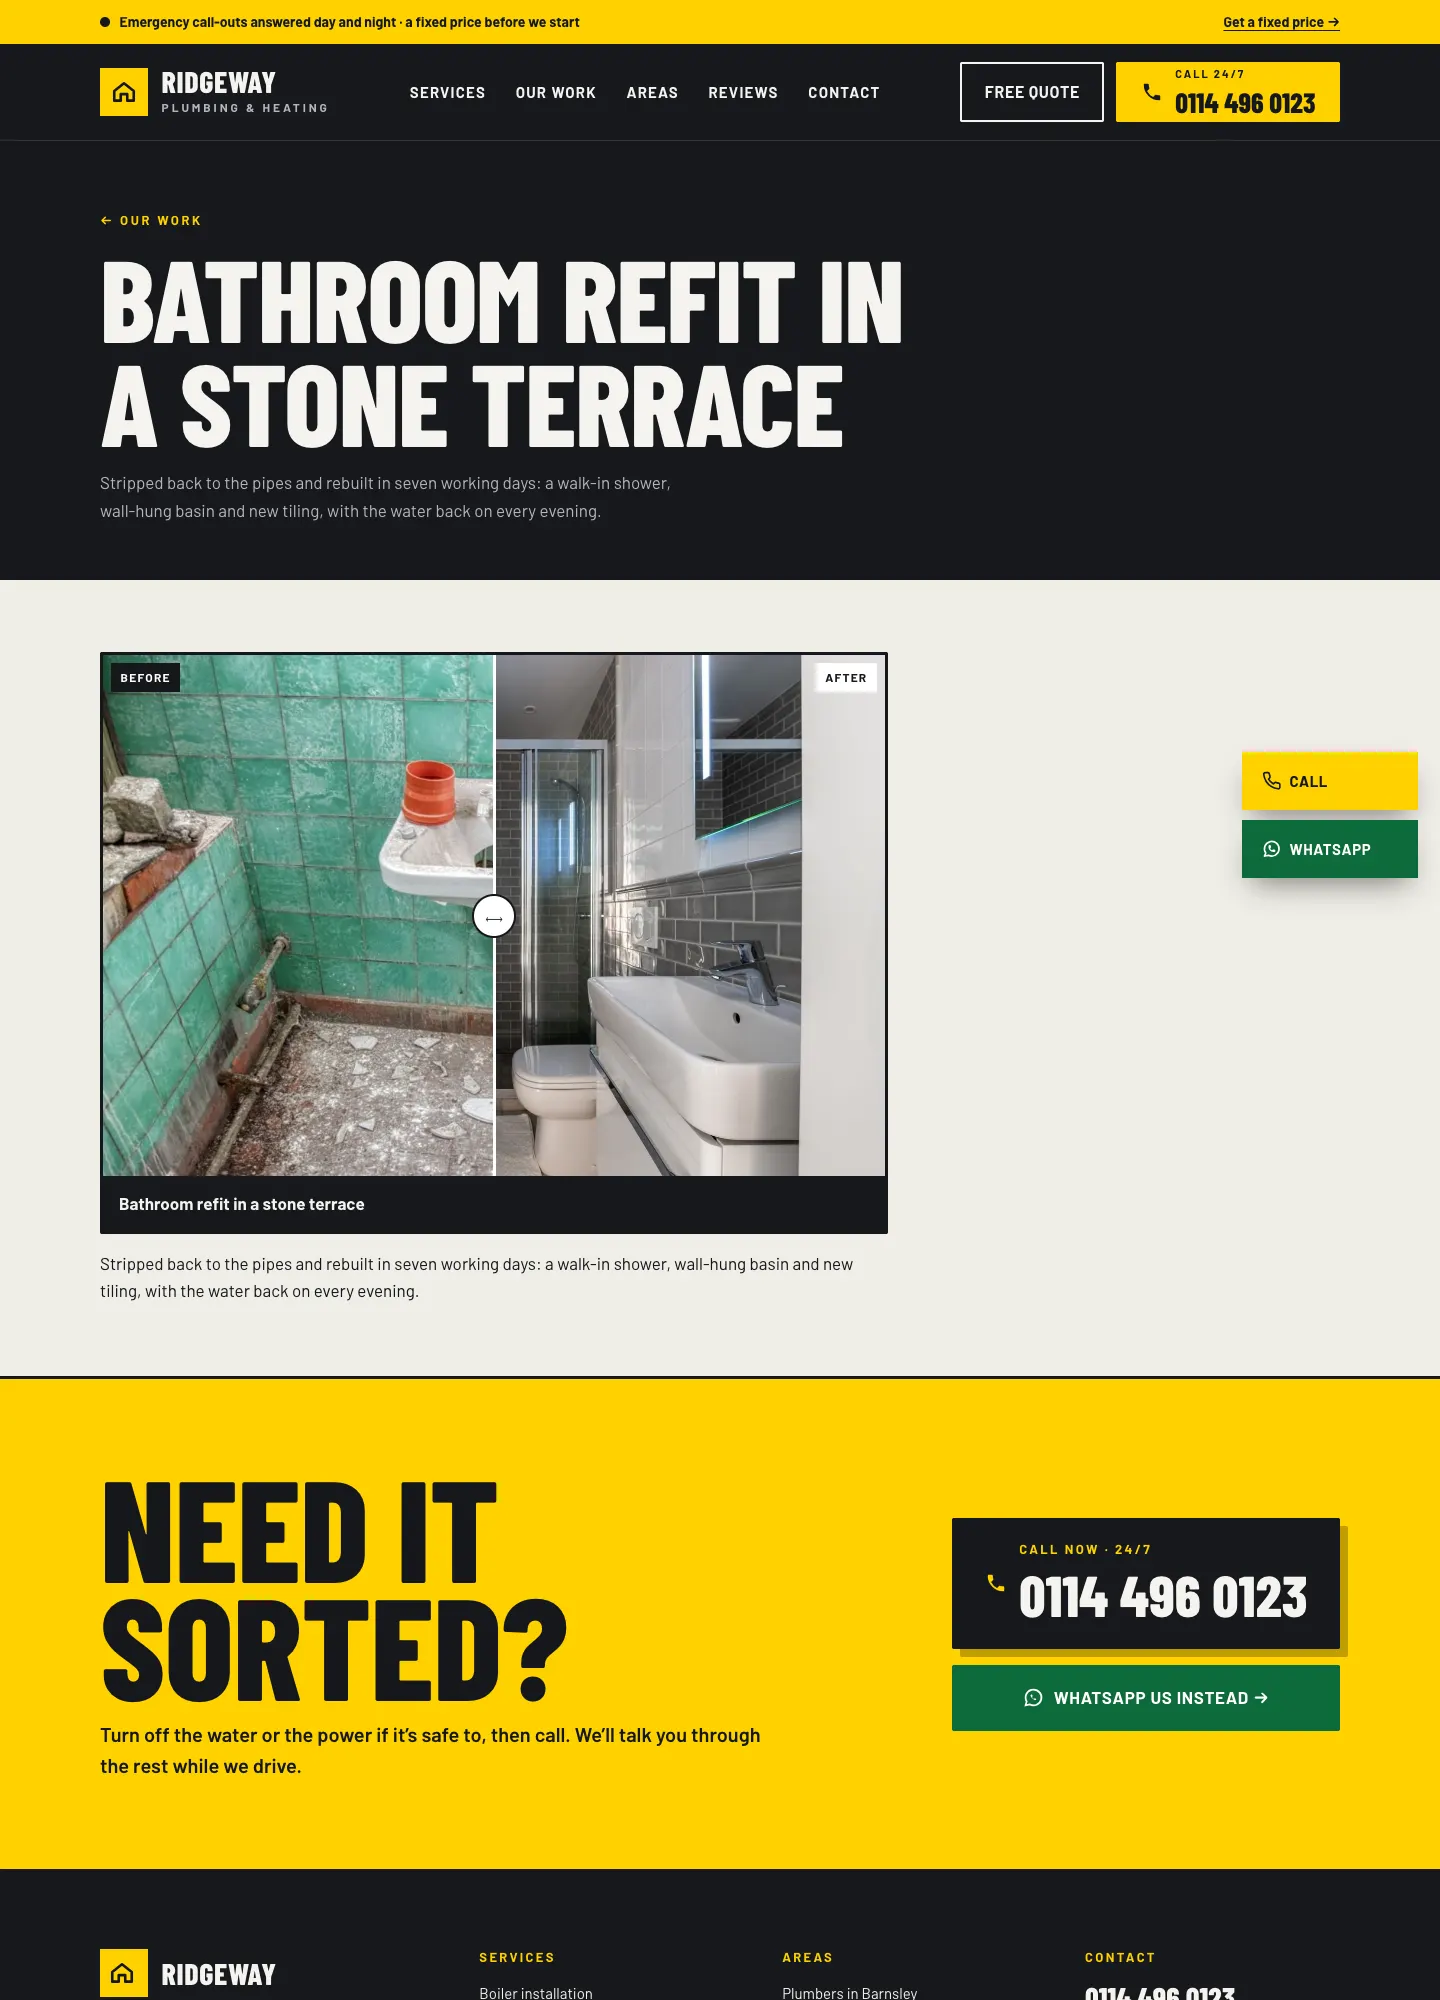
Projects are your finished jobs, shown in the Our work gallery. Each one has a before and an after photo (with a slider customers drag across), a short story of the job, the service and the area. Choosing the area means the project also shows on that town's page, which is one of the best ways to show a local customer you've done work just like theirs nearby.
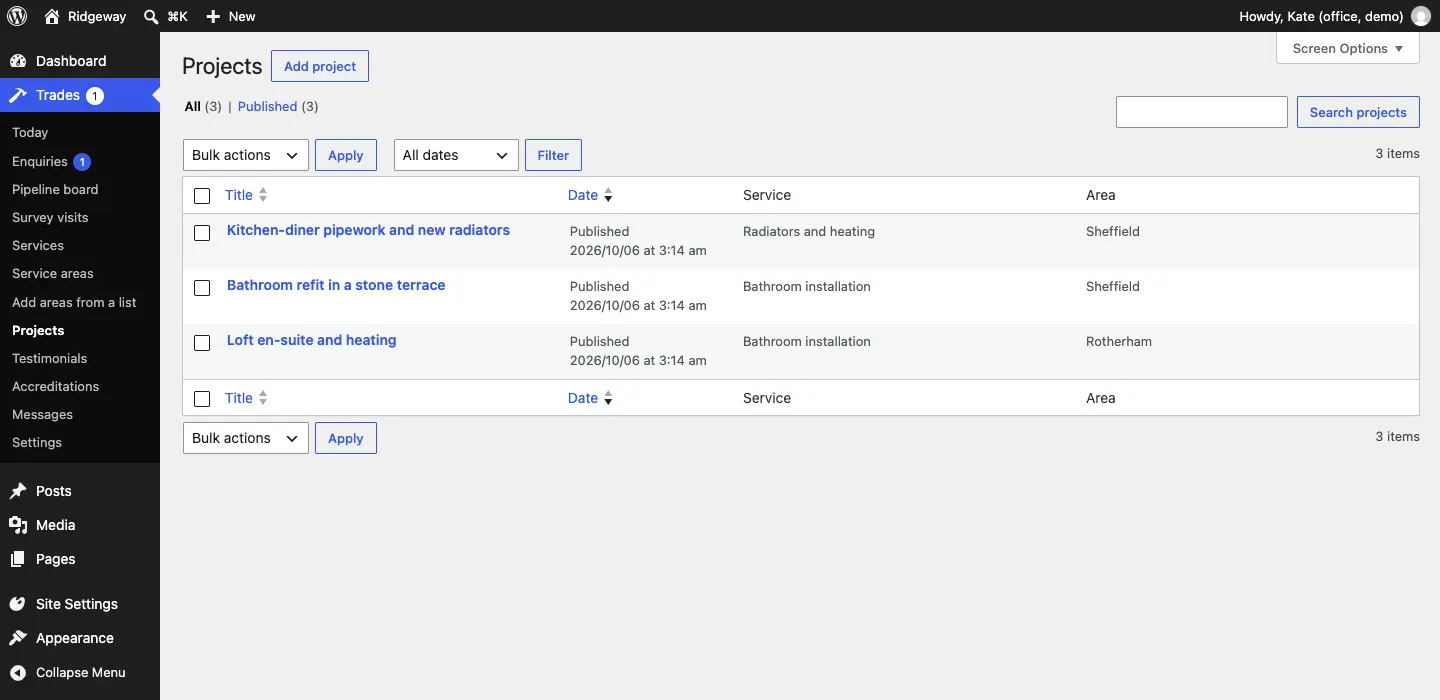
How to see your projects
Go to Trades → Projects. The list shows each project with its Service and Area.
How to add a project
- Go to Trades → Projects and click Add project.
- Type a title that says what you did, for example "Bathroom refit in a stone terrace".
- Below it, tell the story: what the customer wanted, what you found and what you did. You can add a Gallery block for more photos.
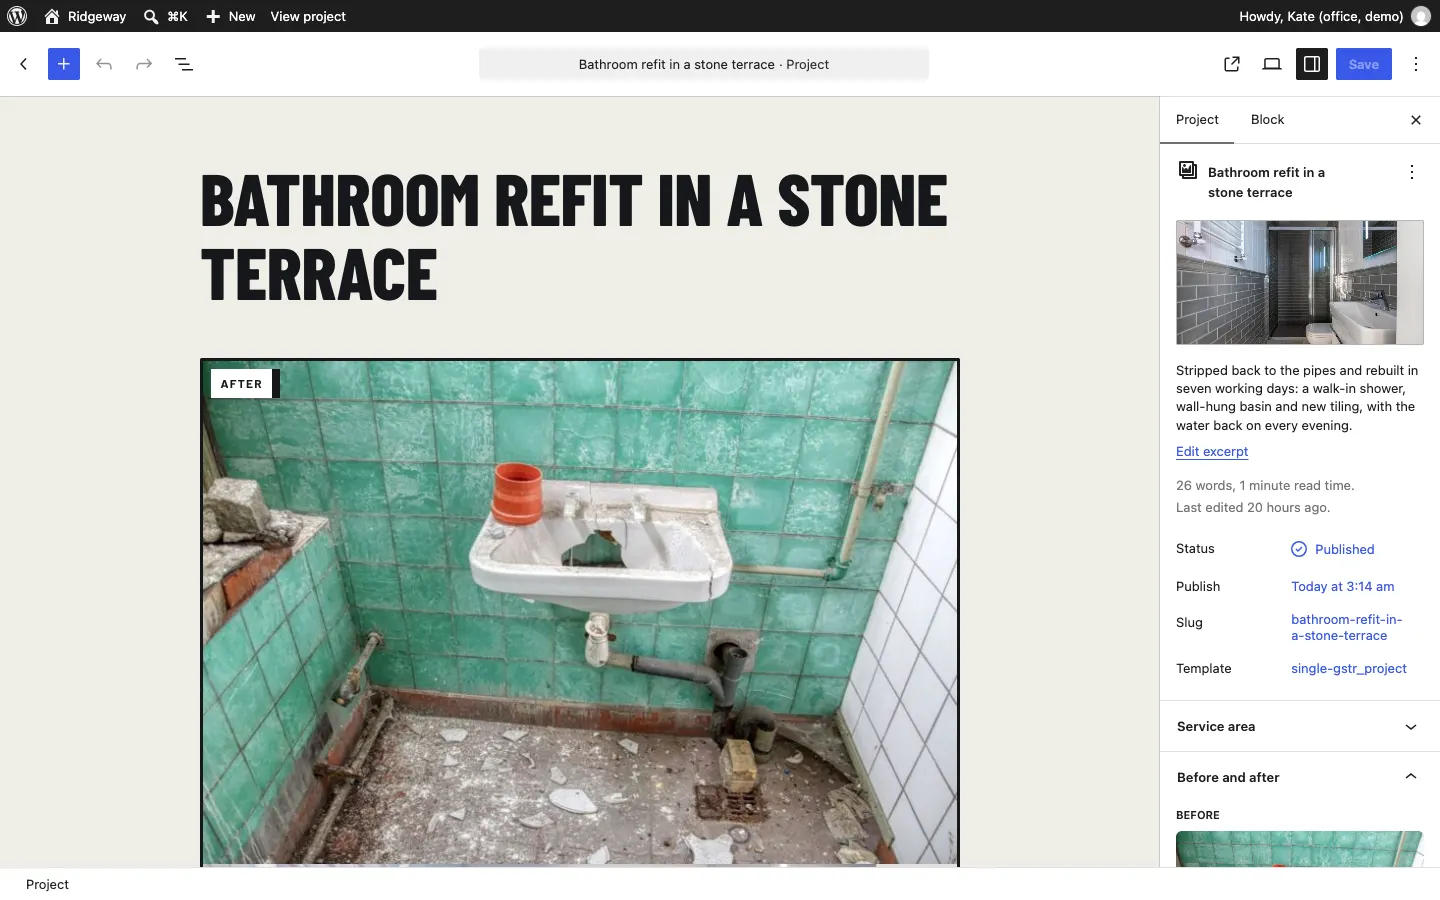
- In the sidebar, under the Project tab:
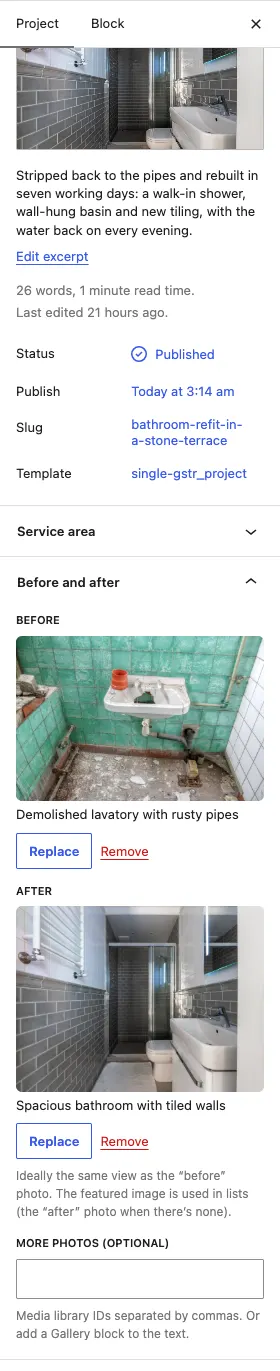
- Add a featured image (the photo used in lists; the "after" photo is used when there's none) and a one-line excerpt.
- Open Service area and choose the town where the job was under This page belongs to this service area.
- Open Before and after and choose a Before photo and an After photo. Ideally they show the same view. More photos (optional) takes photos from the media library; it's easier to add a Gallery block to the story instead.
- Open About the job and choose the Service, type Where (as shown) (the town or district, for example "Hillsborough") and the date it was Finished.
- Click Publish.
Where projects show on the website
- The Our work page shows every project, with buttons to show one service at a time.
- Each project has its own page with the before and after slider.
- The home page shows your latest projects.
- Each area page shows the projects in that area under Our work.