Setting up · shared chapter
The setup wizard
How the setup wizard works in every kit: each step, the starter pages and menu, sample photos, legal pages, and how to run it again.
On this page
The setup wizard gets a new website ready in about five minutes. It asks a few questions about your business, then adds starter pages, a menu, a design and, if you like, sample photos, so the website looks finished on day one. Everything it asks is also on your kit's Settings screen, so you can change any answer later.
This chapter explains the parts every kit shares. Your kit adds its own steps in the middle (for example opening hours and services for a clinic, or churches and service times for a church). Those are explained step by step on your kit's own setup wizard page:
Only administrators can run the wizard.
How to open the wizard
The wizard opens by itself when you install your kit. If you closed it:
- click Continue setup in the blue "Finish setting up your website" notice on the Dashboard, Plugins or Themes screen; or
- go to Trades → Settings and click Run setup again at the top right.

How the wizard works
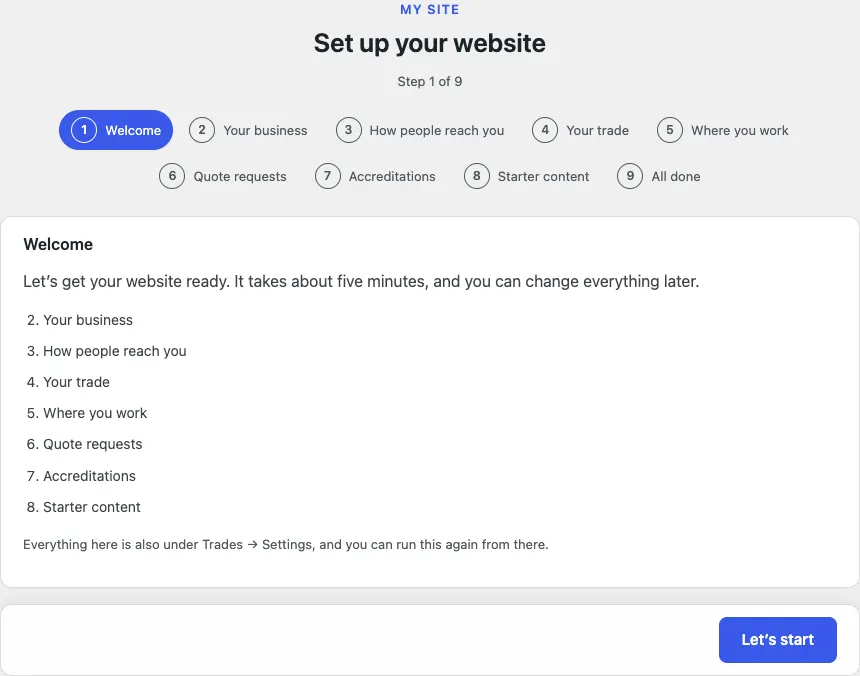
The steps are listed across the top, numbered. A green tick shows a step you've finished, and you can click a finished step to go back to it. At the bottom of every step there are three buttons:
- Back: the step before.
- Skip for now: move on without saving this step. You can fill it in later in Settings.
- Save and continue: save your answers and go to the next step.
Step 1: Welcome
The first step lists what the wizard will ask, numbered the same way as the steps in the bar at the top. Click Let's start.
Step 2: Your business
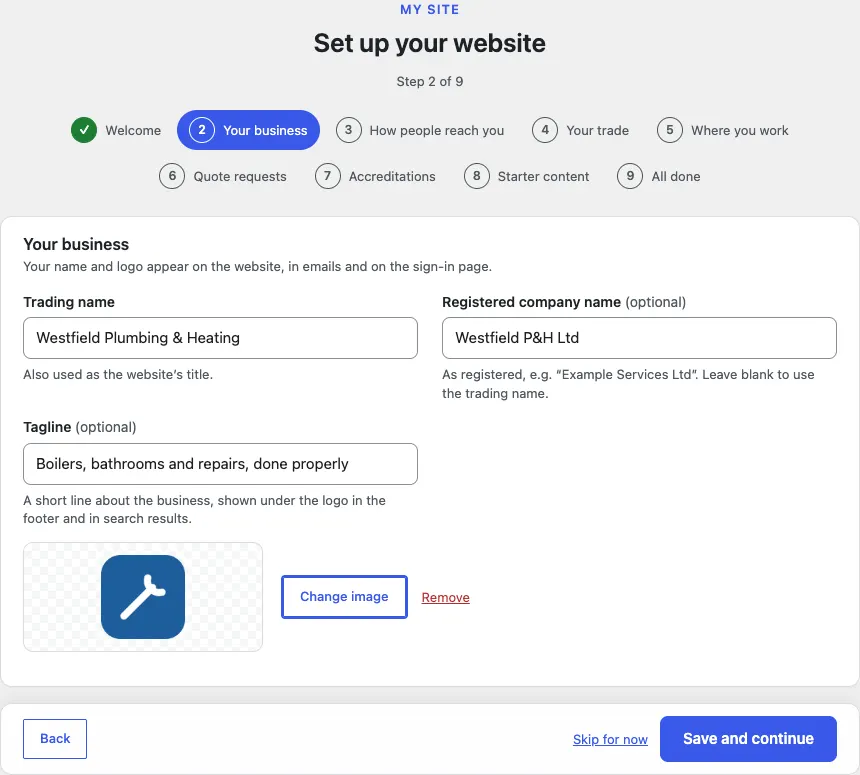
Your name and logo appear on the website, in emails and on the staff sign-in page.
- Trading name: the name customers know you by. It's also used as the website's title.
- Registered company name (optional): as registered, for example "Example Services Ltd". It's used in your legal pages and the copyright line. Leave it blank to use the trading name.
- Tagline (optional): a short line about the business, shown under the logo in the footer and in search results.
- Logo: see below. A square or wide PNG with a transparent background works best.
Some kits ask for more here, for example a registered charity number. Your kit's setup wizard page lists them.
How to add your logo
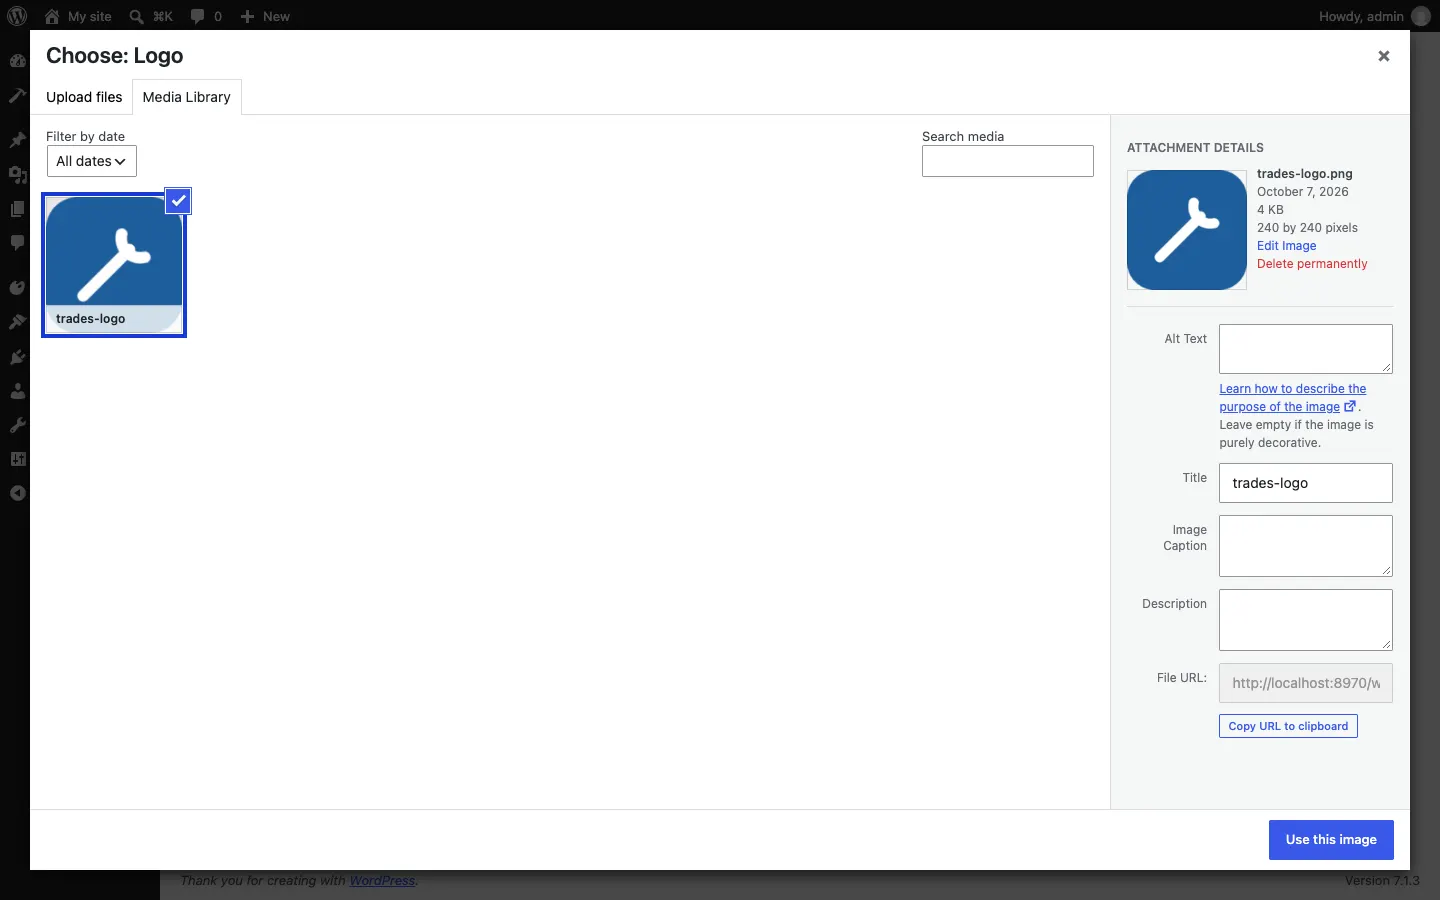
- Under the boxes, click Choose image. The media library opens.
- Click Upload files and choose your logo from your computer, or click Media Library and pick one you've already uploaded.
- Click Use this image.
The logo now shows in the box, with Change image and Remove next to it. Click Save and continue.
You can also add or change the logo later: see Your look.
Step 3: How people reach you
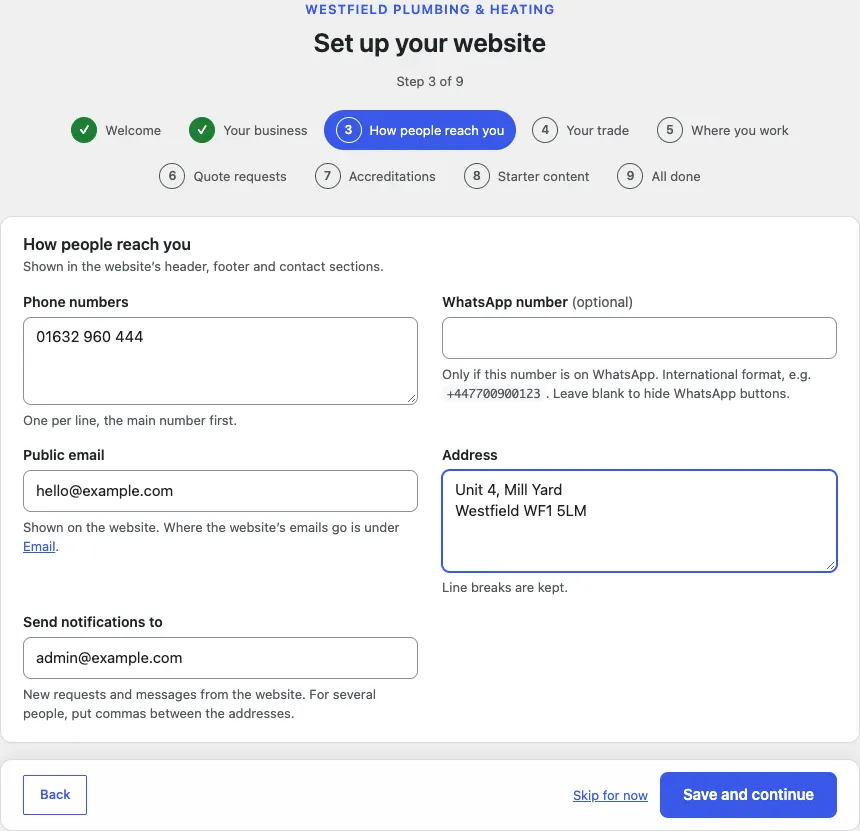
These details appear in the website's header, footer and contact sections, so type them carefully.
- Phone numbers: one per line, the main number first.
- WhatsApp number (optional): only if this number is on WhatsApp, in international format, for example +447700900123. Leave it blank to hide the WhatsApp buttons.
- Public email: shown on the website. (Where the website's own emails go is set separately under Settings → Email.)
- Address: line breaks are kept.
- Send notifications to: who gets an email when something happens on the website, for example a new booking request. Put commas between several addresses.
Your kit's own steps
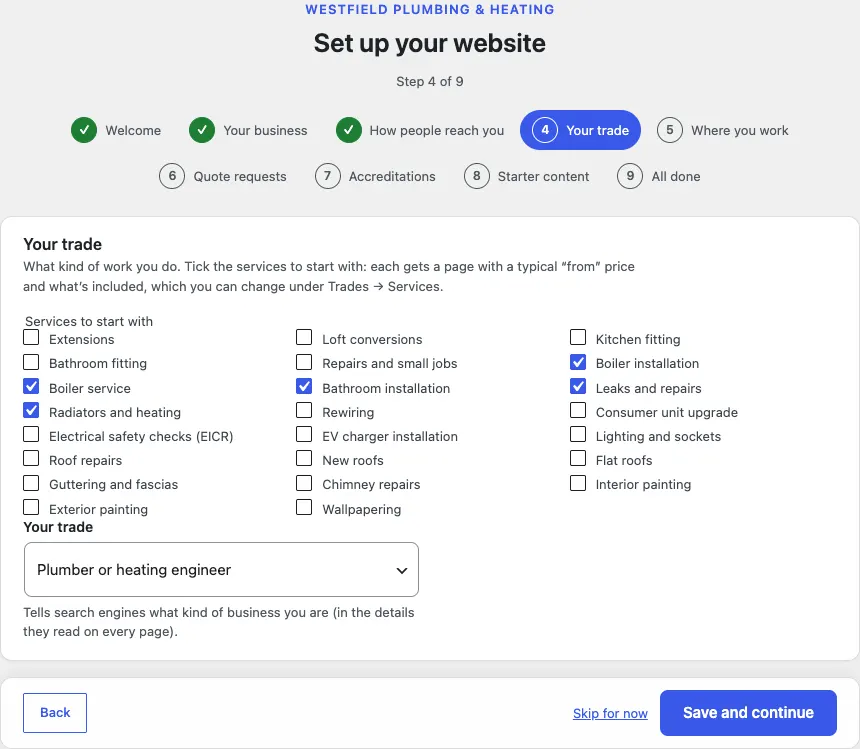
Next come your kit's own questions, for example opening hours, services, your team or the places you work. Each kit has different ones, so they're explained on your kit's own setup wizard page (links at the top of this chapter). This is the first of them:
The Starter content step
This step adds ready-made pages and examples for you to edit, instead of starting from blank pages. Each item has a switch with a short explanation. Switch on the items you want and switch off anything you don't.
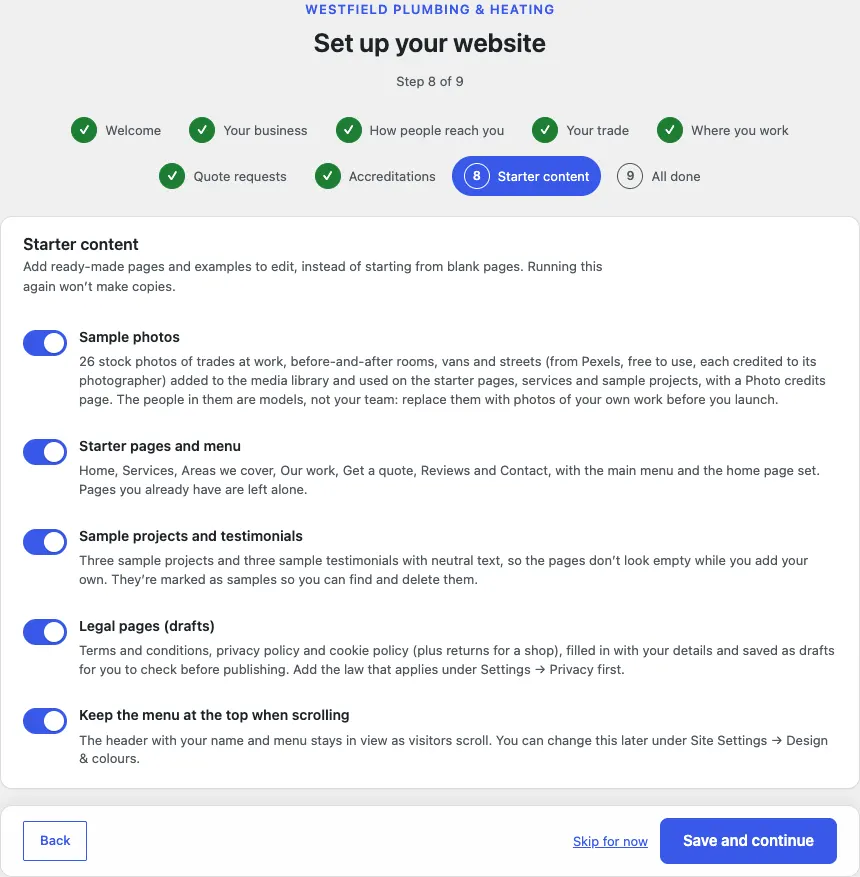
The items depend on your kit, but usually include:
- The design: your kit's recommended design to start with. You can switch to any other design and colour palette later in Site Settings → Design & colours. See Your look.
- Starter pages and menu: the pages your kit needs (such as Home, About us and Contact, and your kit's own pages), with the main menu and the home page set. Pages you already have are left alone.
- Sample photos: stock photos from Pexels, free to use, added to your media library and shown on the starter pages, so the website looks finished while you take your own. Without them, the pages show a simple pattern instead.
- Legal pages (drafts): terms and conditions, a privacy policy and a cookie policy, filled in with your details and saved as drafts. They're not visible to visitors until you check and publish them. See Privacy, cookies and emails.
- Keep the menu at the top when scrolling: in kits whose header doesn't already stay at the top, this switches the "sticky" menu on. You can change it later in Site Settings → Design & colours. (Clinic, Church and Music don't show this switch: their header already stays at the top.)
- Your kit's own sample content, if it has any (for example sample services, events or products).
Your kit's setup wizard page lists exactly what each of its items adds.
While the starter content is added
Click Save and continue. A box appears under the switches, "Adding your starter content… Please keep this page open.", with a line for each item as it's added: working…, then done. The sample photos are added a few at a time, so their line counts up, for example "Sample photos: 17 of 47".
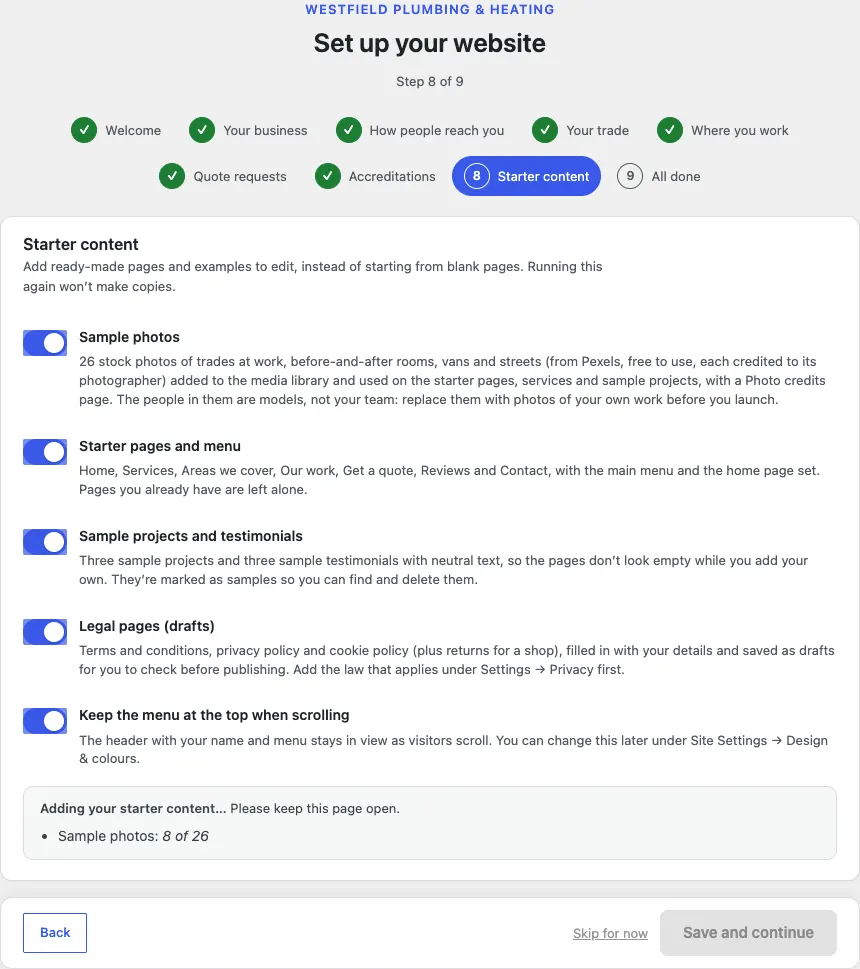
Keep the page open until it has finished. This takes a minute or two, mostly for the photos. When everything is done, the All done step opens by itself.
If the box turns red and says "This didn't finish (the server may have stopped it). What's already added stays.", click Save and continue again. The wizard carries on where it stopped and never adds anything twice.
All done
The last step lists what this run of the wizard did, for example "Added 8 pages.", "Added 47 sample photos to the media library." and "Drafted your legal pages (Terms and conditions, Privacy policy, Cookie policy). Read them, change anything that doesn't fit, then publish them." Things added by an earlier run aren't listed again.
If you ran the wizard before, it says when it left something alone, for example "Your pages were already there, so nothing was added."
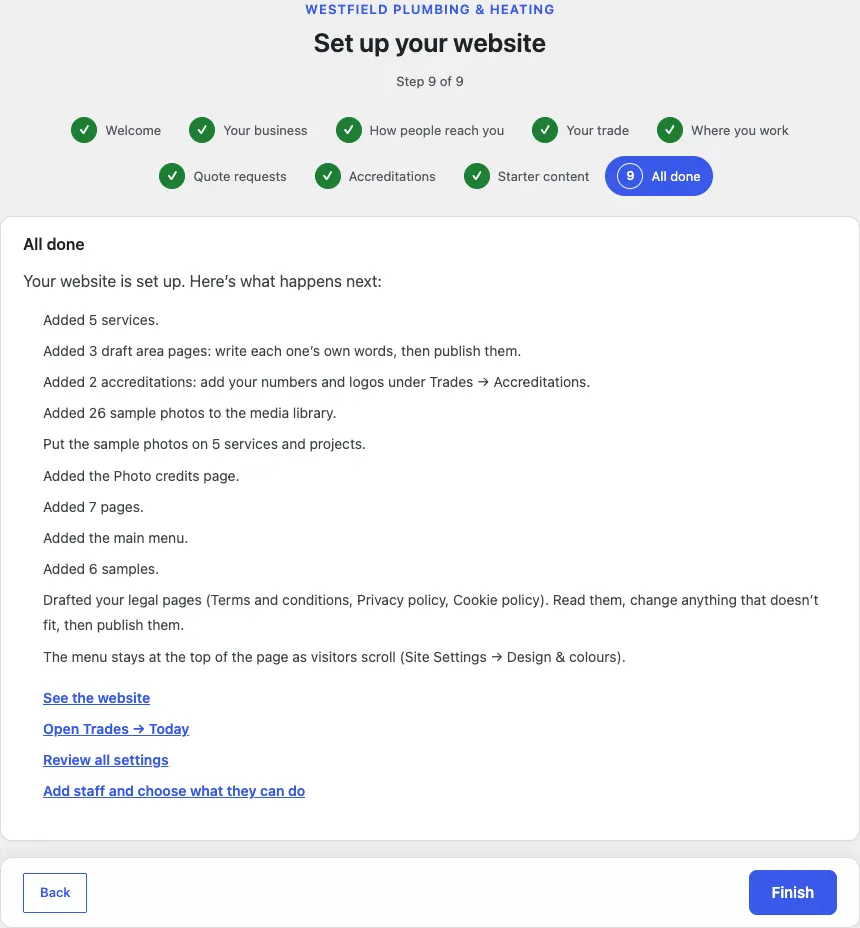
From here you can go straight to:
- See the website: your new home page.
- Open Trades → Today: the screen your team uses every day.
- Review all settings: your kit's Settings screen.
- Add staff and choose what they can do: see Staff accounts and signing in.
Click Finish to close the wizard.
What to do next
- Add your licence key, if you haven't yet: Installing your kit.
- Choose your design, colours and logo: Your look.
- Read and publish your legal pages: Privacy, cookies and emails.
- Replace the sample words and photos with your own: Pages, posts and pictures.
- Send a test email: Privacy, cookies and emails.