Setting up
The setup wizard
The step-by-step screen that gets a new trades website ready: your trade and services, the areas you cover, quote requests, accreditations, and the starter pages, sample projects, testimonials and photos.
On this page
The setup wizard is a short series of screens that asks for what your trades website needs before it can bring in work: your business name, how people reach you, what you do, where you work, how quote requests come in and which schemes you belong to. At the end it can add a full set of ready-made pages, a main menu, sample photos and a few sample projects and testimonials, so you start from a finished-looking website instead of blank pages.
It takes about five minutes. Everything you type can be changed later, and nothing you skip is lost.
This page covers the Trades kit's wizard step by step. For the wizard in general (how the steps, Back and Skip for now work), see The setup wizard in the shared chapters.
When the wizard opens
The wizard opens by itself the first time you sign in to WordPress after you switch on the Trades kit plugin (a plugin is an add-on for WordPress) and the Trades theme. See Installing.
Until you finish it, a reminder appears at the top of the Dashboard, the Plugins and Themes screens and the Trades screen. Click Continue setup to go back to where you left off.

How to run the setup wizard again
- Go to Trades → Settings.
- Click Run setup again at the top right.

Running it again is safe. It never adds a service, area or accreditation twice, the starter content step never makes copies, and pages you have edited are left alone.
The steps
The bar at the top shows all nine steps. A green tick means the step is saved. You can click any step's name to jump to it.
Step 1: Welcome
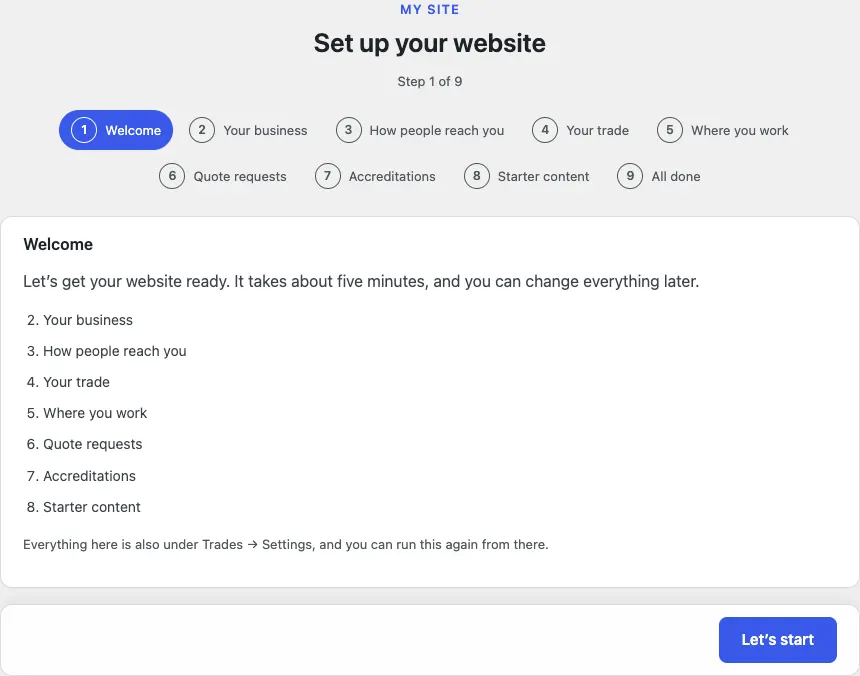
The first screen lists the steps ahead and reminds you that everything is also under Trades → Settings.
- Read the list. It is numbered the same way as the steps in the bar at the top.
- Click Let's start.
Step 2: Your business
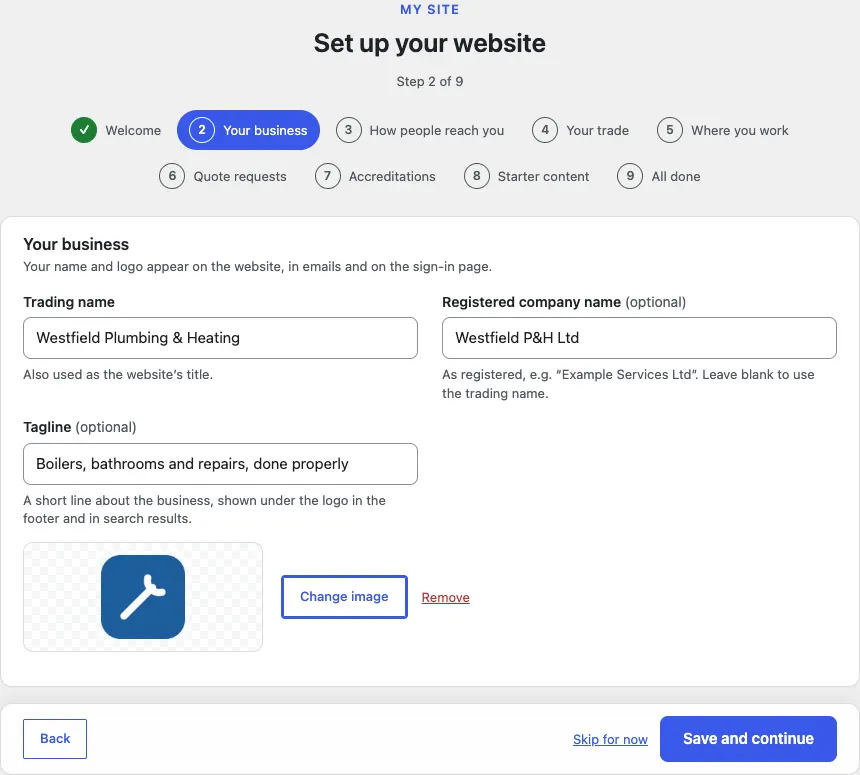
Your name and logo appear on the website, in emails and on the staff sign-in page.
-
In Trading name, type the name customers know you by, for example "Westfield Plumbing & Heating". It is also used as the website's title.
-
In Registered company name (optional), type your company's name as registered. Leave it blank to use the trading name.
-
In Tagline (optional), type a short line about your work. It shows under the name in the header, in the footer and in search results.
-
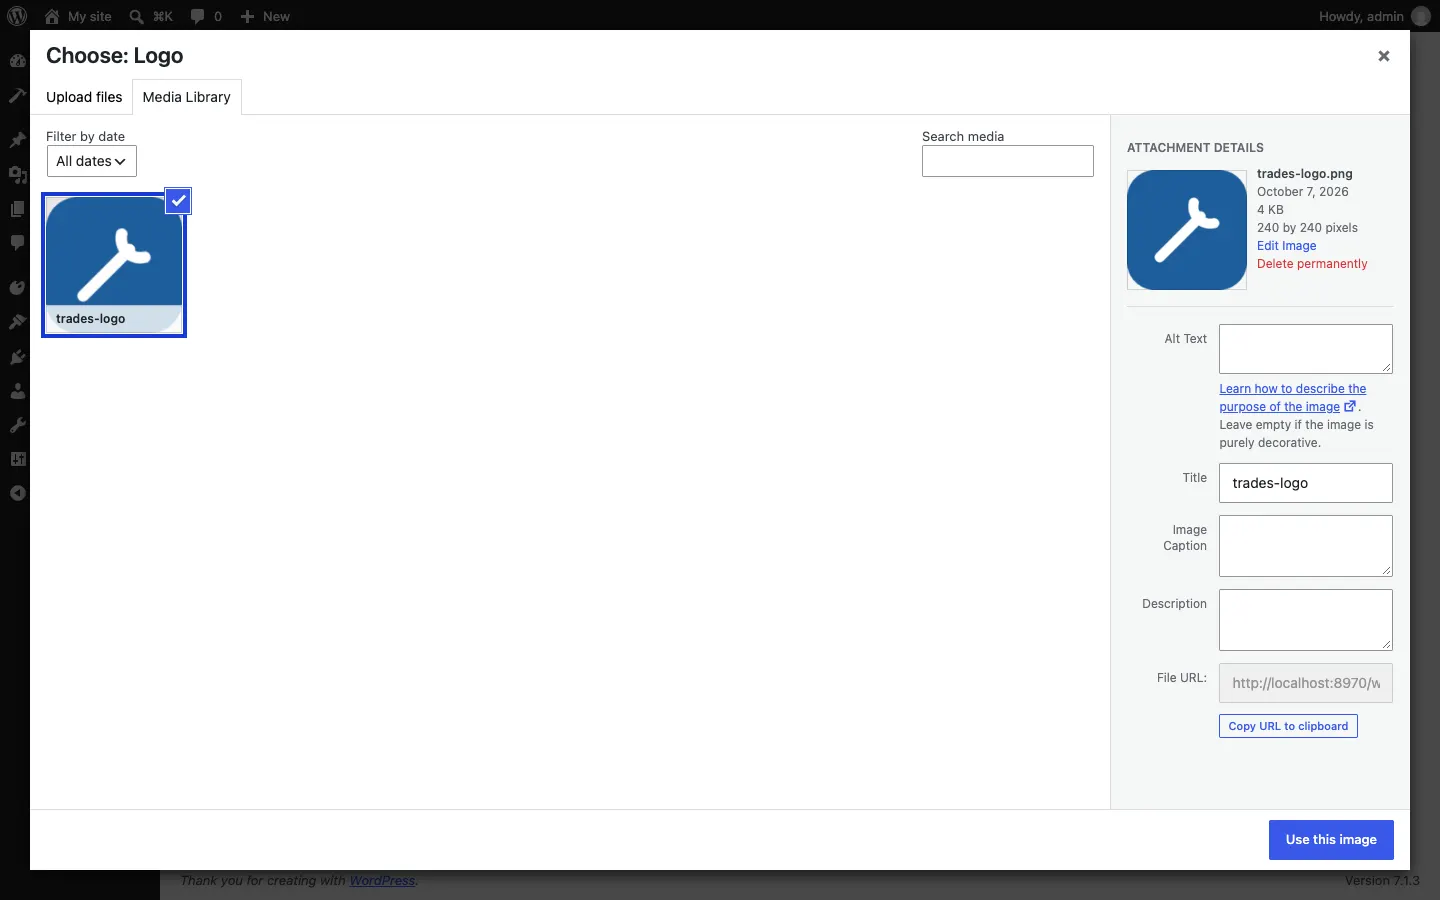
Under the boxes, click Choose image. The media library opens.
-
Click Upload files and choose your logo from your computer (or pick one you've already uploaded in Media Library), then click Use this image.
-
The logo now shows in the box, with Change image and Remove next to it. You can also leave it and add it later.
-
Click Save and continue.
Step 3: How people reach you
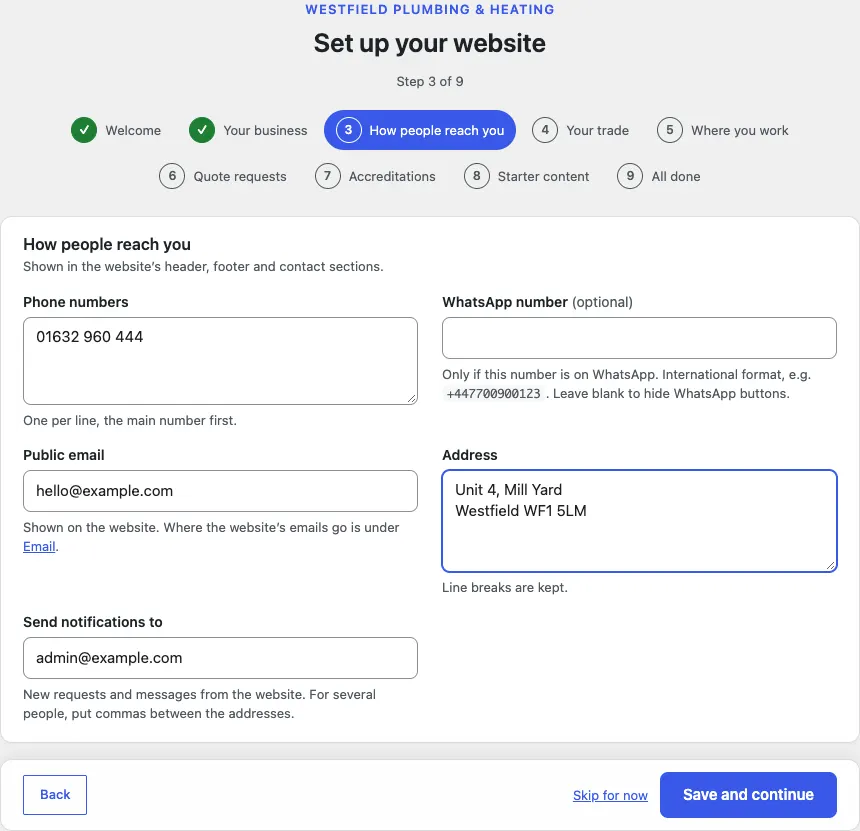
These details show in the website's header, footer and contact sections. Your main phone number becomes the big "Call" button.
- In Phone numbers, type your numbers, one per line, the main number first.
- In WhatsApp number (optional), type a number only if it is on WhatsApp, in international format (for example +447700900123). Leave it blank to hide the WhatsApp buttons.
- In Public email, type the address customers should see.
- In Address, type your business address. Line breaks are kept.
- In Send notifications to, type the address that should get new quote requests and messages from the website. For several people, put commas between the addresses.
- Click Save and continue.
Step 4: Your trade
Tick the services to start with. Each one gets its own page with a typical "from" price and what's included.
-
Under Services to start with, tick the work you do. The list covers several trades:
- Building: Extensions, Loft conversions, Kitchen fitting, Bathroom fitting, Repairs and small jobs
- Plumbing and heating: Boiler installation, Boiler service, Bathroom installation, Leaks and repairs, Radiators and heating
- Electrical: Rewiring, Consumer unit upgrade, Electrical safety checks (EICR), EV charger installation, Lighting and sockets
- Roofing: Roof repairs, New roofs, Flat roofs, Guttering and fascias, Chimney repairs
- Decorating: Interior painting, Exterior painting, Wallpapering
The five building services start ticked. Untick any you don't do.
-
In Your trade, choose what kind of business you are: Builder or several trades, Building contractor, Plumber or heating engineer, Electrician, Roofer, Heating, ventilation and air conditioning, Painter and decorator or Locksmith. This tells search engines what you do; it doesn't change the services list.
-
Click Save and continue.
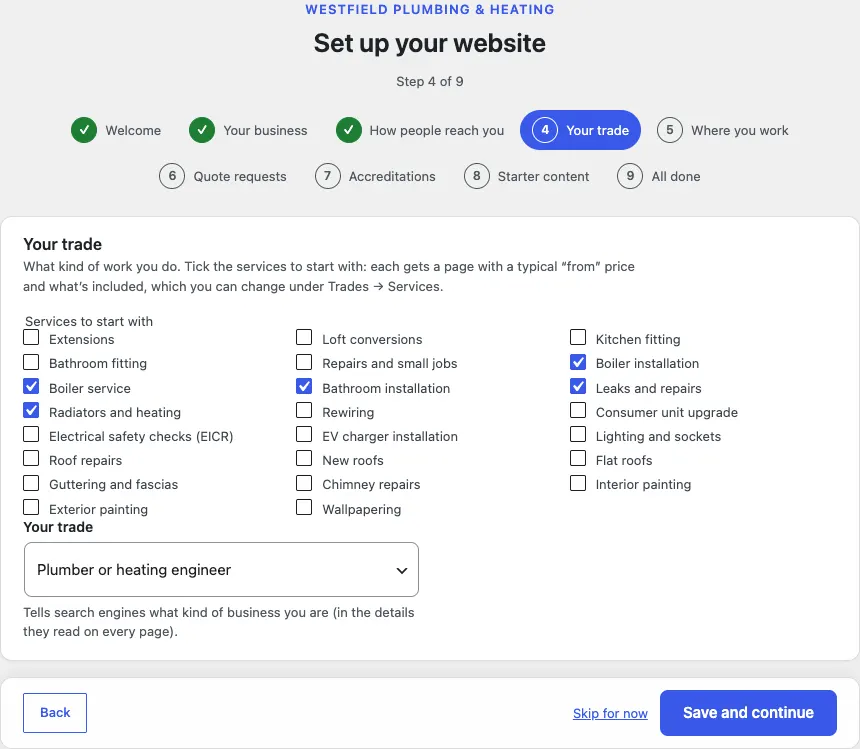
You can change prices and what's included, or add your own services, under Trades → Services.
Step 5: Where you work
- In Towns you cover, type each town on its own line. You can add its postcode districts after a colon, for example:
- Westfield: WF1, WF2
- Eastbrook: WF5
- Northby
- Click Save and continue.
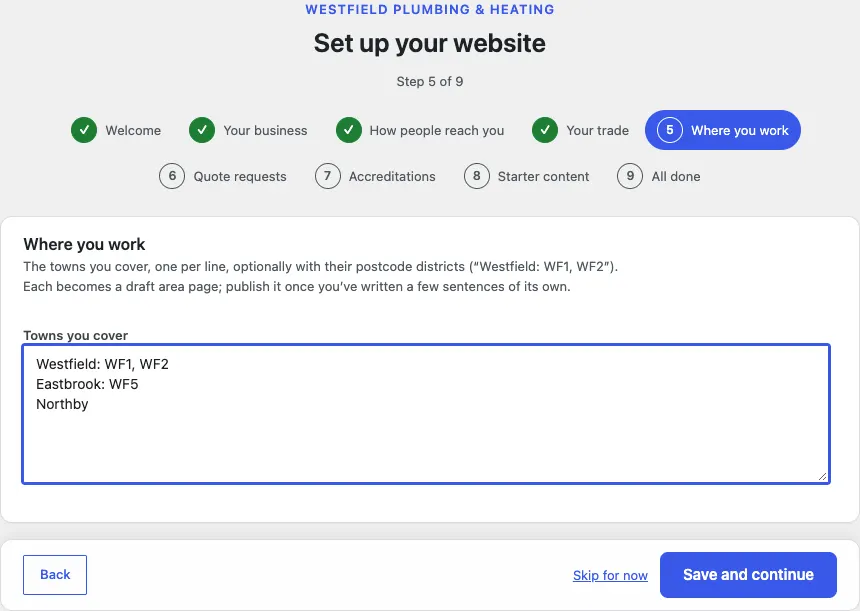
Each town becomes a draft area page. Pages that are all the same can harm how search engines see your website, so write a few sentences of your own on each one (the streets you work on, jobs you've done nearby) and then publish it under Trades → Service areas.
Step 6: Quote requests
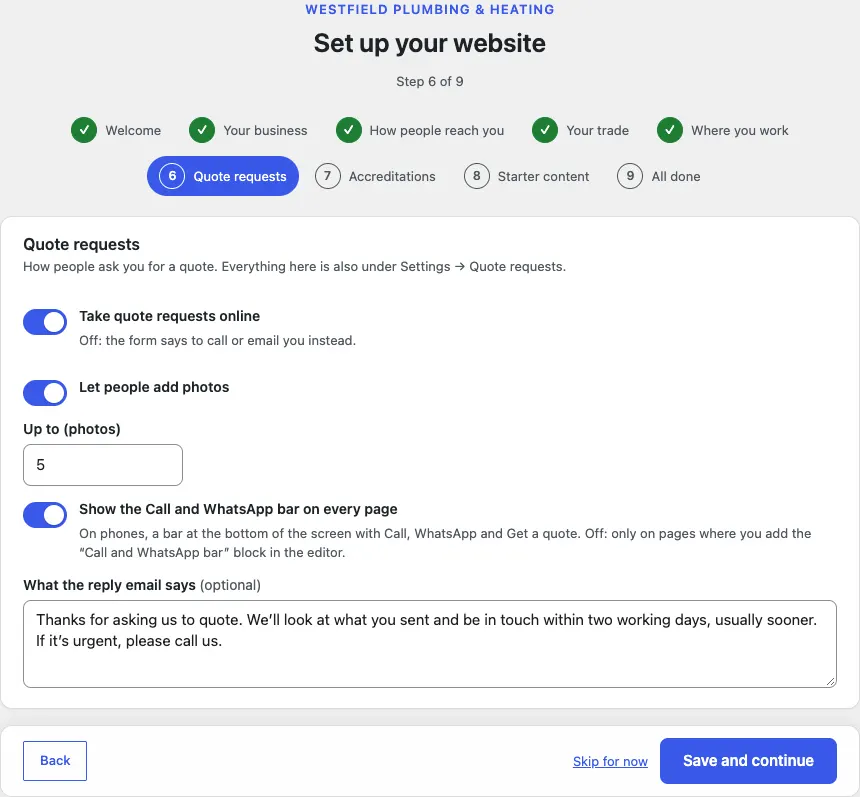
How people ask you for a quote. These settings are also under Trades → Settings → Quote requests.
- Take quote requests online starts on. Off: the form says to call or email you instead.
- Let people add photos starts on, so customers can show you the job. Up to (photos) sets the limit (it starts at 5).
- Show it on every page starts on. "It" is the bar with your Call and WhatsApp buttons that stays at the bottom of the screen on phones. Off: it only shows where you add the "Call and WhatsApp bar" section to a page.
- What the reply email says (optional) is the email customers get after they ask for a quote. It starts with "Thanks for asking us to quote. We'll look at what you sent and be in touch within two working days, usually sooner. If it's urgent, please call us."
- Click Save and continue.
Step 7: Accreditations
Tick the schemes and memberships you belong to: Gas Safe Register, NICEIC, NAPIT, OFTEC, HETAS, TrustMark, Federation of Master Builders, Chartered Institute of Plumbing and Heating Engineering, National Federation of Roofing Contractors, Competent Roofer, Which? Trusted Traders and Checkatrade.
- Tick only the ones you really hold.
- Click Save and continue.
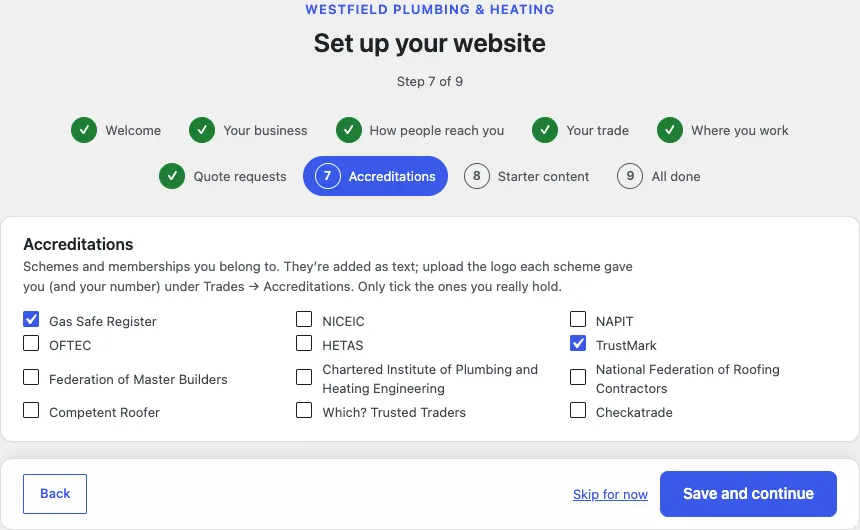
They are added as text badges. Afterwards, go to Trades → Accreditations to upload the logo each scheme gave you and type your registration number, so visitors can check it.
Step 8: Starter content
This is where the wizard builds your website. Each switch adds one kind of ready-made content. Switch on the ones you want, then click Save and continue. Running this step again never makes copies.
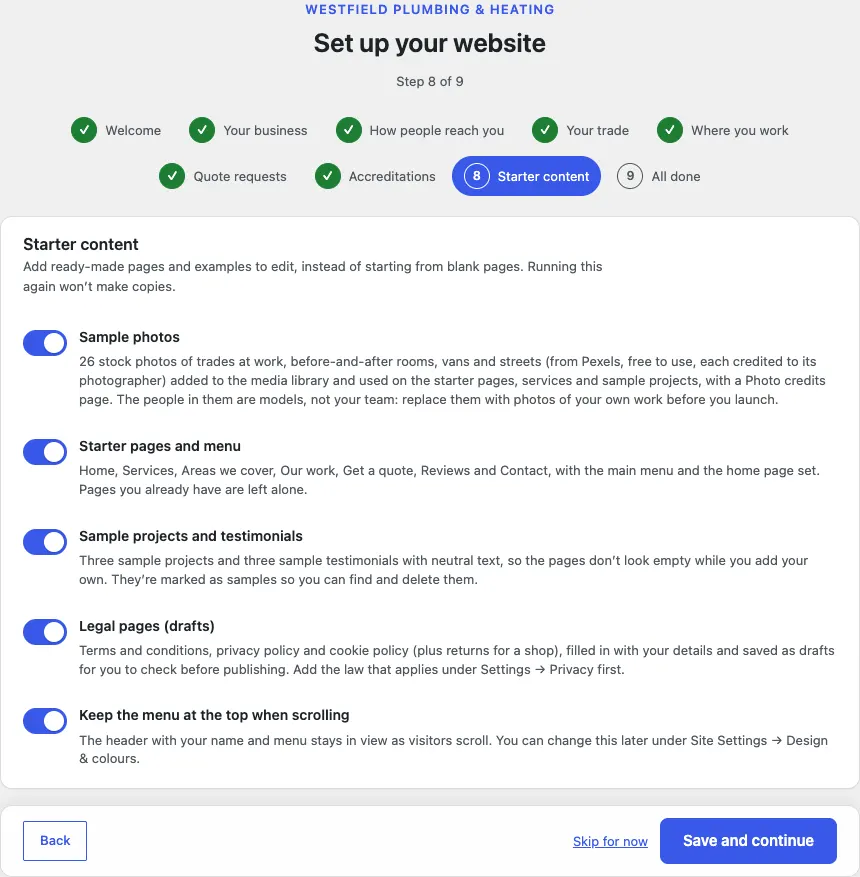
| Switch | Starts | What it adds |
|---|---|---|
| Sample photos | On | 26 stock photos of trades at work, before-and-after rooms, vans and streets, from Pexels (free to use). They go into the media library, onto the starter pages, services and sample projects, and onto a Photo credits page that names each photographer. |
| Starter pages and menu | On | Home, Services, Areas we cover, Our work, Get a quote, Reviews and Contact, with the main menu. Home is set as the front page. Pages you already have are left alone. |
| Sample projects and testimonials | Off | Three sample projects and three sample testimonials with neutral text, so the pages don't look empty while you add your own. |
| Legal pages (drafts) | On | Terms and conditions, a privacy policy and a cookie policy, filled in with your details and saved as drafts for you to check before publishing. Add the law that applies under Trades → Settings → Privacy first. |
| Keep the menu at the top when scrolling | On | The header with your name and menu stays in view as visitors scroll. |
While the starter content is added
When you click Save and continue, a box appears under the switches: Adding your starter content… Please keep this page open. Each part you switched on gets a line that says working… and then done. The sample photos are added a few at a time, so their line counts up, for example Sample photos: 8 of 26.
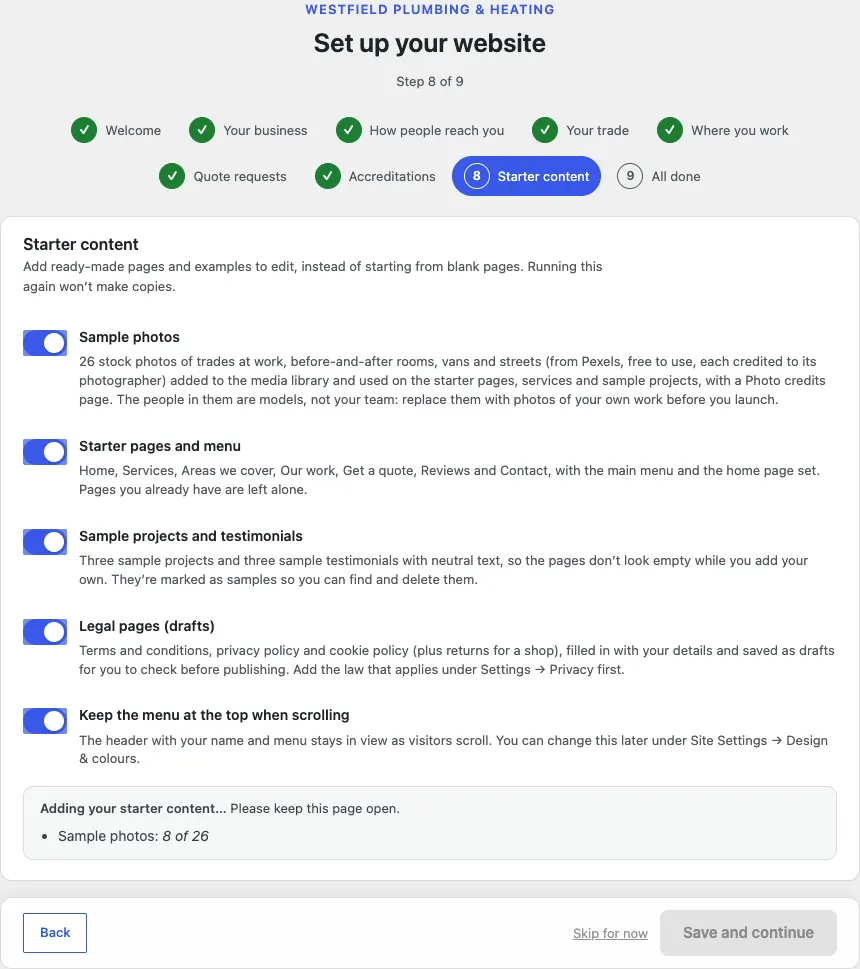
Keep the page open. It takes a minute or two, mostly for the photos. When everything is done, the next step opens by itself. If the box turns red and says This didn't finish, click Save and continue again: the wizard carries on where it stopped and never adds anything twice.
Step 9: All done
The last screen lists what this run of the wizard did (anything an earlier run added isn't listed again), then gives you four links: See the website, Open Trades → Today, Review all settings and Add staff and choose what they can do.
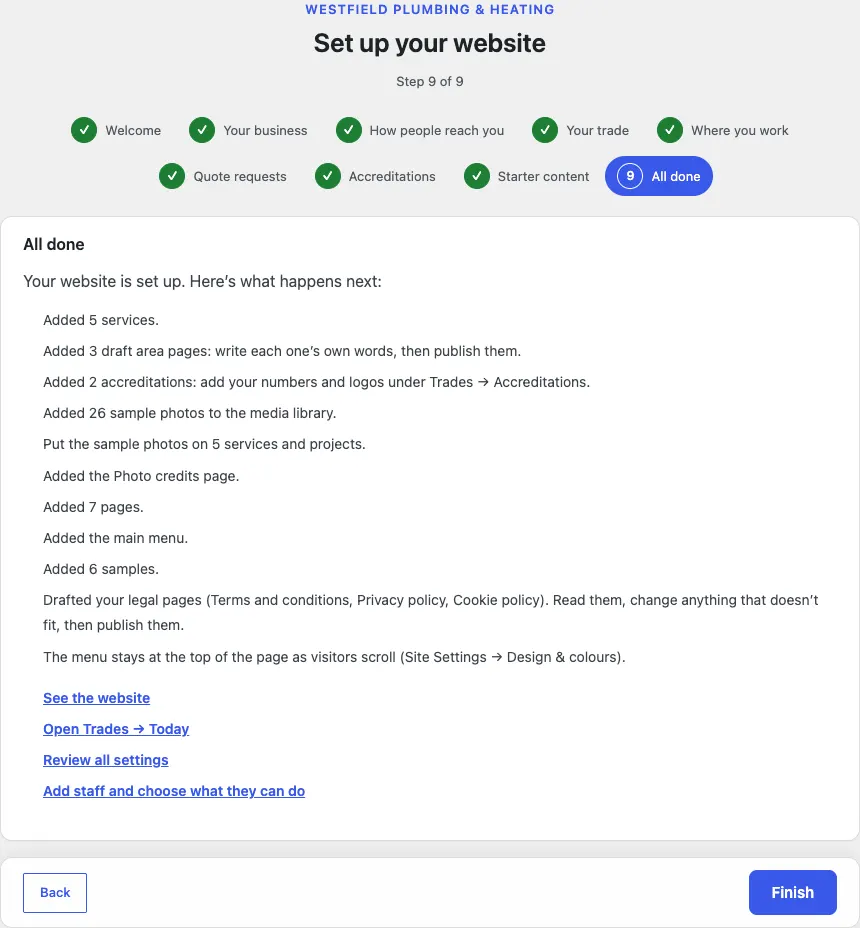
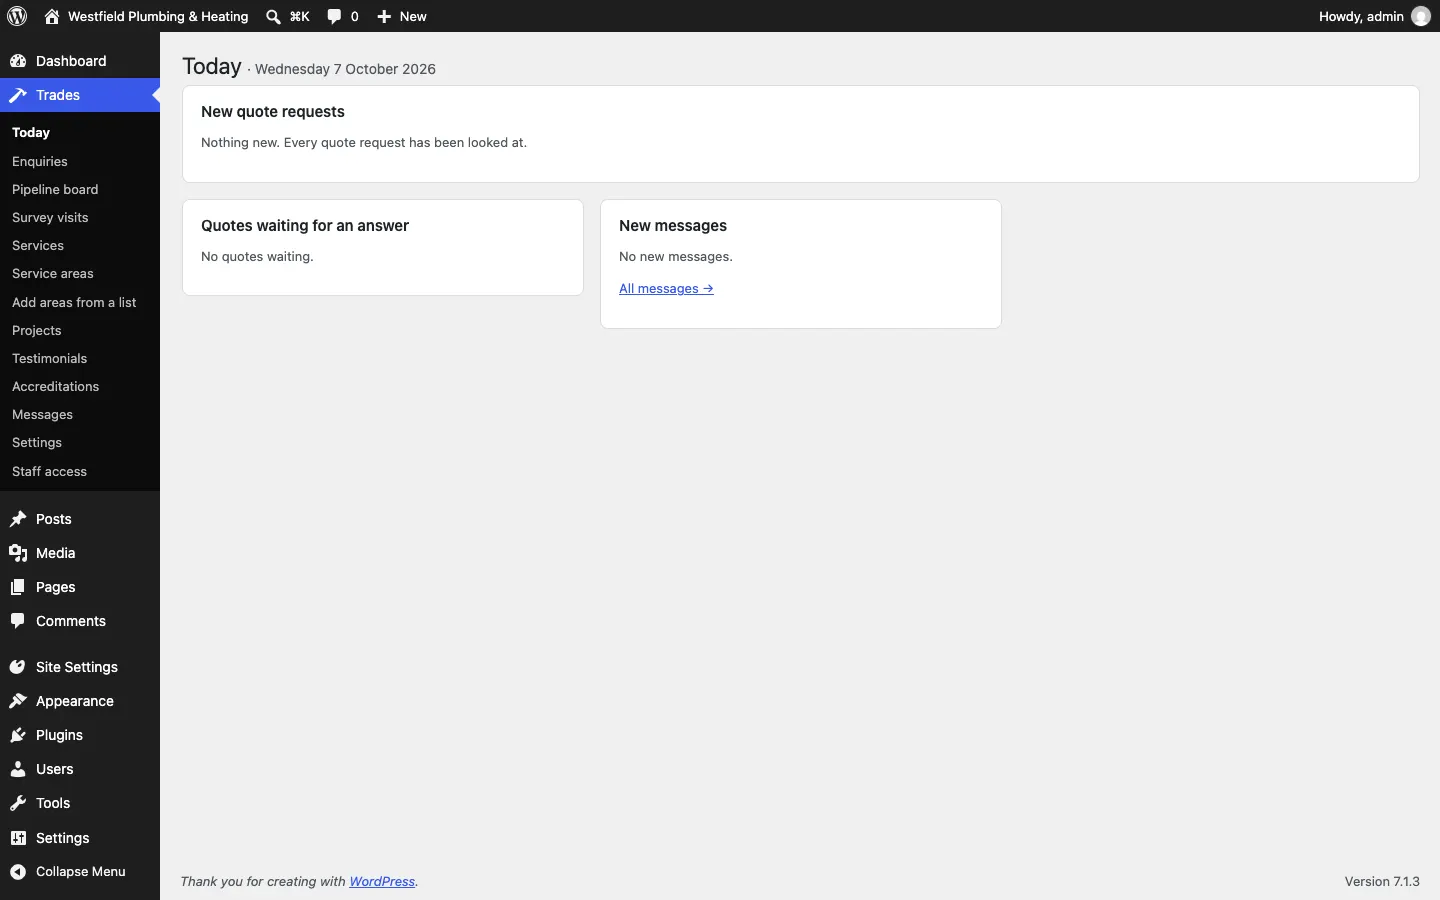
Click Finish. The wizard closes and you land on Trades → Today.
What you have at the end
With every switch on, the wizard leaves you with:
- Services: the ones you ticked in step 4, each with its own page and a typical "from" price, under Trades → Services.
- Areas: a draft page for each town from step 5, under Trades → Service areas.
- Accreditations: the schemes you ticked, under Trades → Accreditations.
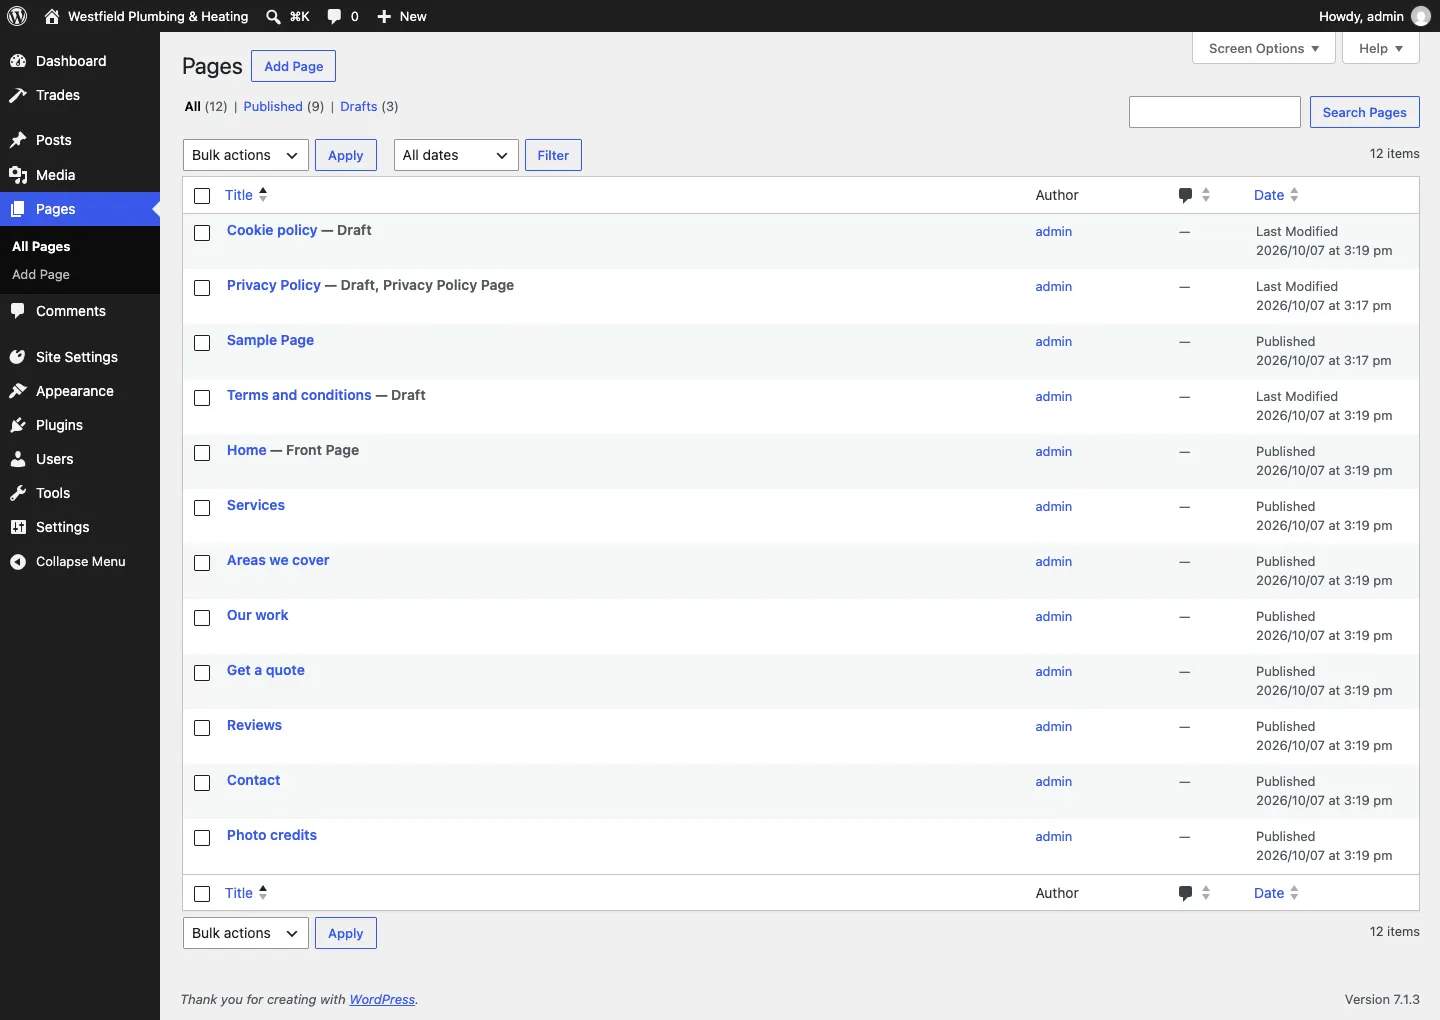
- Pages: Home (the front page), Services, Areas we cover, Our work, Get a quote, Reviews, Contact and Photo credits, all published. Terms and conditions, Privacy Policy and Cookie policy are drafts.
- Main menu: Services, Our work, Areas, Reviews and Contact, with a Get a quote button.
- Sample content: three projects ("Sample project: a kitchen made new", "Sample project: a repair done properly" and "Sample project: a full refit") and three testimonials ("Sample customer", "Another sample customer" and "A third sample customer").
- Photos: 26 sample photos in the media library, listed with their photographers on the Photo credits page.
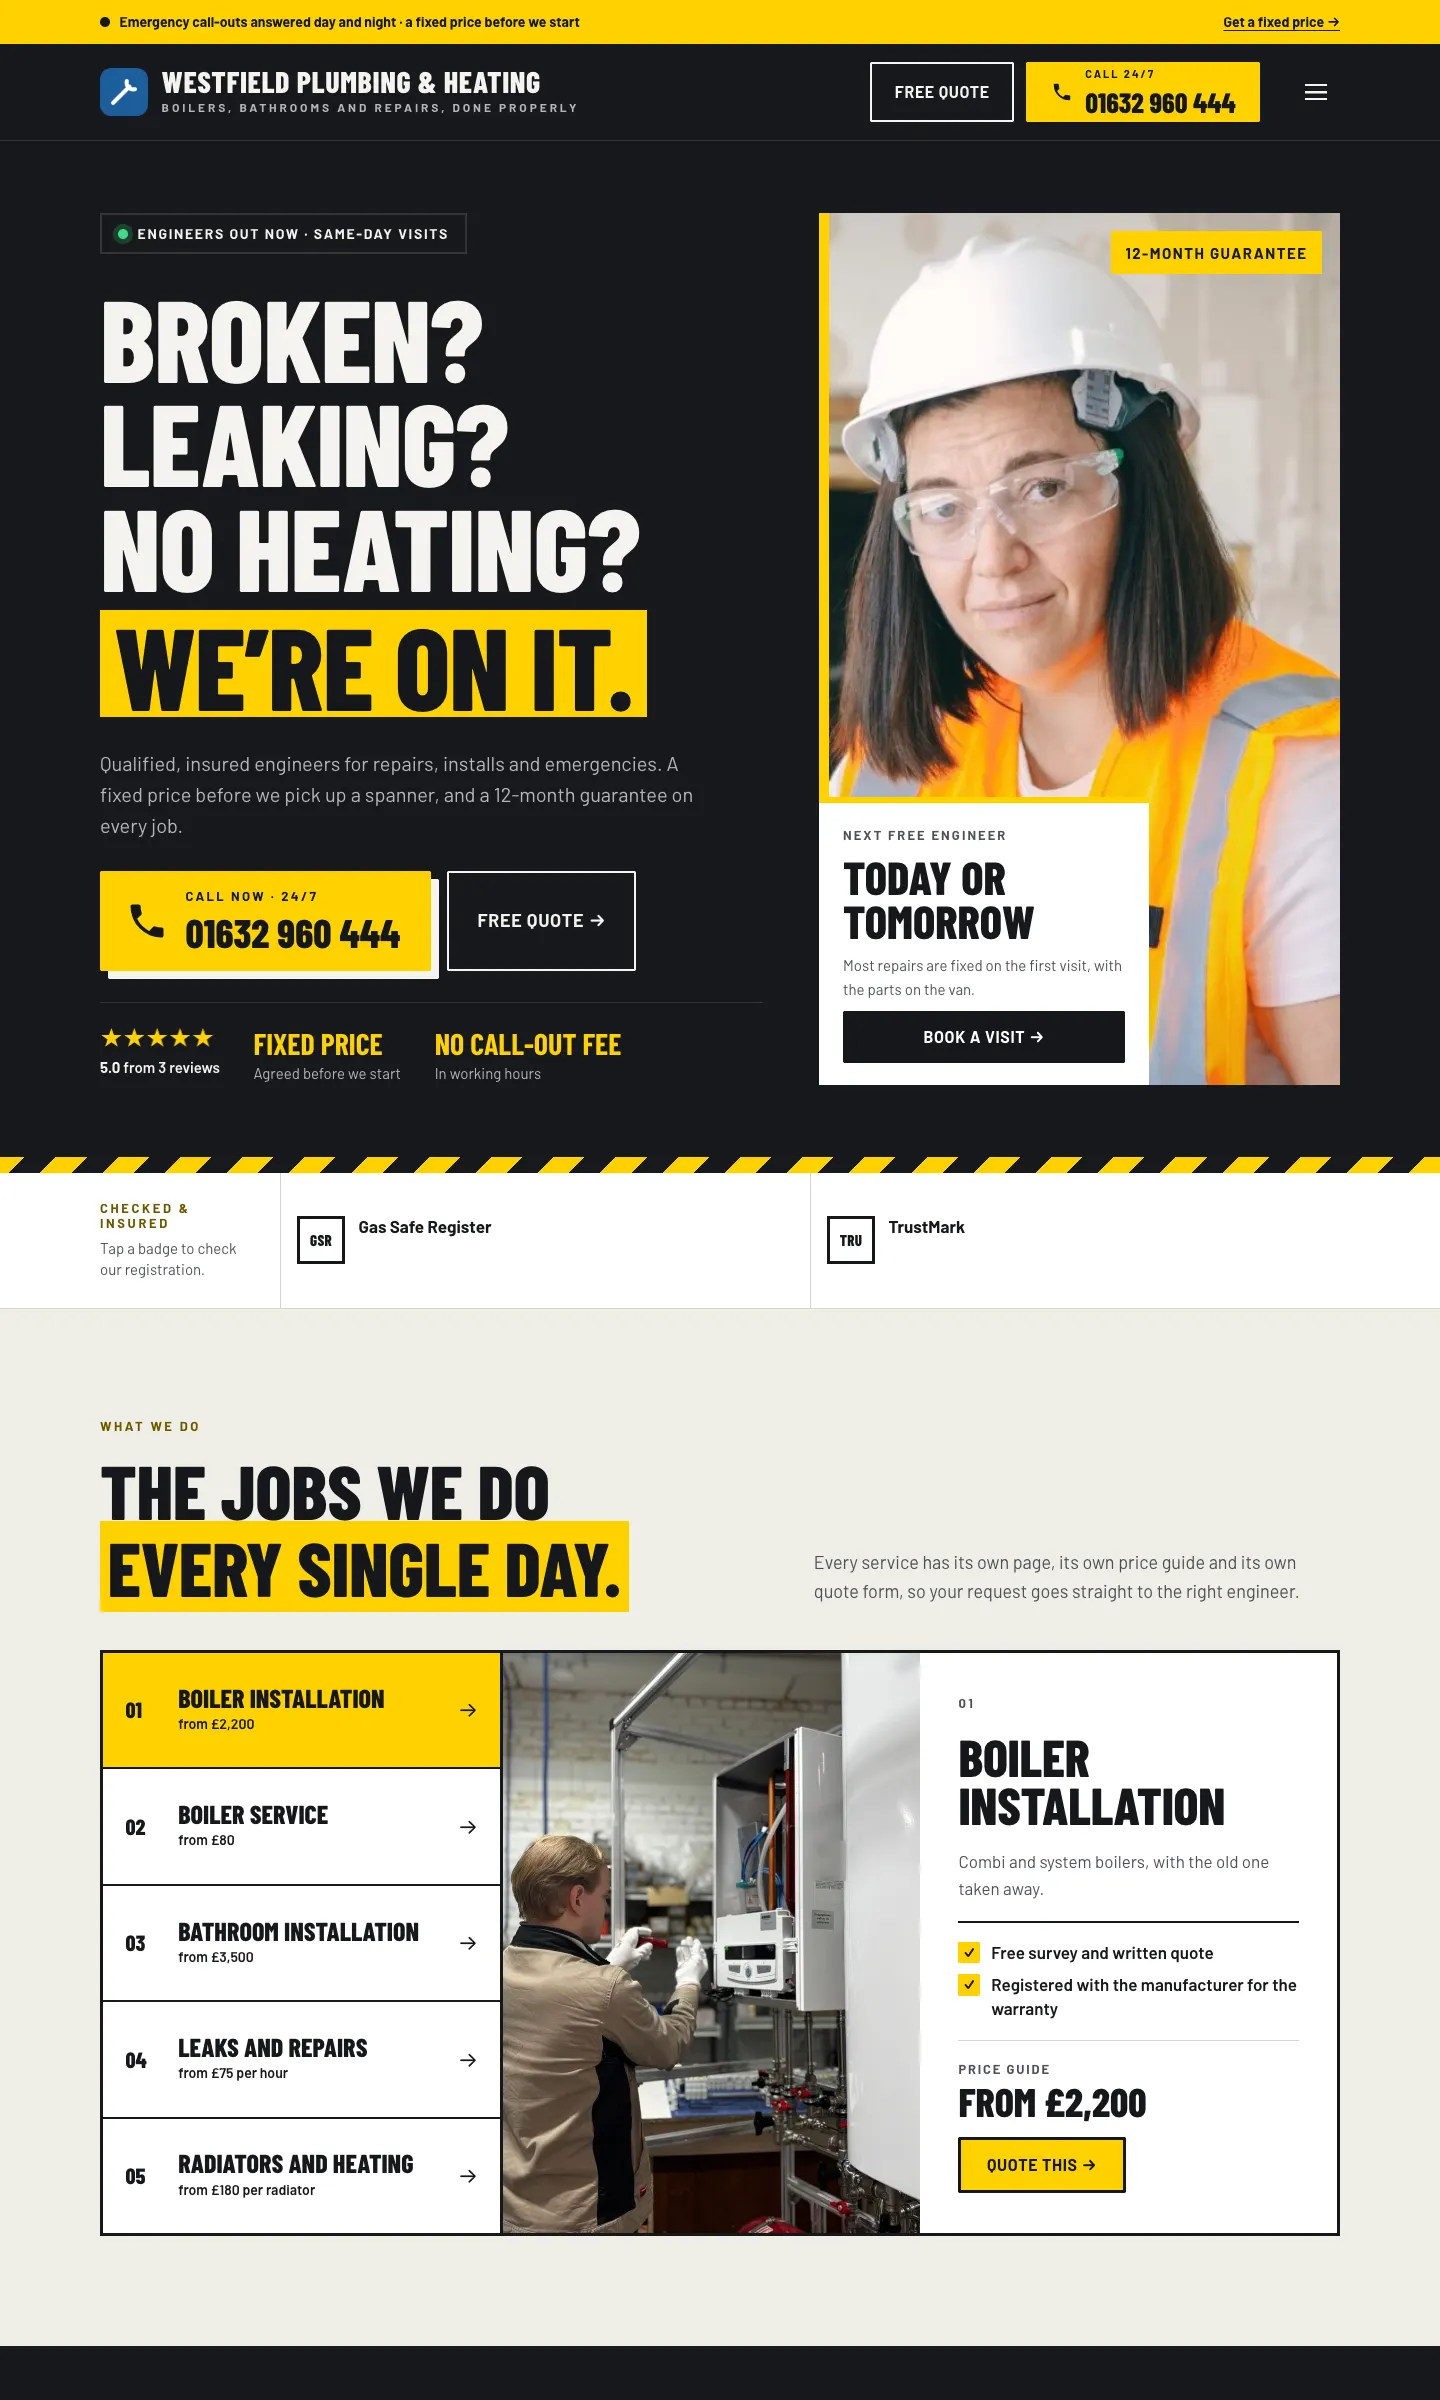
This is the home page a visitor sees straight after the wizard:
How to remove the sample content
Every sample is named "Sample …" or "… sample customer", so it's easy to find.
- Go to Trades → Projects, type "Sample" in the search box and click search.
- Tick the box at the top of the list to select them all, choose Move to Trash from Bulk actions and click Apply.
- Do the same under Trades → Testimonials.
To remove the sample photos, put your own photos on your services and projects first, then go to Media, search for "Pexels", select the sample photos and delete them permanently. Then update the Photo credits page.
Next steps
- Designs: the Trades kit's designs and colour palettes, and how to switch.
- Quick start: the checklist from here to your first quote request.
- Your look: your logo, colours, menus and footer.