Getting started
Quick start: from buying to your first booking
One checklist that takes you from buying the Clinic kit to confirming your first online booking, with a link to the chapter for each step.
On this page
Work down this list in order. Each step links to the chapter with the full instructions. Most clinics get from step 1 to step 12 in an afternoon.
Before you start
You need:
- a WordPress website on a host that meets the requirements (WordPress 6.8 or later, PHP 8.0 or later);
- to be signed in to it as an administrator;
- your clinic's details to hand: opening hours, phone numbers, address, the services you offer with how long each takes and its price, and your logo.
The checklist
- Buy the kit and keep the receipt email: it holds your licence key. See Buying and your licence.
- Download the three files from your licences page at thegradespace.com: Gradespace Core, the Gradespace Clinic plugin and the Gradespace Clinic theme. Leave them as .zip files.
- Install them in order: Core first, then the Clinic plugin, then the Clinic theme. See Installing.
- Run the setup wizard. It opens by itself. It asks for your clinic's details, contact details, opening hours, services and payments, and adds starter pages and a menu. See The Clinic setup wizard.
- Add your licence key in Settings → Gradespace licence and click Activate. This switches on updates and, with Pro, the till, stock, deposits and gift vouchers. See Buying and your licence.
- Check your opening hours and bank holidays in Clinic → Settings → Opening hours. The website never offers a time when you're closed. See Clinic settings.
- Check your services in Clinic → Services: name, how long each takes, price and whether people can book it online. See Services.
- Set the booking rules in Clinic → Settings → Bookings: how often start times are offered, a gap between patients, the earliest and latest booking. See Clinic settings.
- Tell the website where to send new bookings in Clinic → Settings → Email → Send notifications to, then click Send a test email and check it arrives. See Clinic settings.
- Choose your design and colours in Site Settings → Design & colours. Preview first; visitors see nothing until you save. See Designs, pages and menus.
- Make a test booking on your own website, as a patient would: open Book an appointment, choose a service, a day and a time, fill in your details and click Request appointment. See Online booking: what patients see.
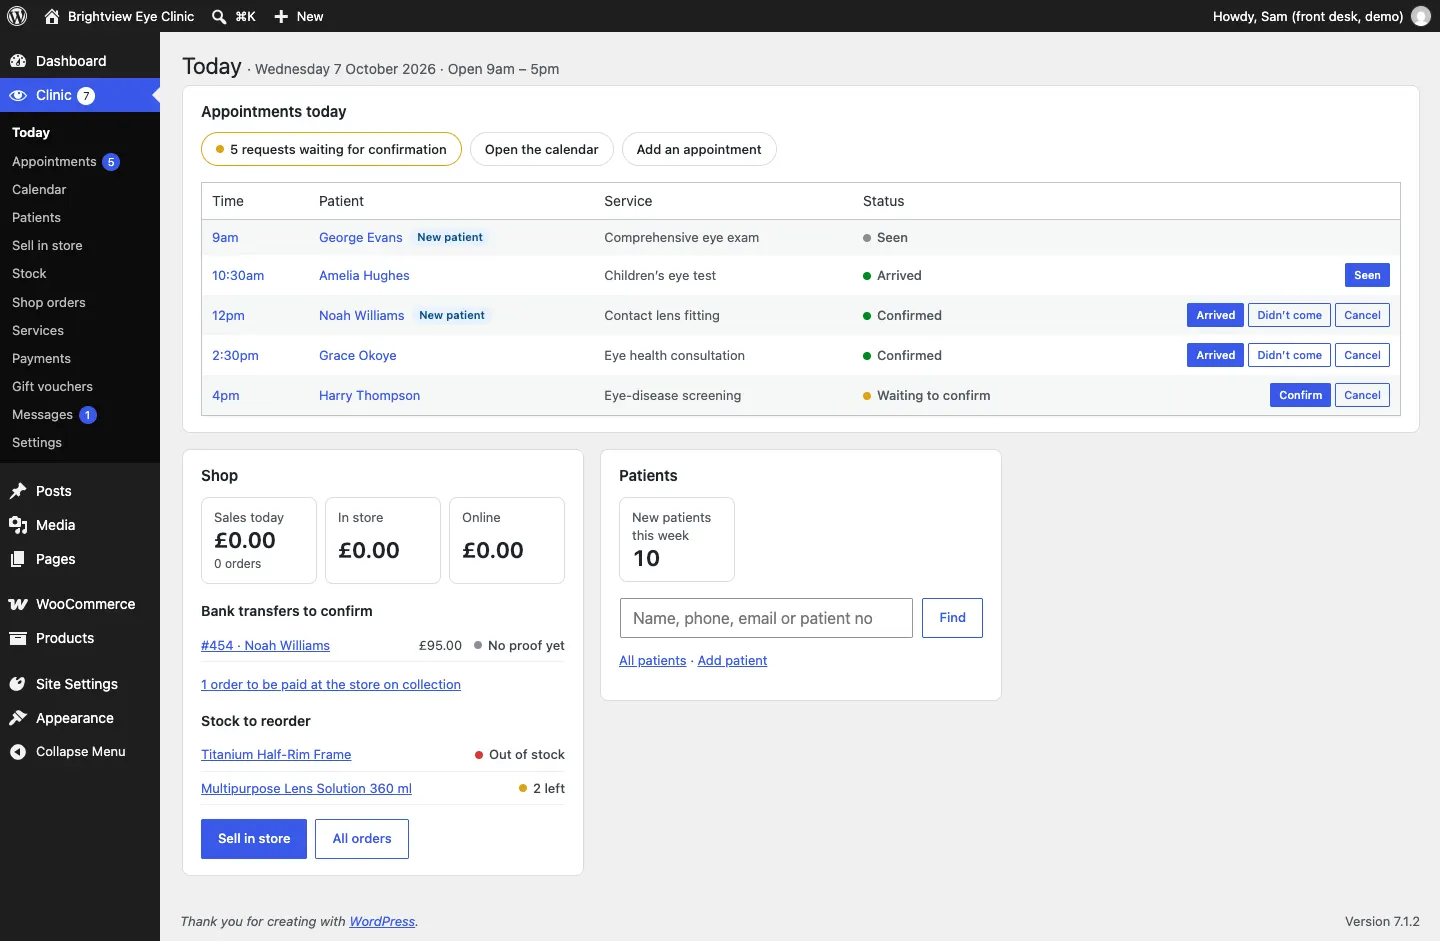
- Confirm it. Sign in, open Clinic → Today (or Clinic → Appointments), find the request marked Waiting to confirm and click Confirm. The patient is emailed. Then cancel your test booking. See Appointments and the calendar.
That's your first booking. Before you tell patients about the website, also:
- add your staff, each with their own account, in Clinic → Staff access. See Staff accounts and signing in;
- replace the sample photos on the starter pages with your own. See Pages and content;
- check the cookie banner and your privacy details in Clinic → Settings → Privacy. See Privacy, cookies and emails;
- if you sell glasses or contact lenses, set up the shop. See The online shop.