Setting up
The setup wizard
The step-by-step screen that gets a new clinic website ready: opening hours, the services patients can book, bank details for the shop, and the starter pages, design, photos and sample products.
On this page
The setup wizard is a short series of screens that asks for what your clinic website needs before it can take bookings: your name, how patients reach you, when you're open, the services they can book and the bank account shop customers pay into. At the end it can switch on the Clarity design, add a full set of ready-made pages and a main menu, set up the shop and add sample photos and products, so you start from a finished-looking website instead of blank pages.
It takes about five minutes. Everything you type can be changed later, and nothing you skip is lost.
This page covers the Clinic kit's wizard step by step. For the wizard in general (how the steps, Back and Skip for now work), see The setup wizard in the shared chapters.
When the wizard opens
The wizard opens by itself the first time you sign in to WordPress after you switch on the Clinic kit plugin (a plugin is an add-on for WordPress) and the Clinic theme. See Installing.
The shop parts of the Clinic kit use WooCommerce, the free shop plugin for WordPress. Install and switch on WooCommerce before you run the wizard: the Payments step then asks how long to hold pay-at-the-store orders, and the Starter content step offers Shop settings and Sample products. Without WooCommerce those choices don't appear and the bank details are only saved for later.
Until you finish the wizard, a reminder appears at the top of the Dashboard, the Plugins and Themes screens and the Clinic screen. Click Continue setup to go back to where you left off.

How to run the setup wizard again
- Go to Clinic → Settings.
- Click Run setup again at the top right.

Running it again is safe. The starter content step never makes second copies, and it never overwrites pages, services or products you have already edited.
The steps
The bar at the top shows all eight steps. A green tick means the step is saved. You can click any step's name to jump to it.
Step 1: Welcome
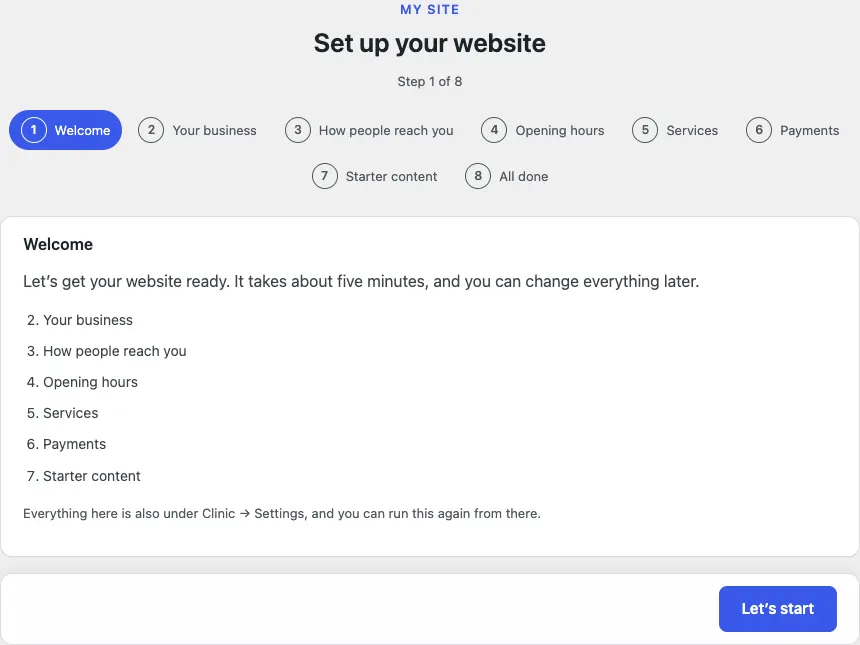
The first screen lists the steps ahead and reminds you that everything is also under Clinic → Settings.
- Read the list. It is numbered the same way as the steps in the bar at the top.
- Click Let's start.
Step 2: Your business
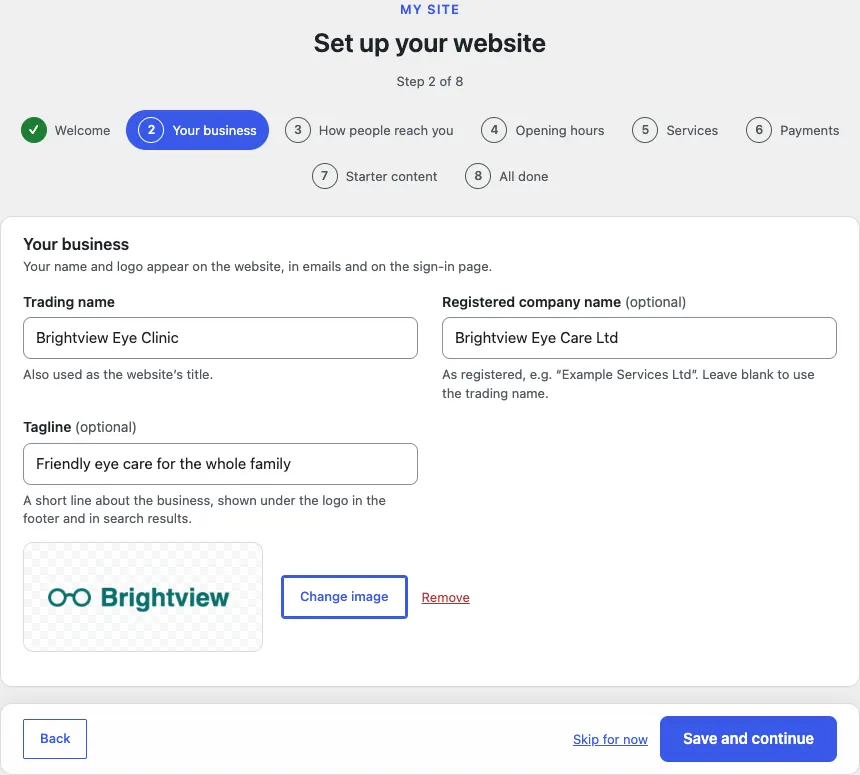
Your name and logo appear on the website, in emails and on the staff sign-in page.
-
In Trading name, type the name patients know you by, for example "Brightview Eye Clinic". It is also used as the website's title.
-
In Registered company name (optional), type your company's name as registered, for example "Brightview Eye Care Ltd". Leave it blank to use the trading name.
-
In Tagline (optional), type a short line about the clinic. It shows under the logo in the footer and in search results.
-
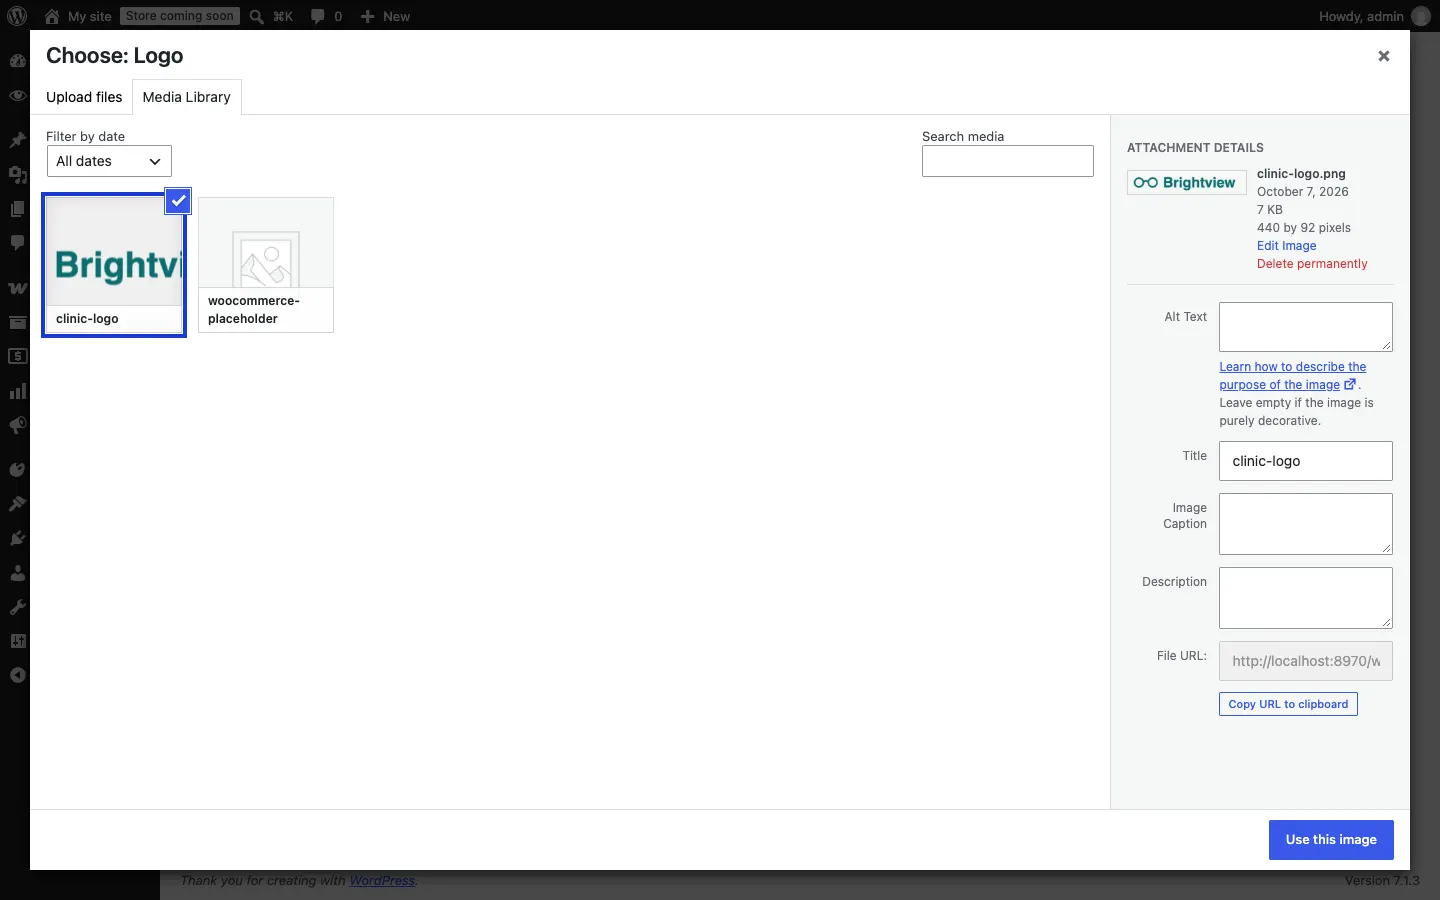
Under the boxes, click Choose image. The media library opens.
-
Click Upload files and choose your logo from your computer (or pick one you've already uploaded in Media Library), then click Use this image.
-
The logo now shows in the box, with Change image and Remove next to it. You can also leave it and add it later.
-
Click Save and continue.
Step 3: How people reach you
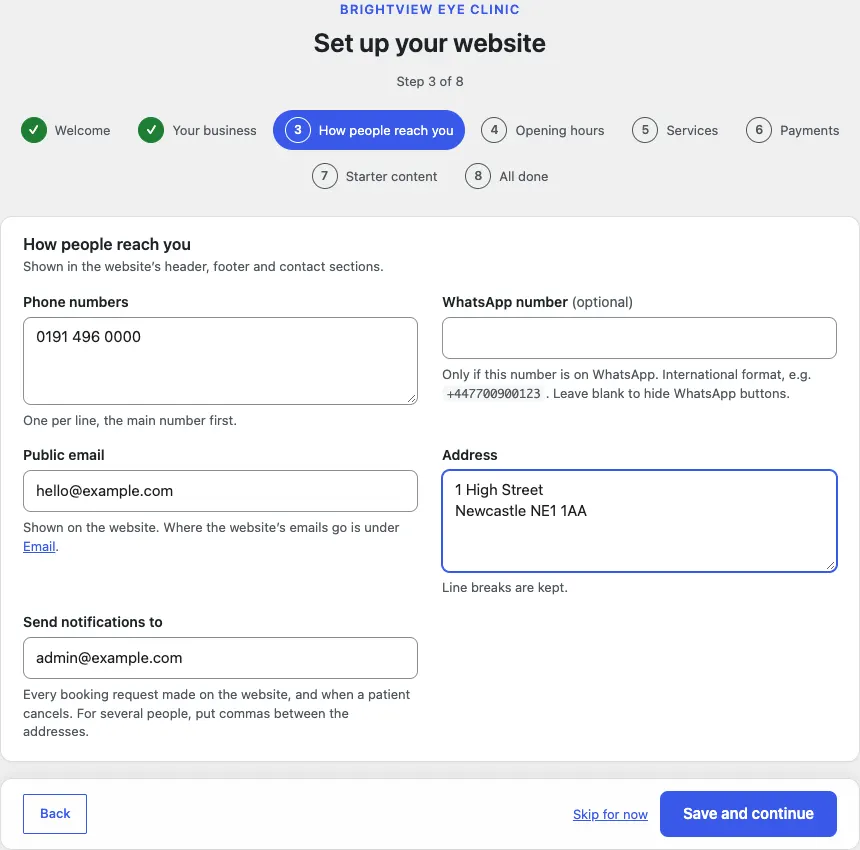
These details show in the website's header, footer and contact sections.
- In Phone numbers, type your numbers, one per line, the main number first.
- In WhatsApp number (optional), type a number only if it is on WhatsApp, in international format (for example +447700900123). Leave it blank to hide the WhatsApp buttons.
- In Public email, type the address patients should see.
- In Address, type the clinic's address. Line breaks are kept.
- In Send notifications to, type the address that should get every booking request made on the website, and a message when a patient cancels. For several people, put commas between the addresses.
- Click Save and continue.
Step 4: Opening hours
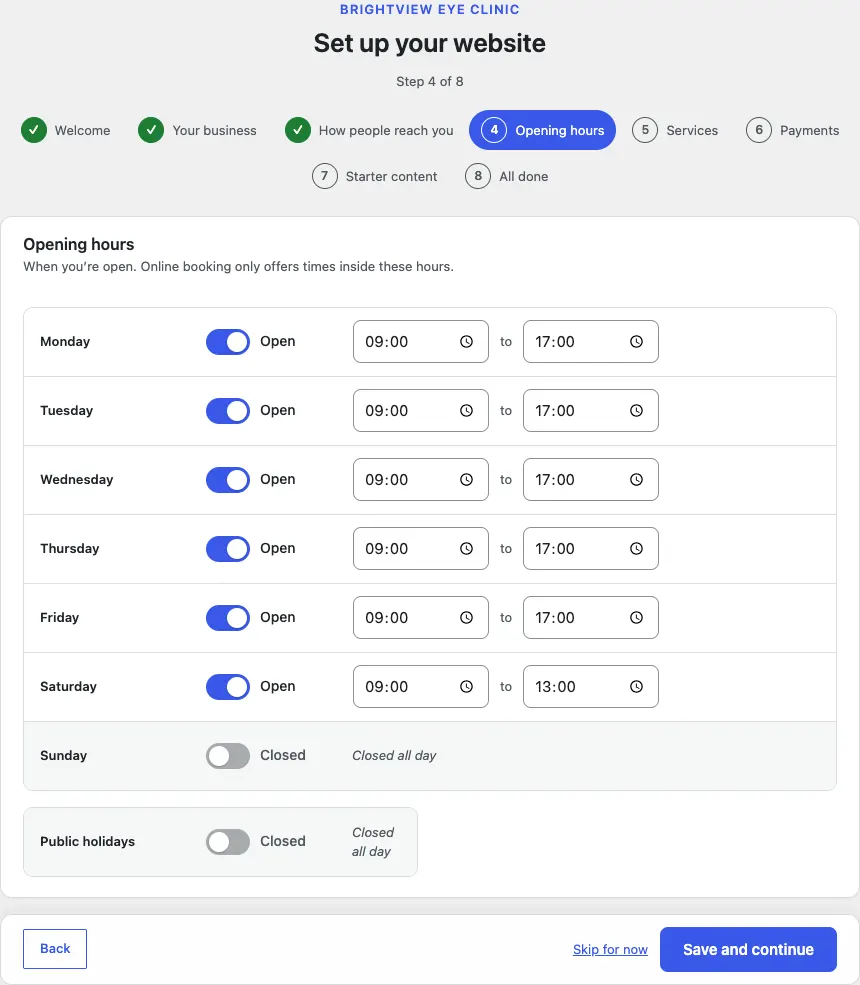
Online booking only offers times inside these hours.
- For each day, the Open switch says whether you're open. Switch it off for a day you're closed; the row then says Closed all day.
- For an open day, set the opening and closing times. The wizard starts with Monday to Friday 9:00 to 17:00, Saturday 9:00 to 13:00 and Sunday closed.
- The last row, Public holidays, starts as closed. Switch it on and set times if you open on bank holidays.
- Click Save and continue.
Step 5: Services
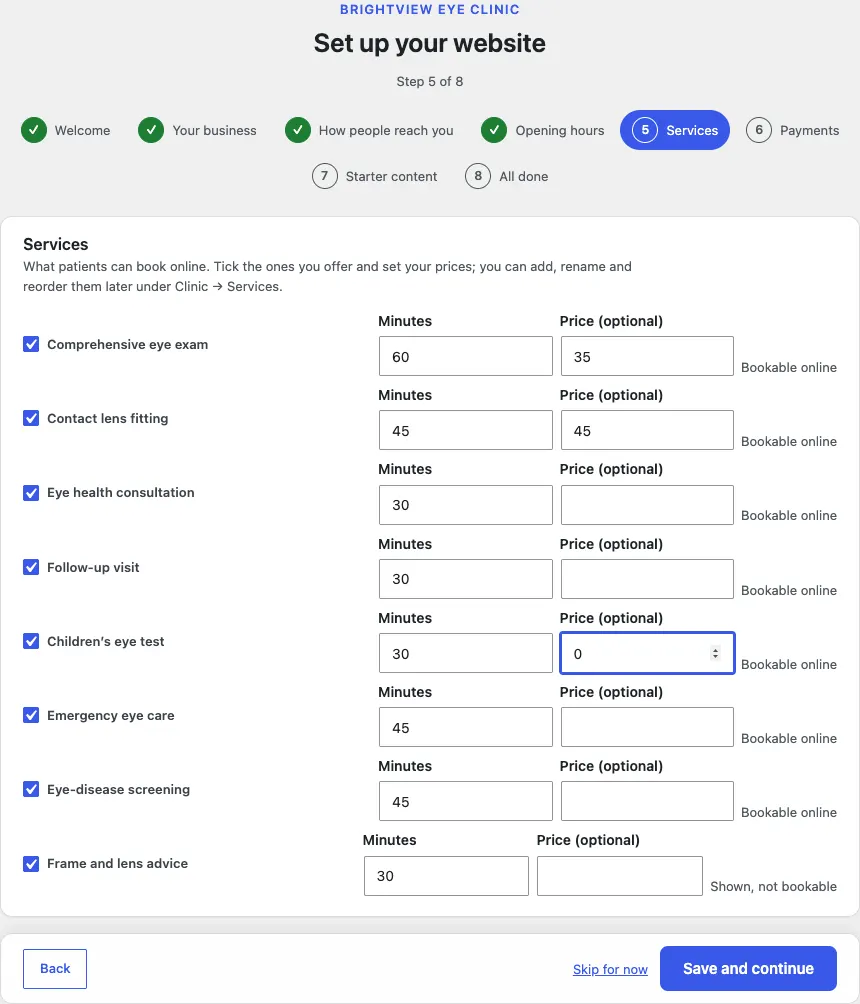
These are what patients can book online. The wizard lists eight common eye-care services. Each starts ticked.
| Service | Minutes | How it shows |
|---|---|---|
| Comprehensive eye exam | 60 | Bookable online |
| Contact lens fitting | 45 | Bookable online |
| Eye health consultation | 30 | Bookable online |
| Follow-up visit | 30 | Bookable online |
| Children's eye test | 30 | Bookable online |
| Emergency eye care | 45 | Bookable online |
| Eye-disease screening | 45 | Bookable online |
| Frame and lens advice | 30 | Shown, not bookable |
- Untick any service you don't offer.
- Change the Minutes if your appointments are longer or shorter.
- Type your Price (optional). Leave it blank if you'd rather not show a price.
- Click Save and continue.
Each ticked service becomes a service in Clinic → Services, with a short description you can edit there. You can add, rename and reorder services there later.
Step 6: Payments
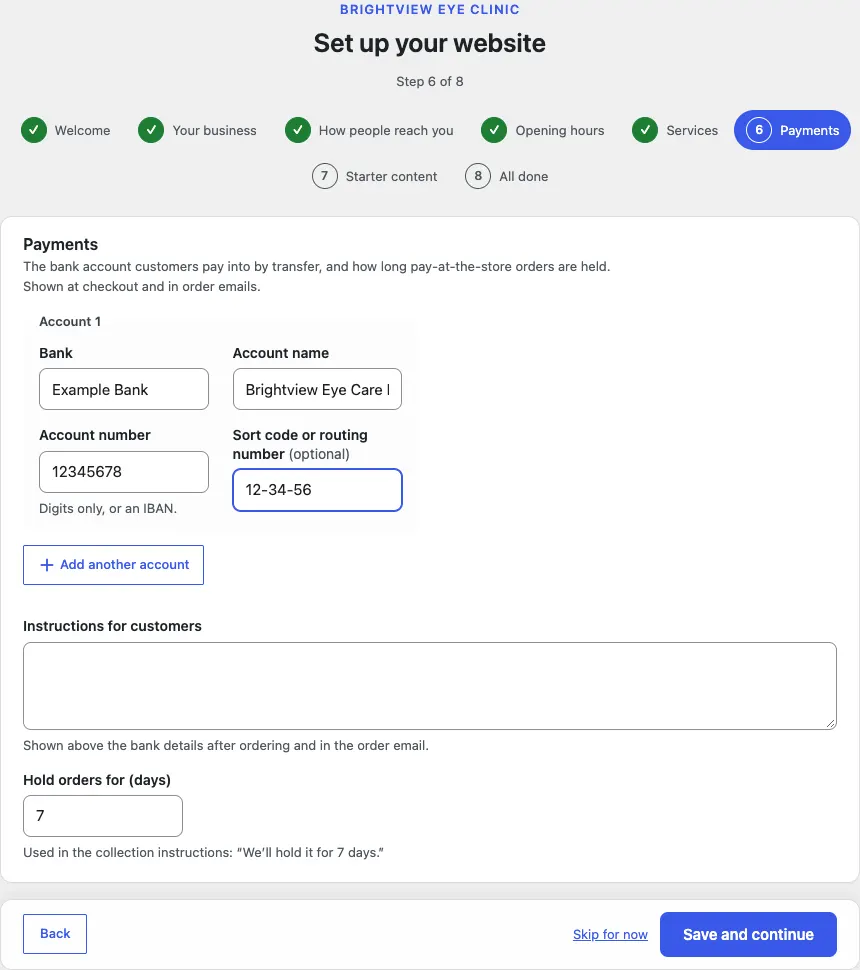
This is the bank account shop customers pay into by bank transfer. It is shown at checkout and in order emails.
- Under Account 1, fill in Bank, Account name, Account number (digits only, or an IBAN) and Sort code or routing number (optional).
- To add a second or third account, click Add another account.
- In Instructions for customers, type anything people should know when paying, for example "Use your order number as the reference". It is shown above the bank details after ordering and in the order email. If you leave it blank, the Shop settings step adds a standard wording.
- In Hold orders for (days), set how long you keep a pay-at-the-store order for collection (it starts at 7). It is used in the collection instructions: "We'll hold it for 7 days." This box only appears when WooCommerce is switched on.
- Click Save and continue.
Step 7: Starter content
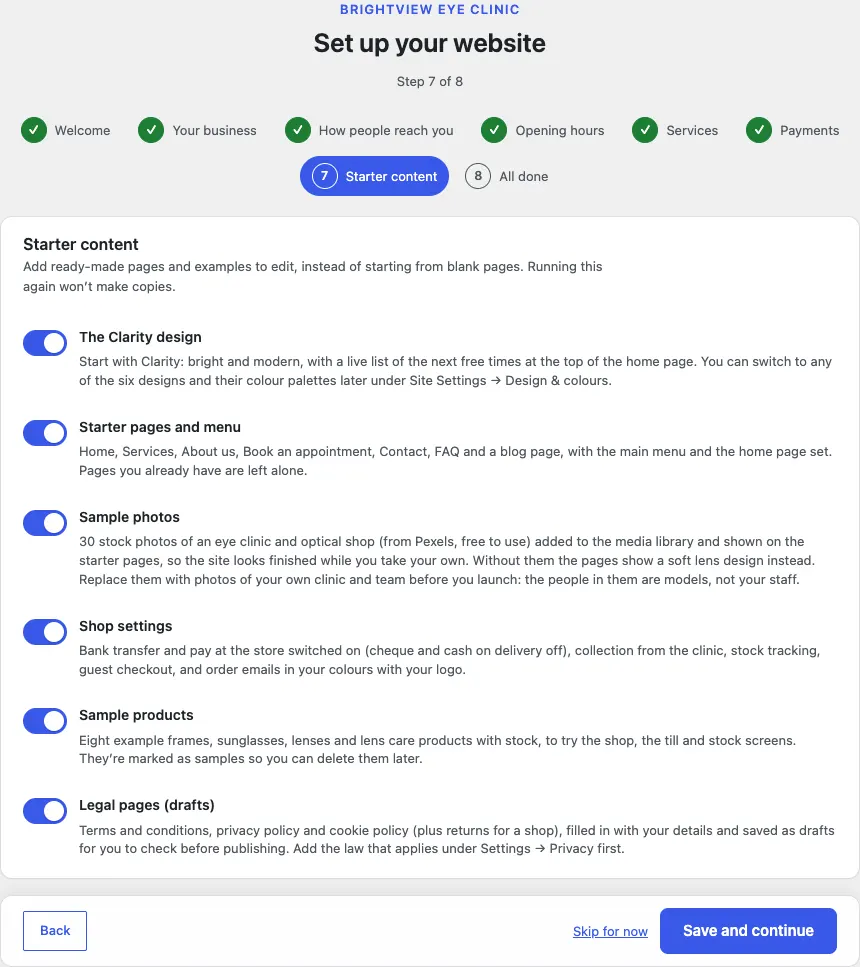
This is where the wizard builds your website. Each switch adds one kind of ready-made content. Switch on the ones you want, then click Save and continue. Running this step again never makes copies.
| Switch | Starts | What it adds |
|---|---|---|
| The Clarity design | On | Starts the website in Clarity: bright and modern, with a live list of the next free times at the top of the home page. You can switch to any of the six designs and their colour palettes later under Site Settings → Design & colours. |
| Starter pages and menu | On | Home, Services, About us, Book an appointment, Contact, FAQ and a blog page called "Eye health tips", with the main menu. Home is set as the front page. Pages you already have are left alone. |
| Sample photos | On | Stock photos of an eye clinic and optical shop from Pexels (free to use), added to the media library and shown on the starter pages. Without them the pages show a soft lens design instead. |
| Shop settings | On | Bank transfer and pay at the store switched on (cheque and cash on delivery off), collection from the clinic, stock tracking, guest checkout, and order emails in your colours with your logo. Only with WooCommerce. |
| Sample products | Off | Eight example frames, sunglasses, lenses and lens care products with stock, to try the shop, the till and the stock screens. Only with WooCommerce. |
| Legal pages (drafts) | On | Terms and conditions, a privacy policy, a cookie policy and (because you have a shop) a returns and refunds page, filled in with your details and saved as drafts for you to check before publishing. Add the law that applies under Clinic → Settings → Privacy first. |
While the starter content is added
When you click Save and continue, a box appears under the switches: Adding your starter content… Please keep this page open. Each part you switched on gets a line that says working… and then done. The sample photos are added a few at a time, so their line counts up, for example Sample photos: 9 of 30.
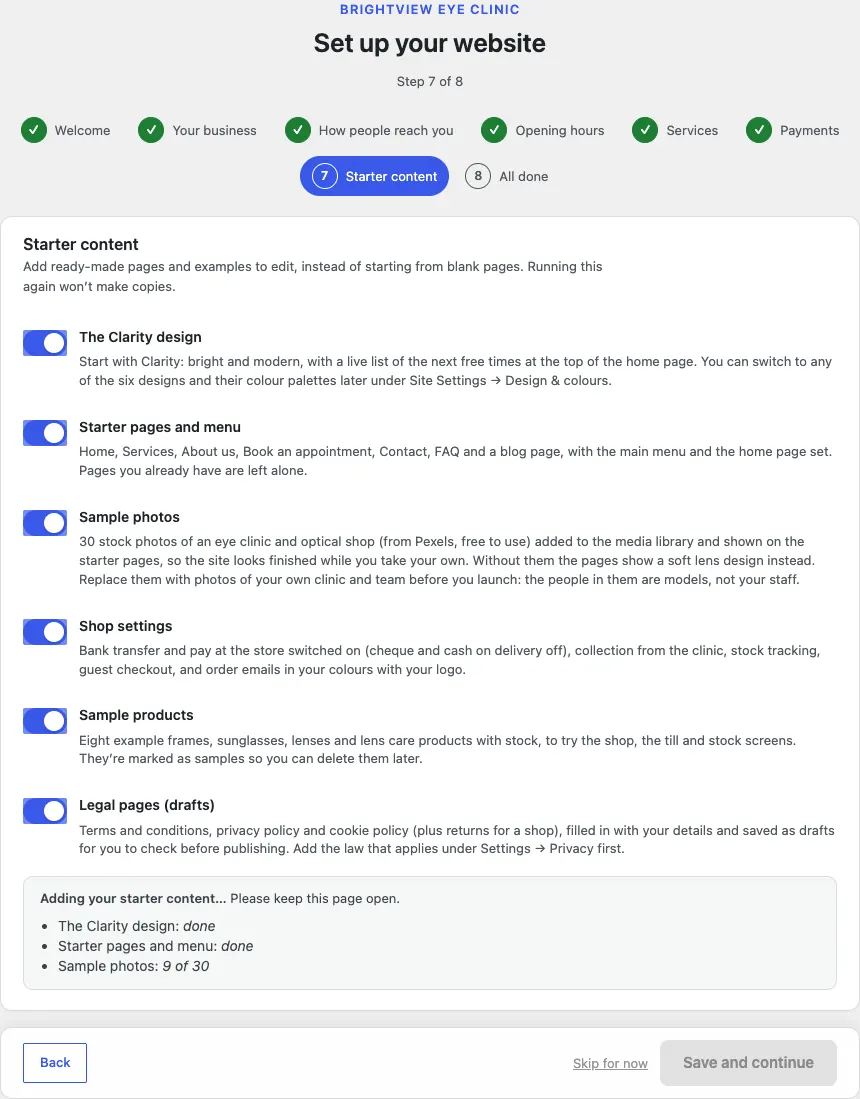
Keep the page open. It takes a minute or two, mostly for the photos. When everything is done, the next step opens by itself. If the box turns red and says This didn't finish, click Save and continue again: the wizard carries on where it stopped and never adds anything twice.
Step 8: All done
The last screen lists what this run of the wizard did (anything an earlier run added isn't listed again), then gives you four links: See the website, Open Clinic → Today, Review all settings and Add staff and choose what they can do.
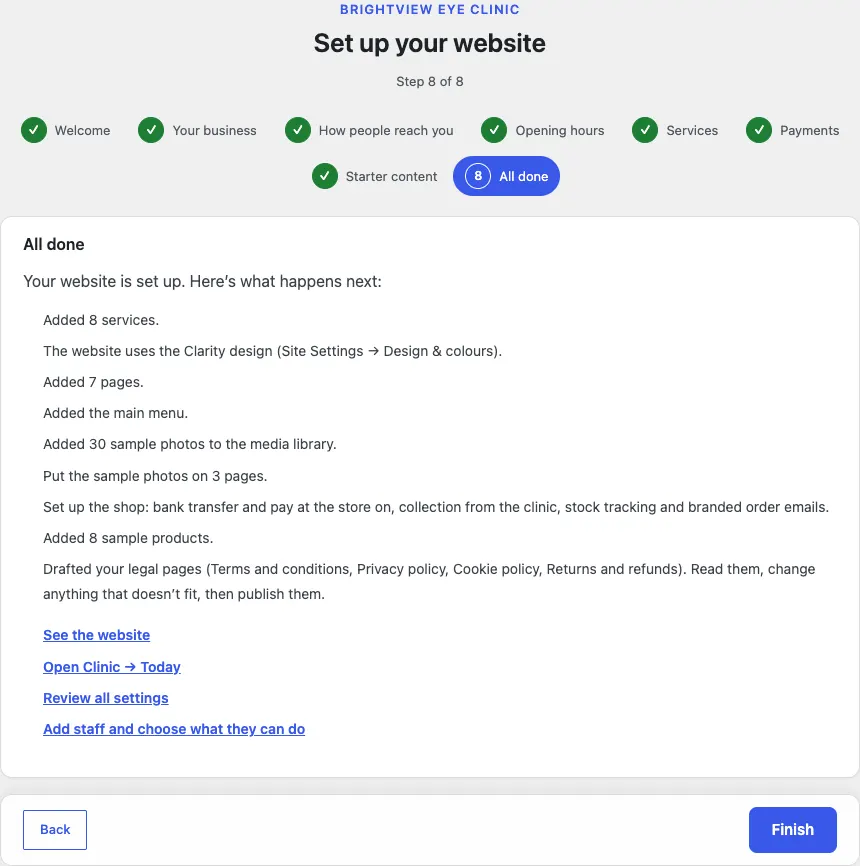
Click Finish. The wizard closes and you land on Clinic → Today, your daily overview.
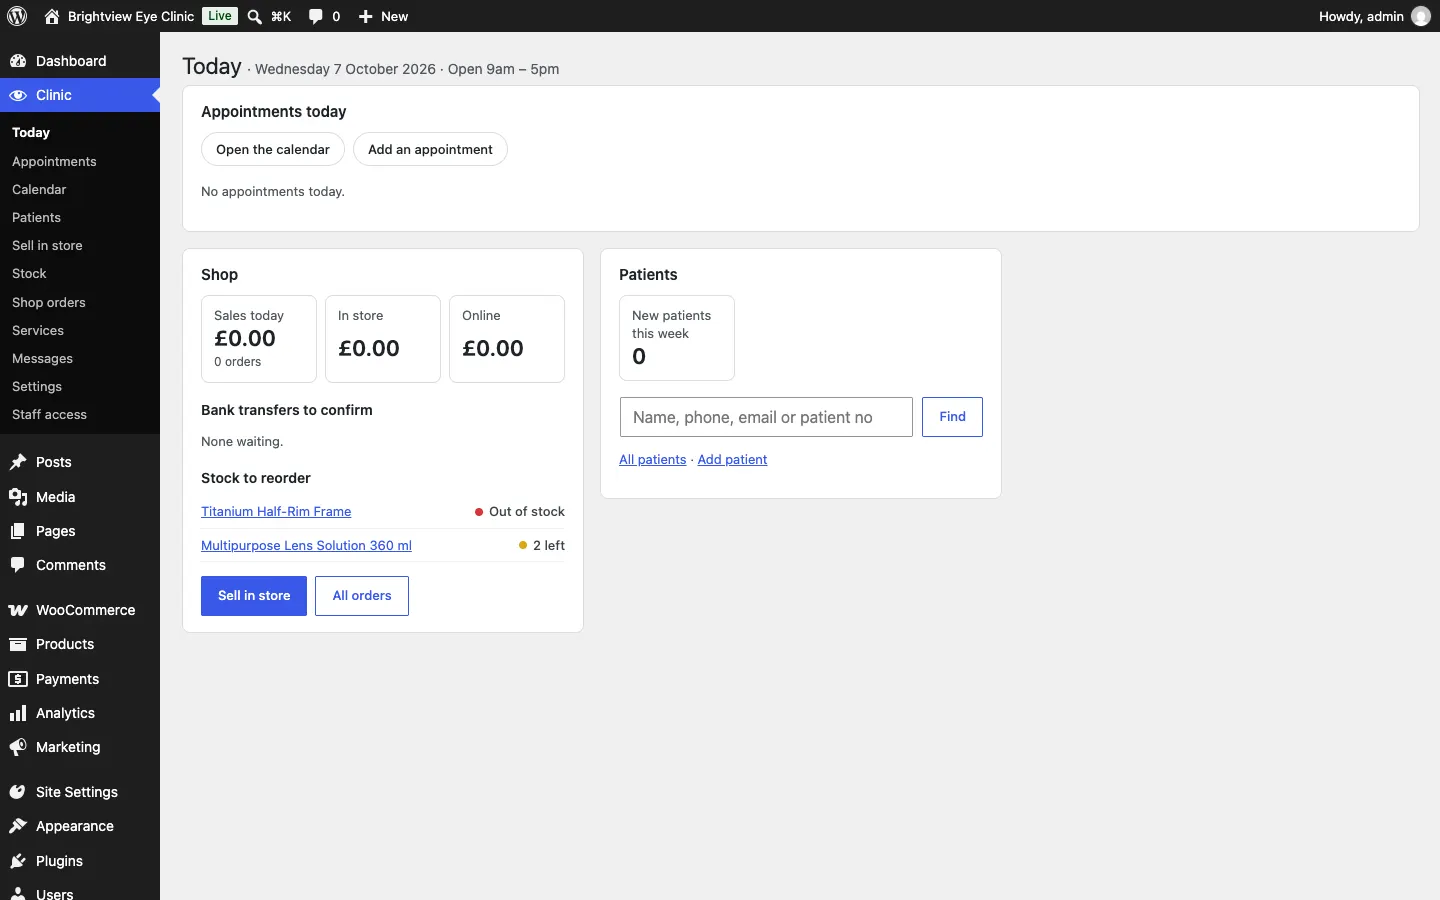
What you have at the end
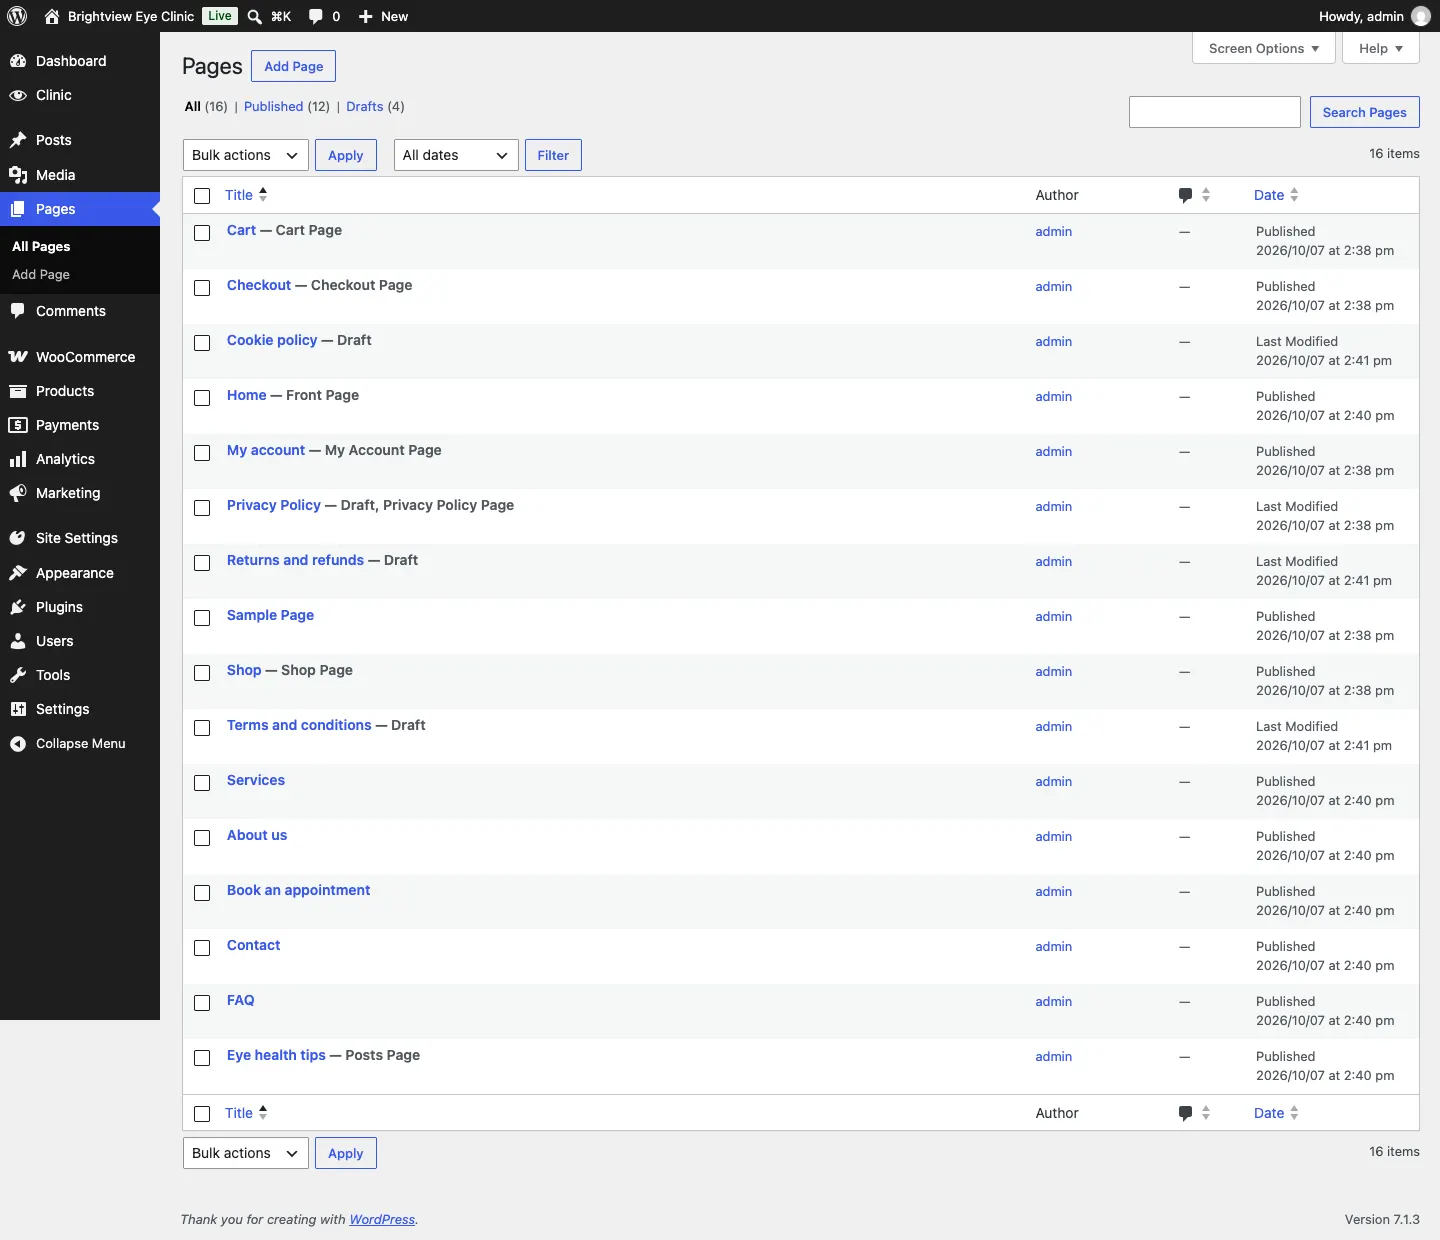
With every switch on, the wizard leaves you with:
- Design: Clarity.
- Pages: Home (the front page), Services, About us, Book an appointment, Contact, FAQ and Eye health tips (your blog), all published. WooCommerce adds its own Shop, Cart, Checkout and My account pages.
- Drafts to check: Terms and conditions, Privacy Policy, Cookie policy and Returns and refunds. WooCommerce also makes its own draft "Refund and Returns Policy"; you only need one of the two, so delete the one you don't use.
- Main menu: Home, Services, Shop, About, Blog and Contact, with Book an appointment and Call us buttons (Call us appears once you've given a phone number).
- Services: the ones you ticked in step 5, in Clinic → Services. These are your real services, not samples.
- Sample products: Classic Acetate Frame (Black), Titanium Half-Rim Frame, Kids' Flexible Frame, Polarised Aviator Sunglasses, Monthly Contact Lenses (6-pack), Multipurpose Lens Solution 360 ml, Blue-Light Filter Lenses (pair) and Digital Progressive Lenses, in the categories Frames, Sunglasses, Contact lenses, Lens care and Lenses.
- Photos: the sample photos in the media library. Each photo's description names the photographer and its Pexels page.
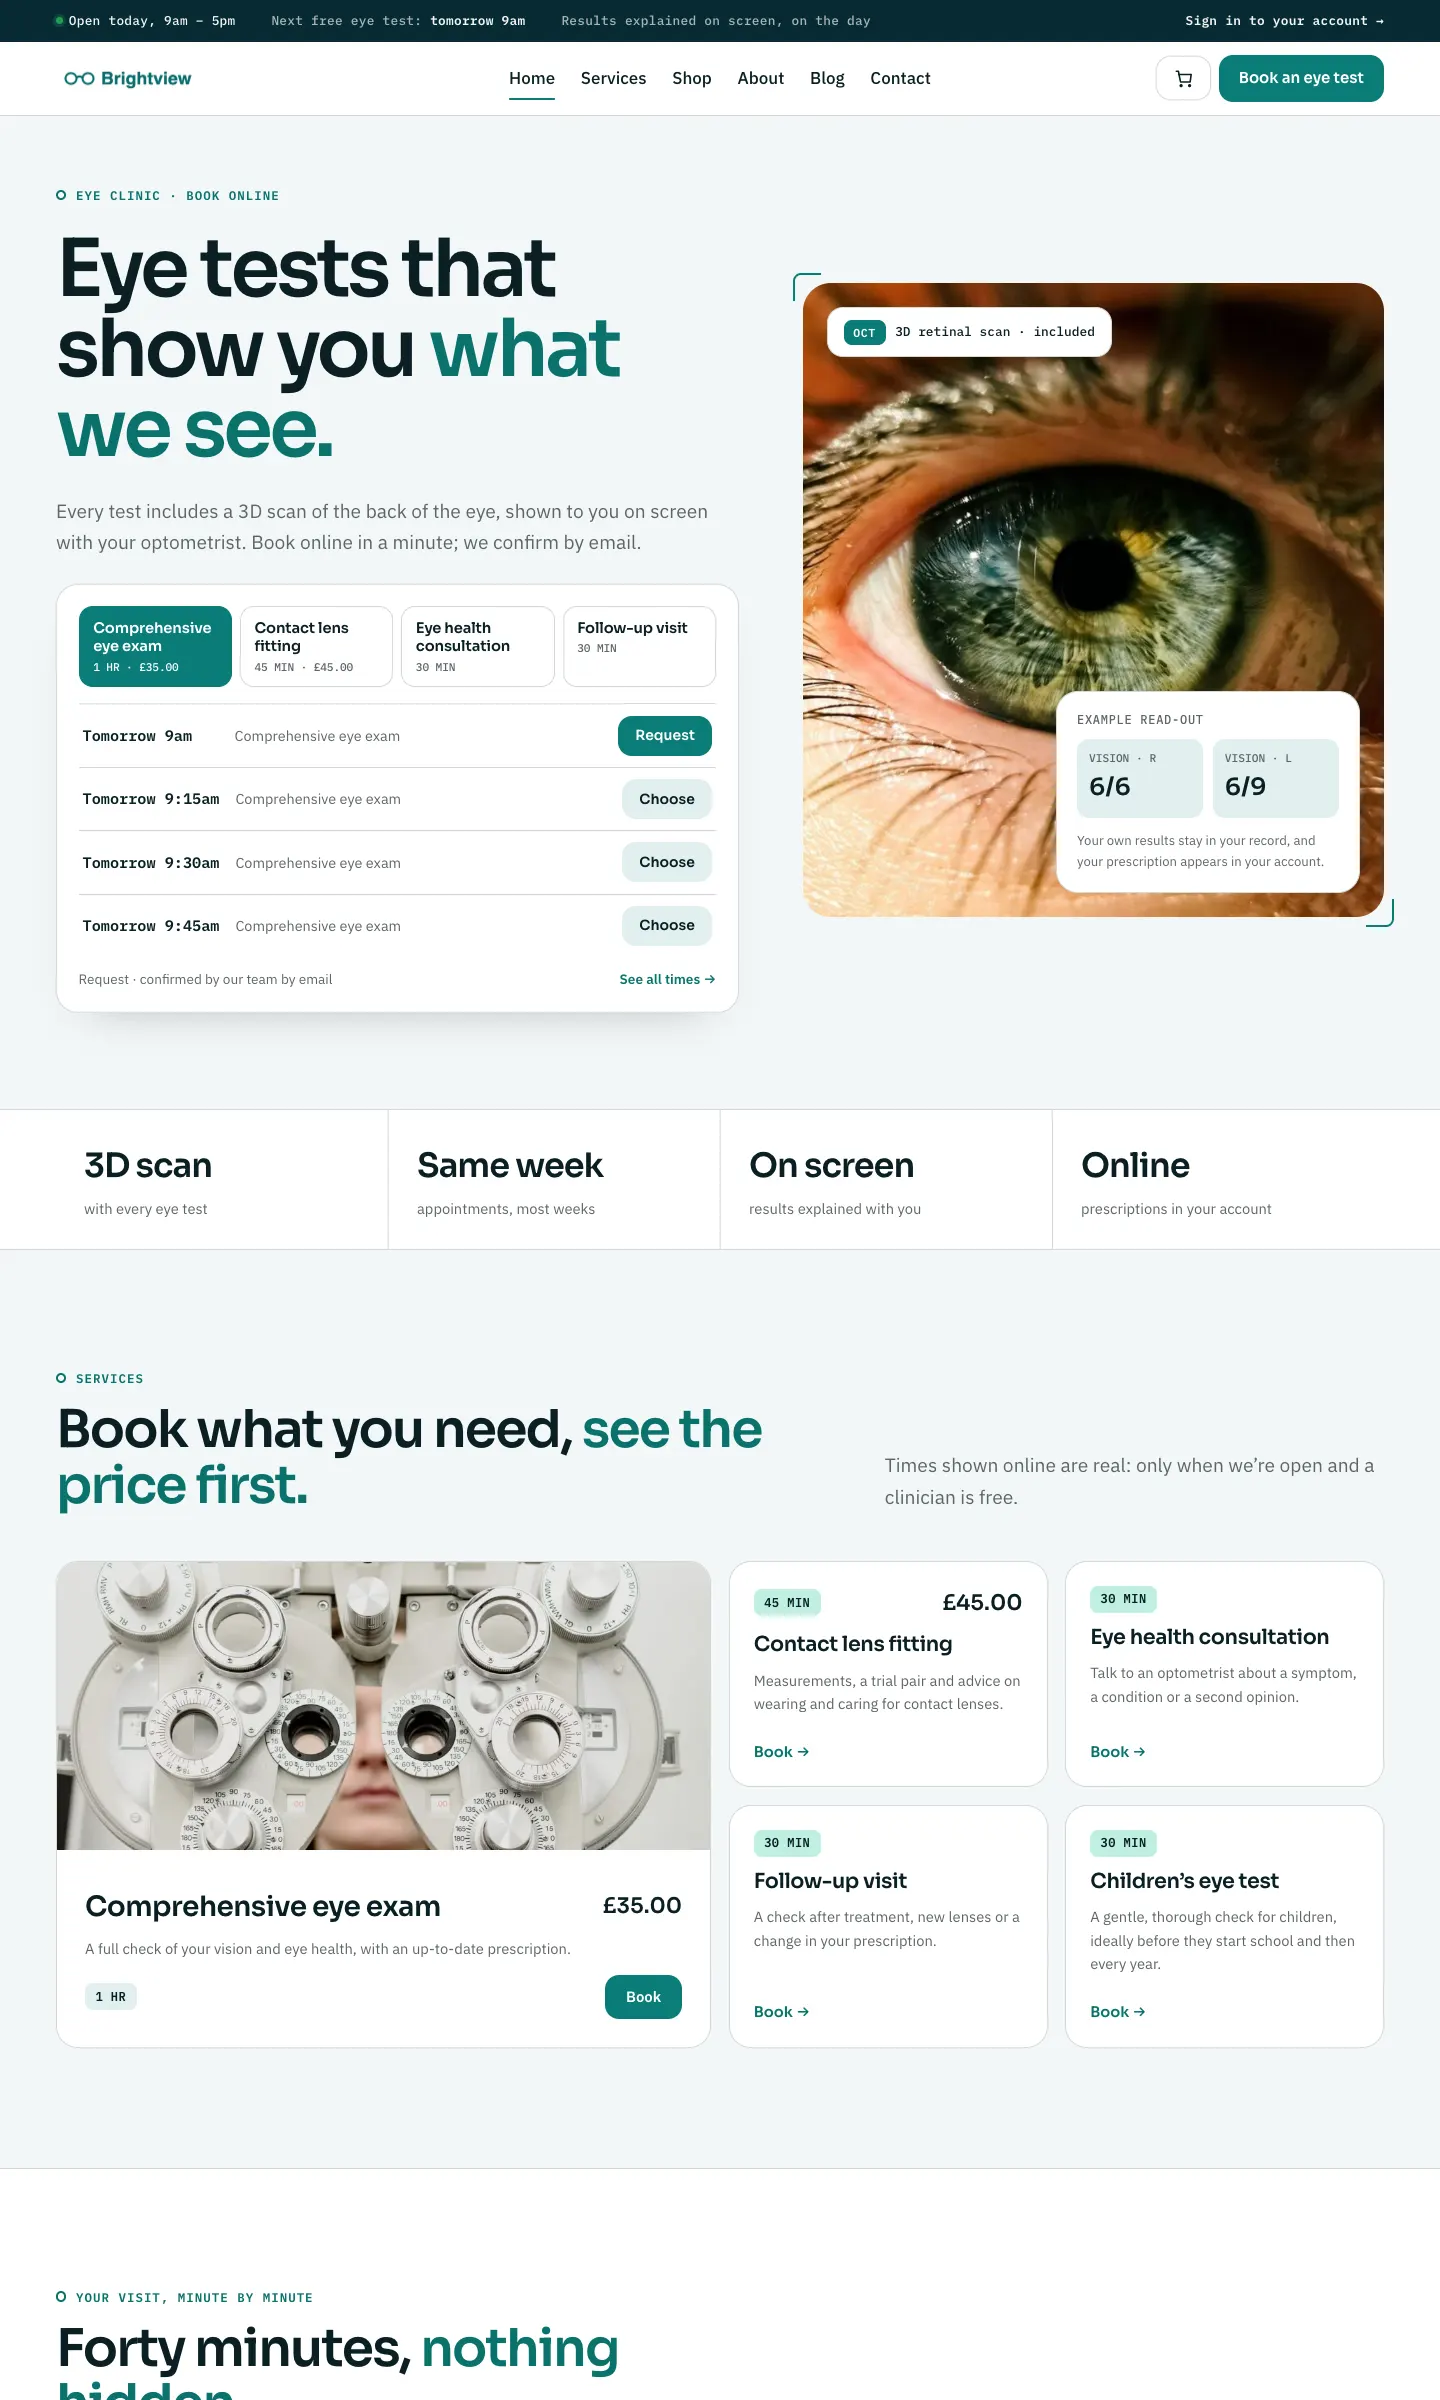
This is the home page a visitor sees straight after the wizard:
How to remove the sample content
There's no single "remove samples" button, but the samples are easy to find.
Sample products
- Go to Products.
- Type "GSCL" in the search box and click Search products. Every sample product's stock code (SKU) starts with GSCL.
- Tick the box at the top of the list to select them all.
- Choose Move to Trash from Bulk actions and click Apply.
Sample photos
- Put your own photos on the pages first, or those places will show the soft lens design.
- Go to Media and search for "Pexels".
- Select the sample photos and delete them permanently.
The starter pages and services aren't samples: edit them rather than deleting them.
Next steps
- Designs: the six Clinic designs and their colour palettes, and how to switch.
- Quick start: the checklist from here to your first booking.
- Your look: your logo, colours, menus and footer.