Running your website
Clinic settings
Every tab of Clinic → Settings explained: Business, Contact, Email, Opening hours, Bookings, Records, Privacy, Payments and Licence, plus Staff access and running the setup wizard again.
On this page
Clinic → Settings is where you type your clinic's details once. The website, emails, receipts and printouts all use them, so when your phone number or hours change, you change them here and everything updates.
The settings are split into tabs. Each tab has its own Save changes button at the bottom of the screen, with a line such as "Saves the “Business” tab only." Some tabs only appear for administrators.
Features marked (Pro) need a Pro or Agency licence.
Business
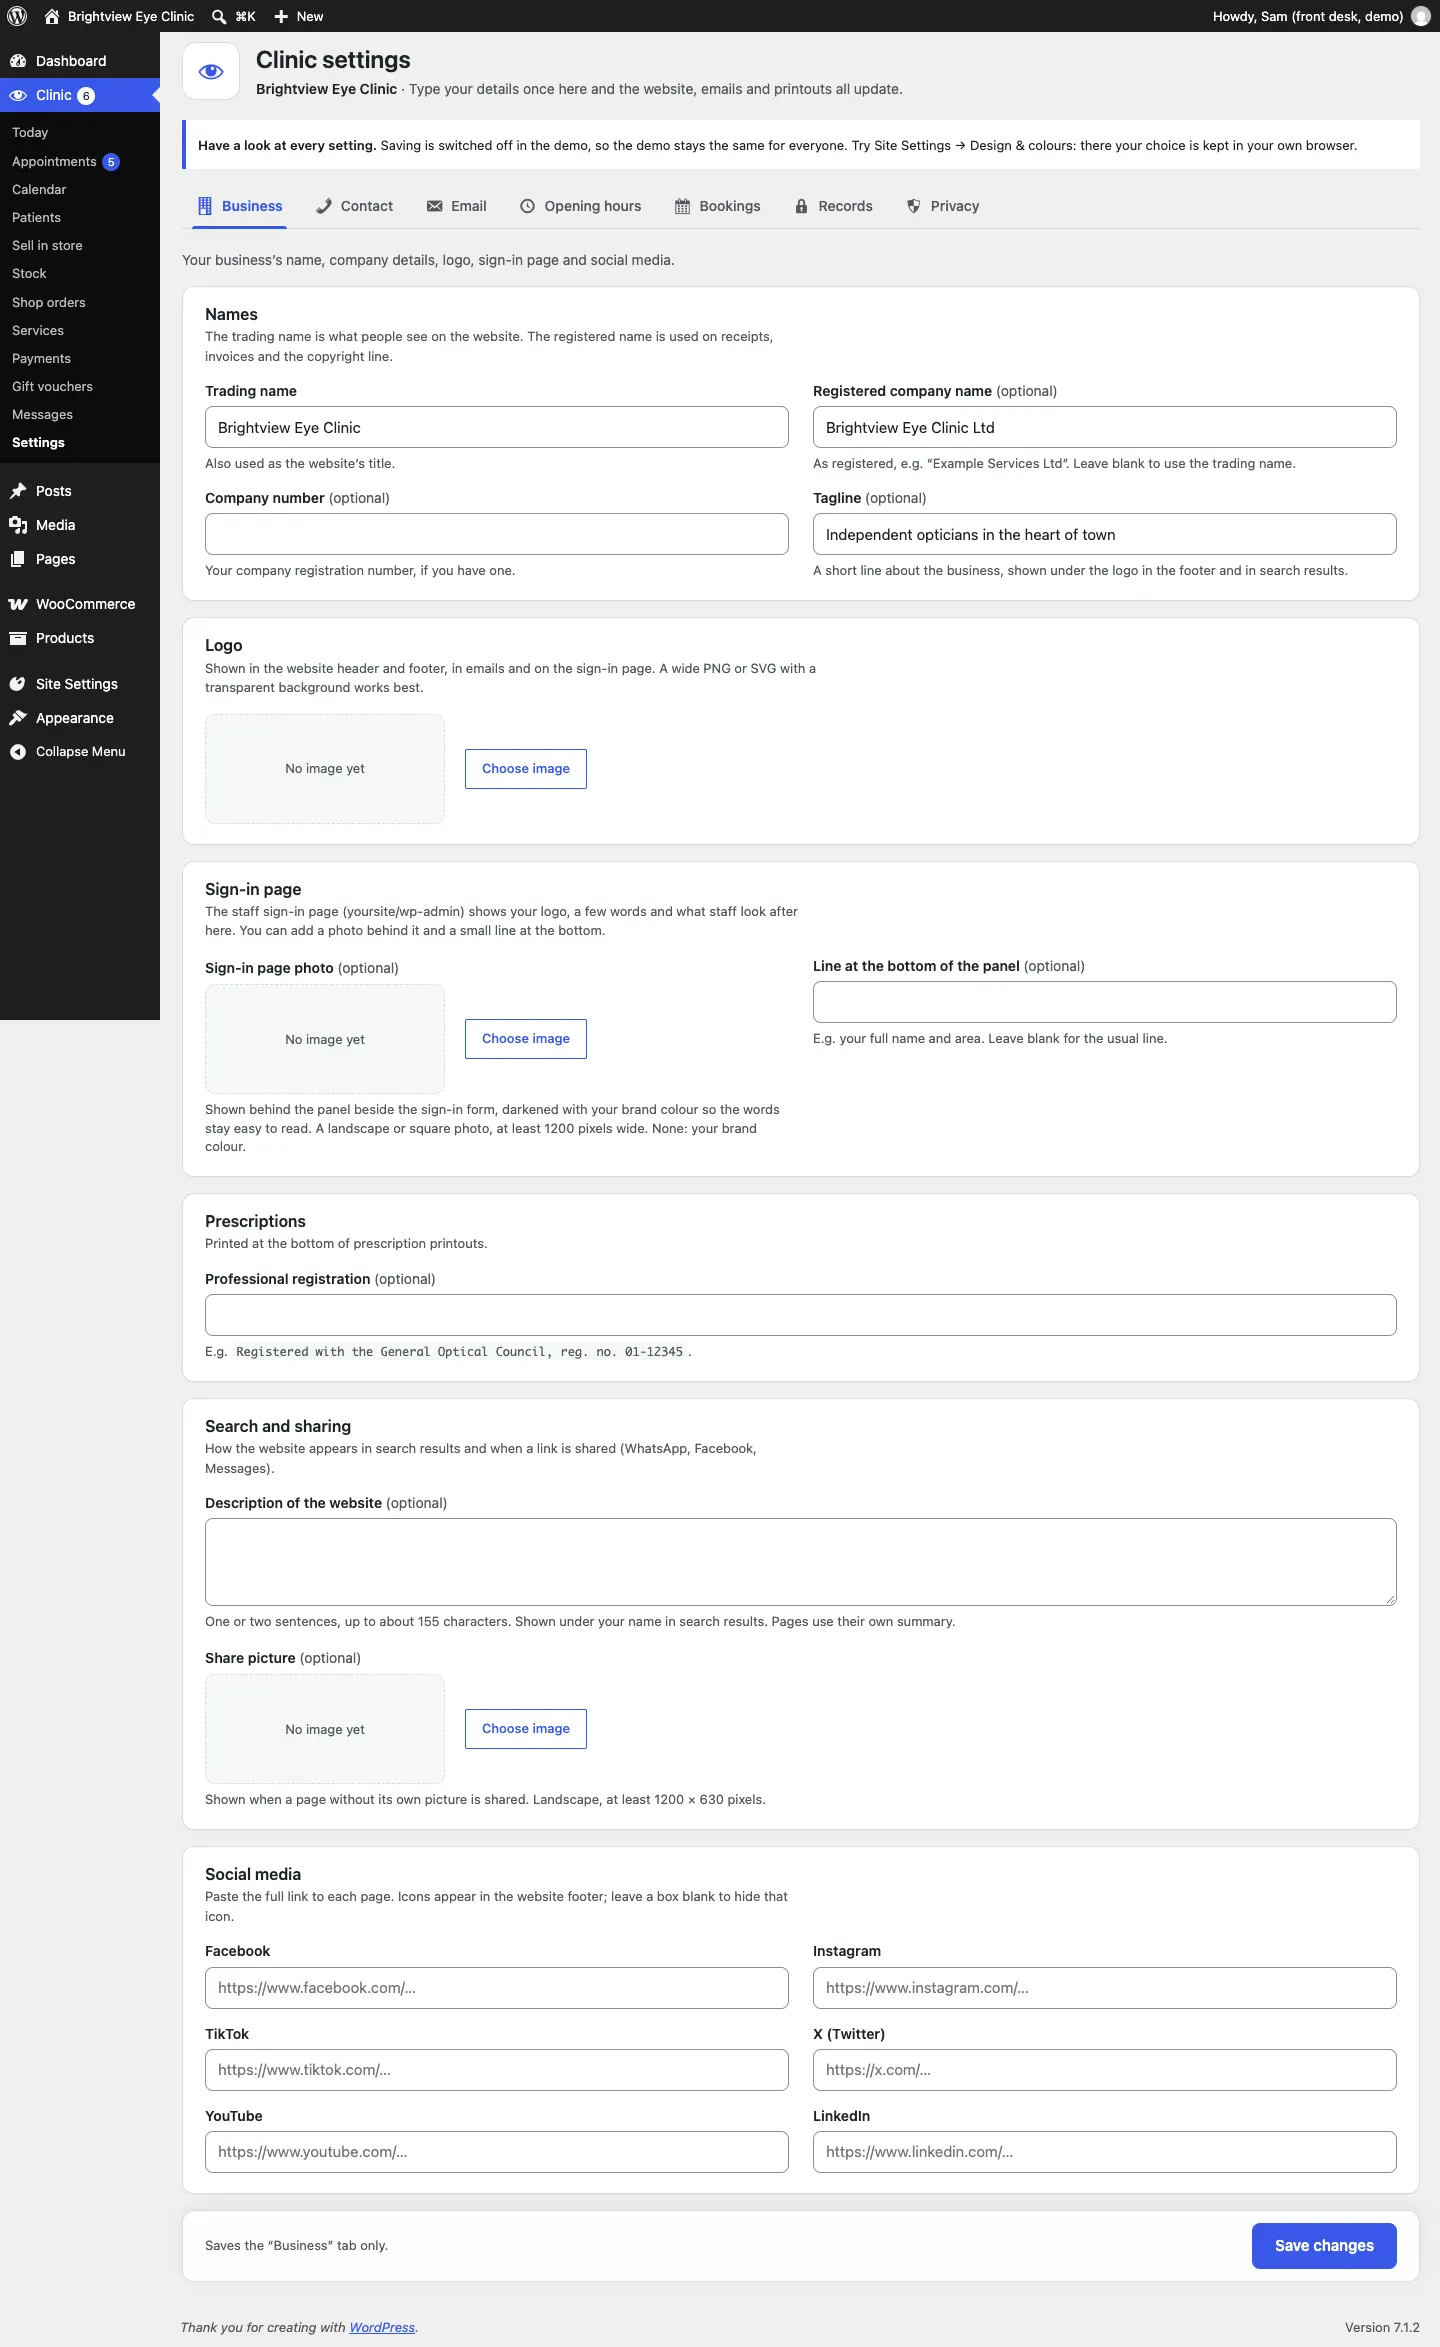
Your clinic's name, company details, logo, sign-in page and social media.
- Trading name: what people see; also the website's title.
- Registered company name (optional) and Company number (optional): used on receipts, invoices and the copyright line.
- Tagline (optional): shown under the logo in the footer and in search results.
- Logo: click Choose image, pick a picture from the media library or upload one, then click Select. A wide PNG or SVG with a transparent background works best. Change image swaps it later.
- Sign-in page: an optional photo behind the staff sign-in panel (Choose image works the same way), and a line at the bottom.
- Prescriptions: Professional registration (optional), printed at the bottom of prescription printouts, for example "Registered with the General Optical Council, reg. no. 01-12345."
- Search and sharing: a short description for search results and a picture used when a page is shared on WhatsApp or Facebook.
- Social media: paste the full link to each page; icons appear in the footer.
Contact
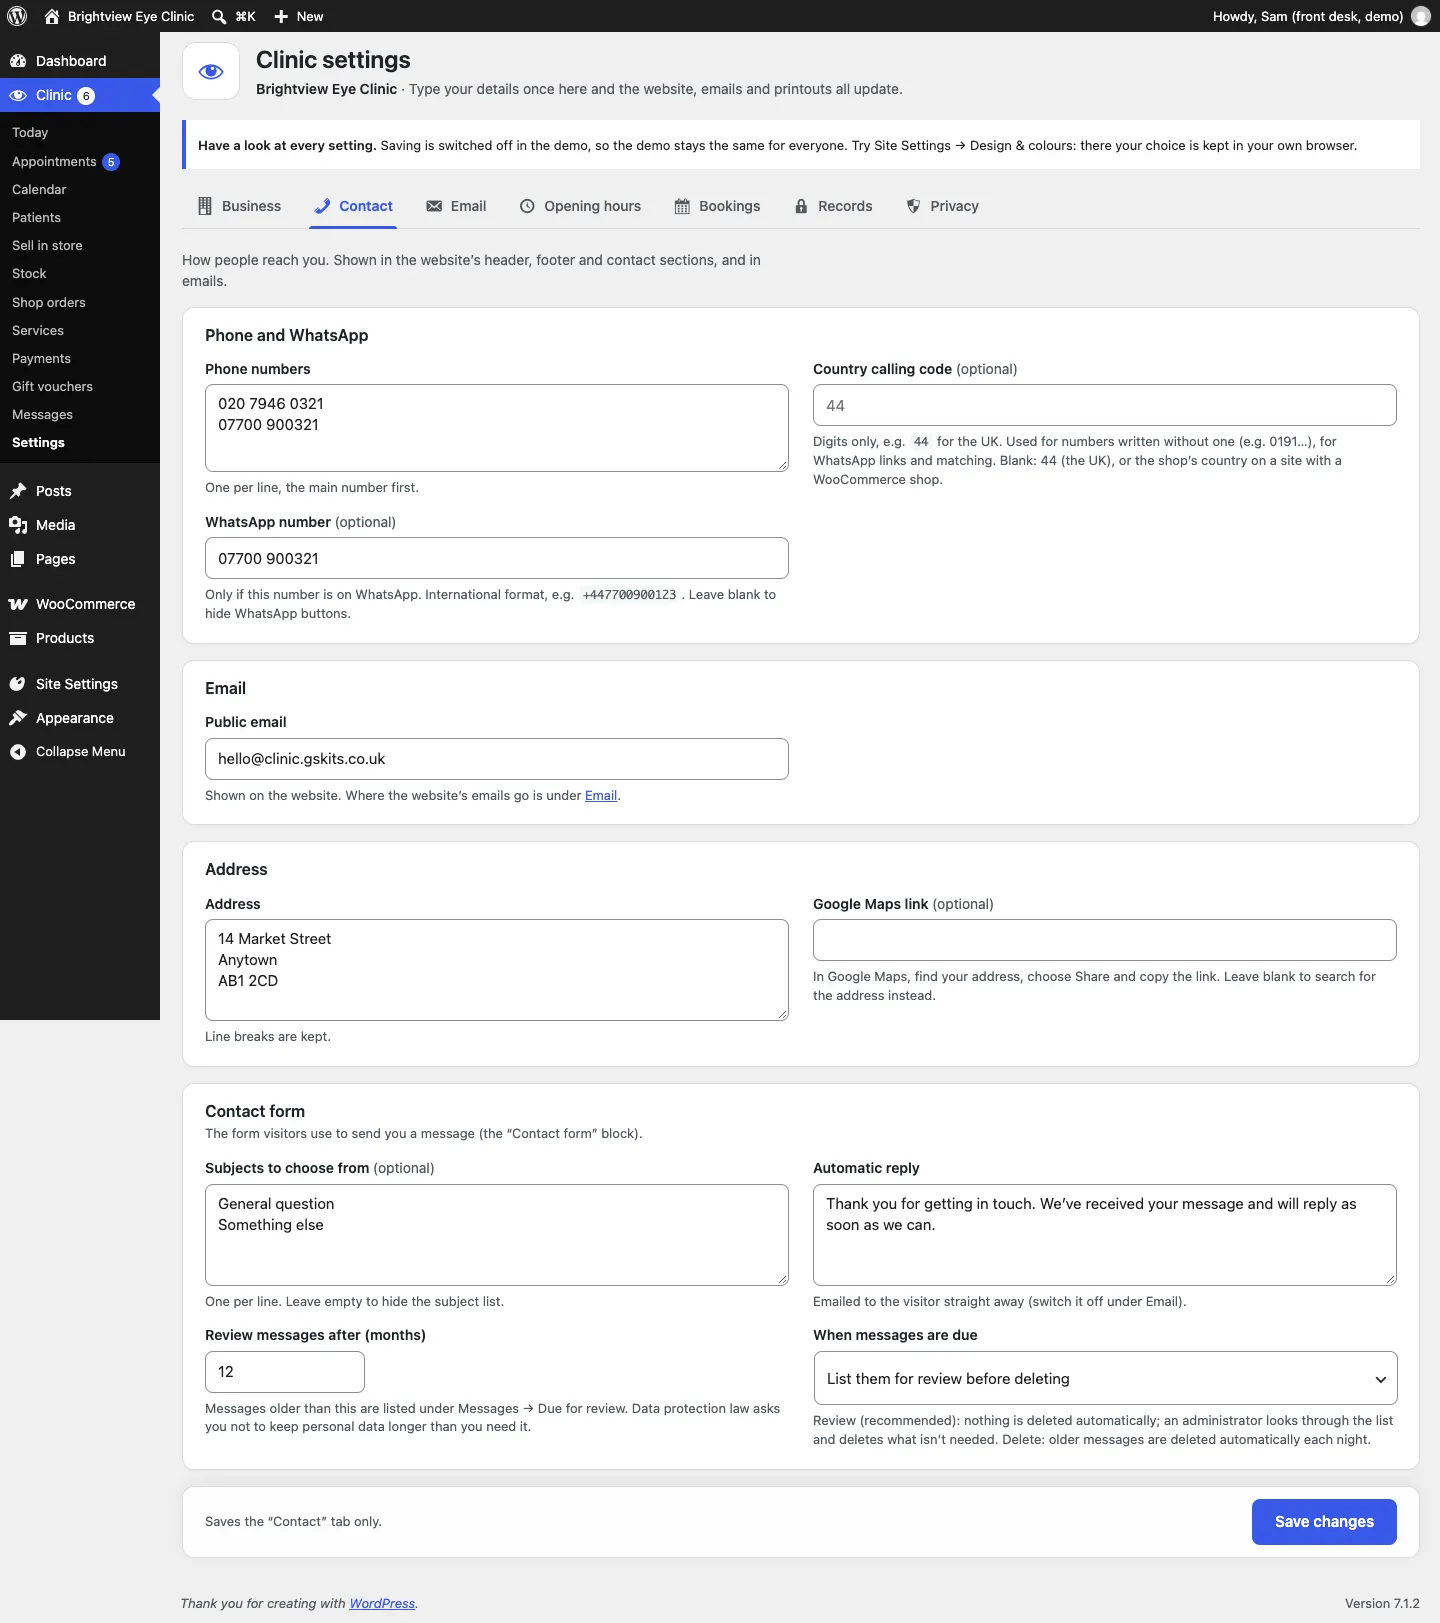
How people reach you, shown in the header, footer, contact sections and emails.
- Phone numbers: one per line, the main number first.
- Country calling code (optional), for example 44 for the UK.
- WhatsApp number (optional): only if the number is on WhatsApp, in international format such as +447700900123. Leave blank to hide WhatsApp buttons.
- Public email: shown on the website.
- Address and Google Maps link (optional).
- Contact form: subjects, the automatic reply and how long messages are kept. See Messages.
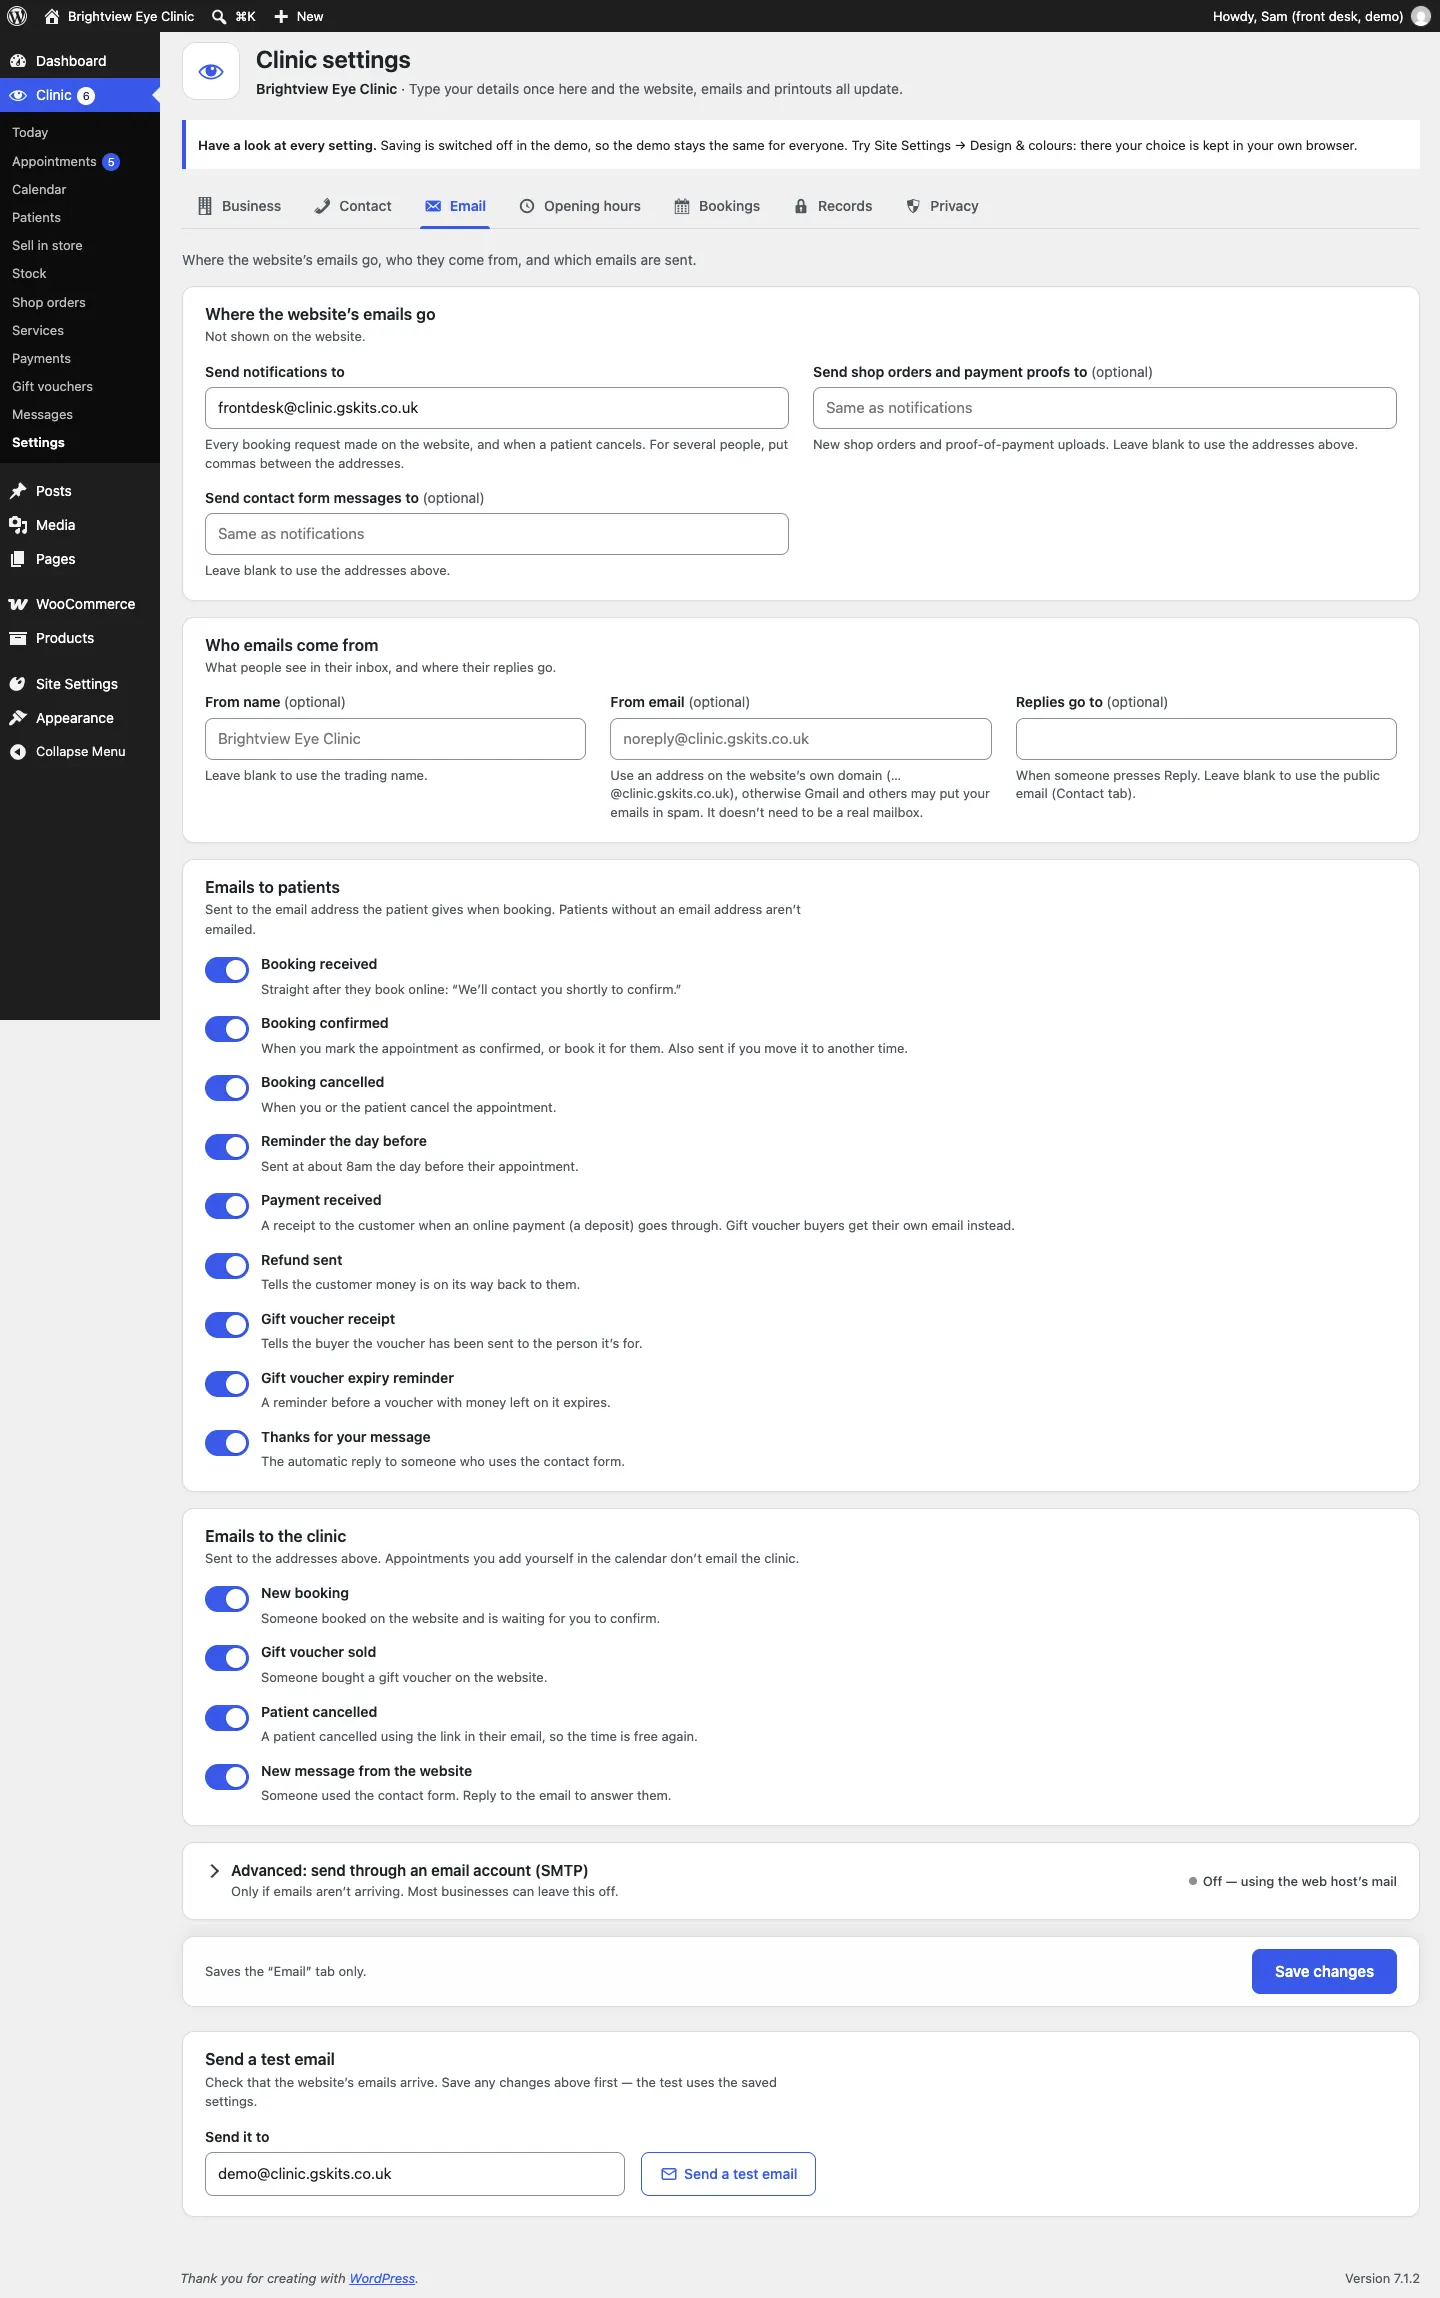
Where the website's emails go, who they come from, and which are sent.
- Send notifications to: where every online booking request and patient cancellation is emailed. Put commas between several addresses.
- Send shop orders and payment proofs to (optional): new shop orders and proof-of-payment uploads. Leave blank to use the addresses above.
- Send contact form messages to (optional): leave blank to use the addresses above.
- From name (optional), From email (optional) and Replies go to (optional). Use a From address on your website's own domain, or Gmail and others may put your emails in spam.
- Emails to patients: switch each on or off: Booking received, Booking confirmed, Booking cancelled, Reminder the day before, Payment received, Refund sent, Gift voucher receipt, Gift voucher expiry reminder and Thanks for your message.
- Emails to the clinic: New booking, Gift voucher sold, Patient cancelled and New message from the website. Appointments you add yourself don't email the clinic.
- Advanced: send through an email account (SMTP): only if emails aren't arriving. Most clinics can leave this off.
- Send a test email: type an address and click Send a test email. Save your changes first.
- Email log (Pro): every email the website tried to send, newest first, and whether it went. Only administrators see it.
For more on emails and the email log, see Privacy, cookies and emails.
Opening hours
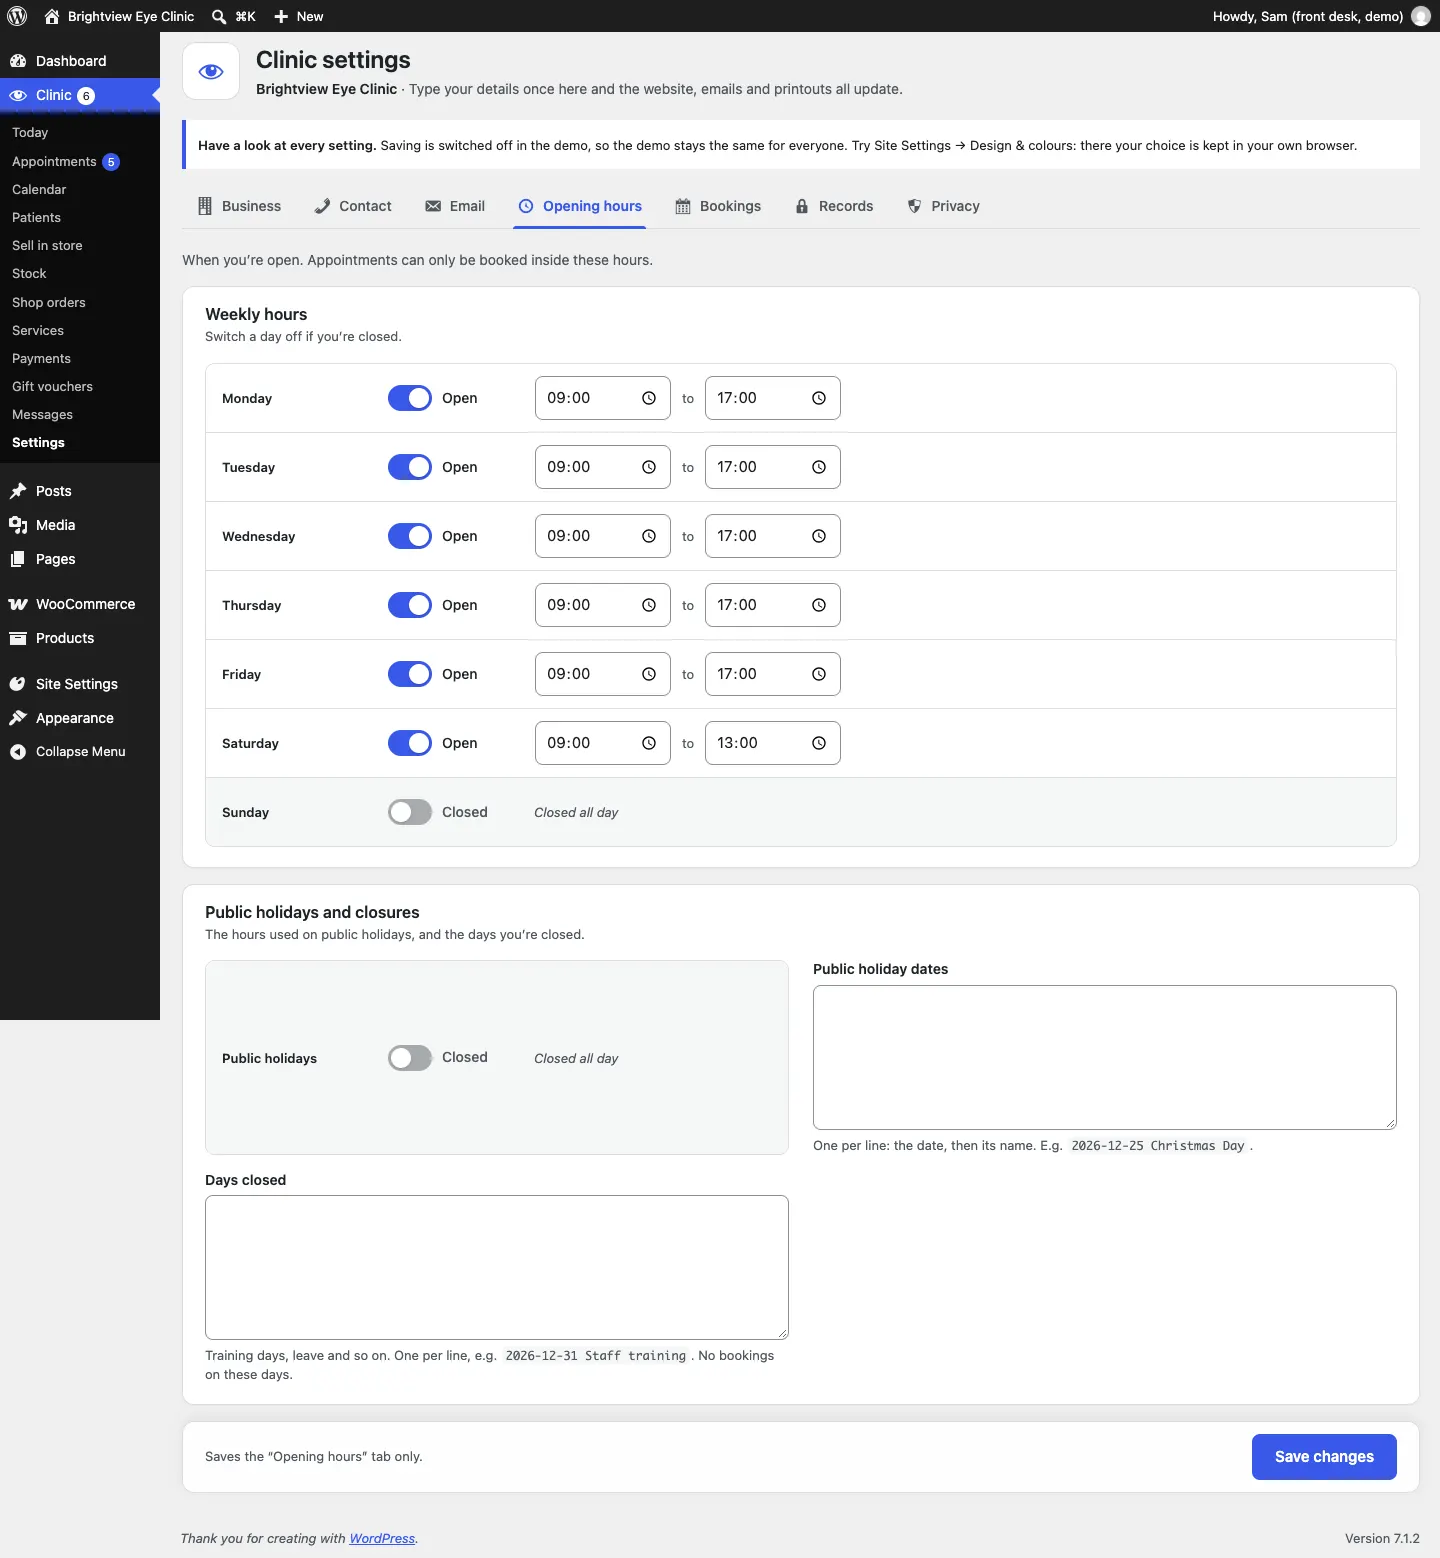
When you're open. Appointments can only be booked inside these hours.
- Under Weekly hours, switch each day Open or Closed and set the opening and closing times.
- Under Public holidays and closures, choose the hours on Public holidays (usually Closed).
- In Public holiday dates, put one date per line, then its name, for example
2026-12-25 Christmas Day. - In Days closed, add training days, leave and so on in the same way, for example
2026-12-31 Staff training. No bookings are offered on these days. - Click Save changes.
Bookings
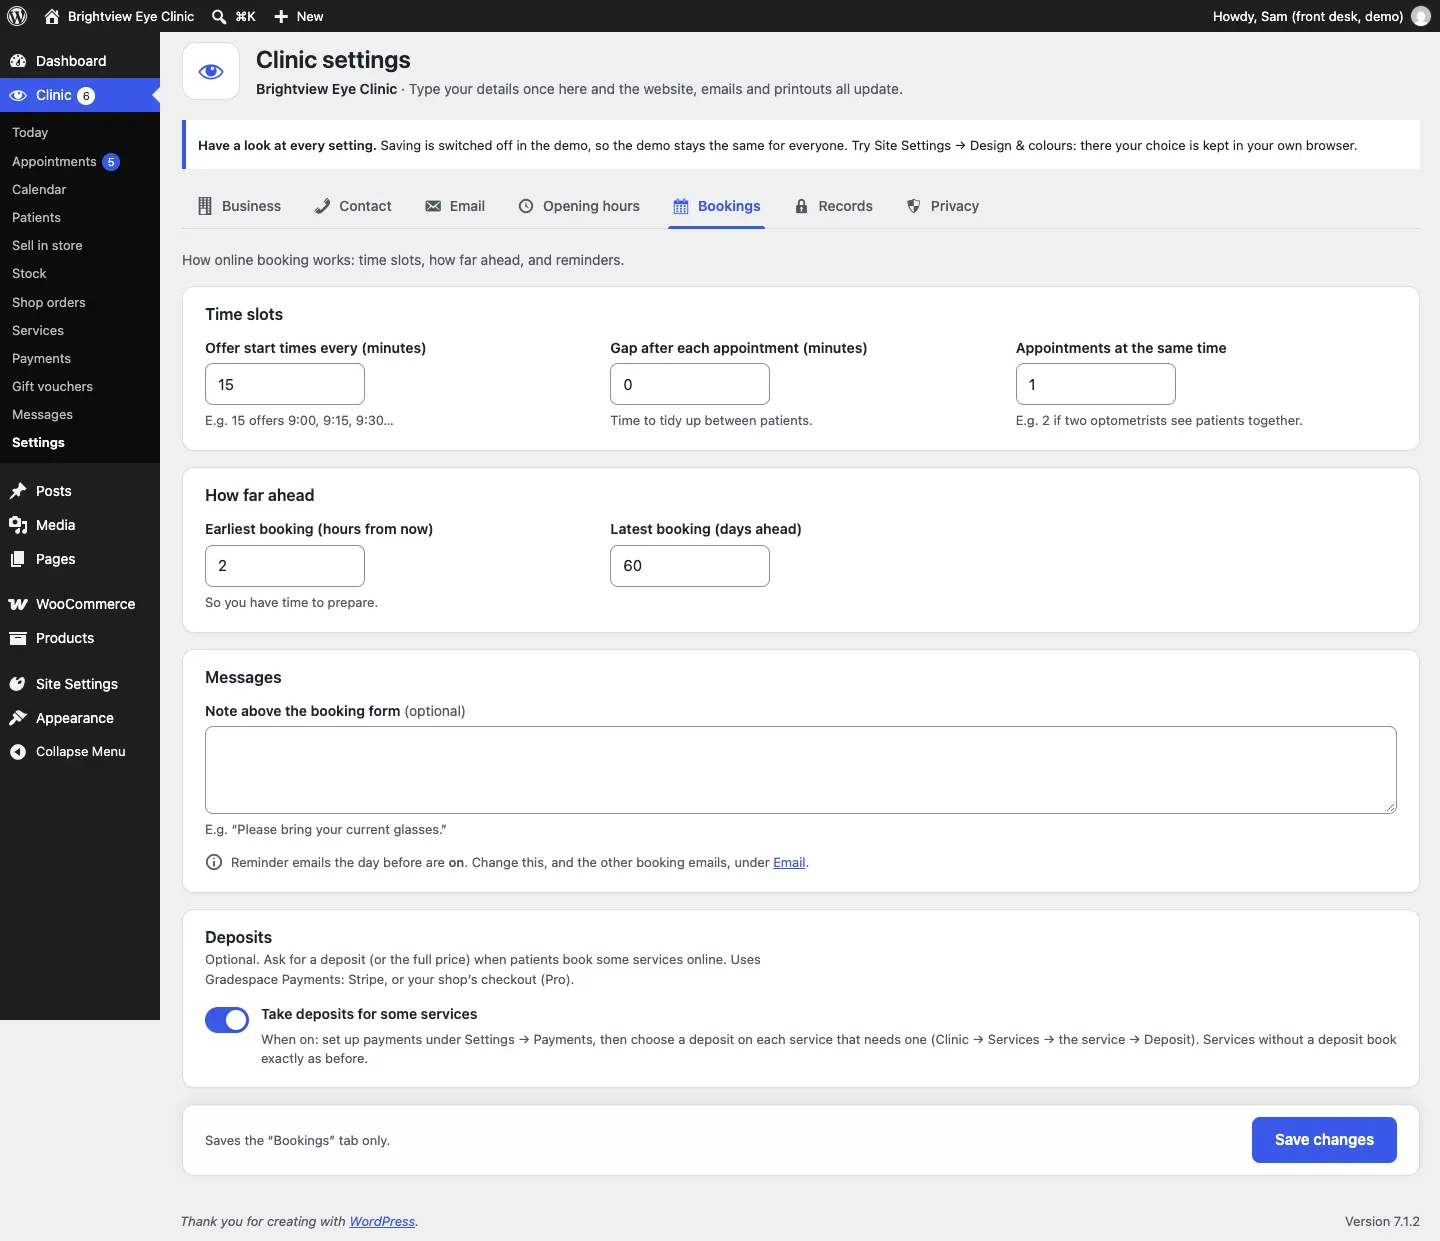
How online booking works.
- Offer start times every (minutes): for example 15 offers 9:00, 9:15, 9:30…
- Gap after each appointment (minutes): time to tidy up between patients.
- Appointments at the same time: for example 2 if two optometrists see patients together.
- Earliest booking (hours from now): so you have time to prepare.
- Latest booking (days ahead).
- Note above the booking form (optional), for example "Please bring your current glasses."
- Deposits (Pro): Take deposits for some services. See Payments and deposits.
Records
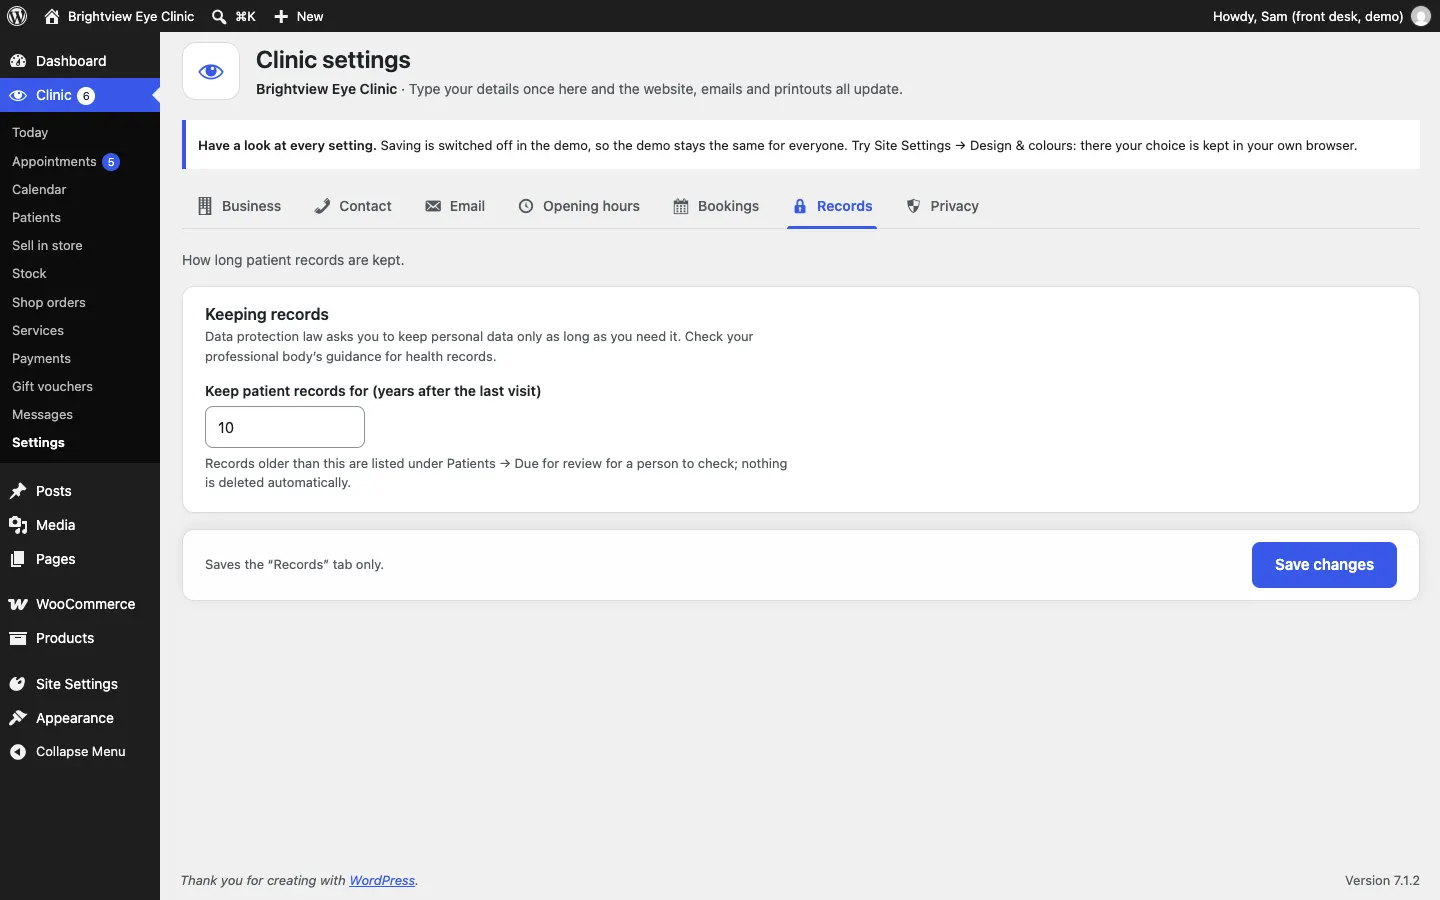
How long patient records are kept: Keep patient records for (years after the last visit). Records older than this are listed under Patients → Due for review for a person to check. Nothing is deleted automatically. Check your professional body's guidance for health records.
Privacy
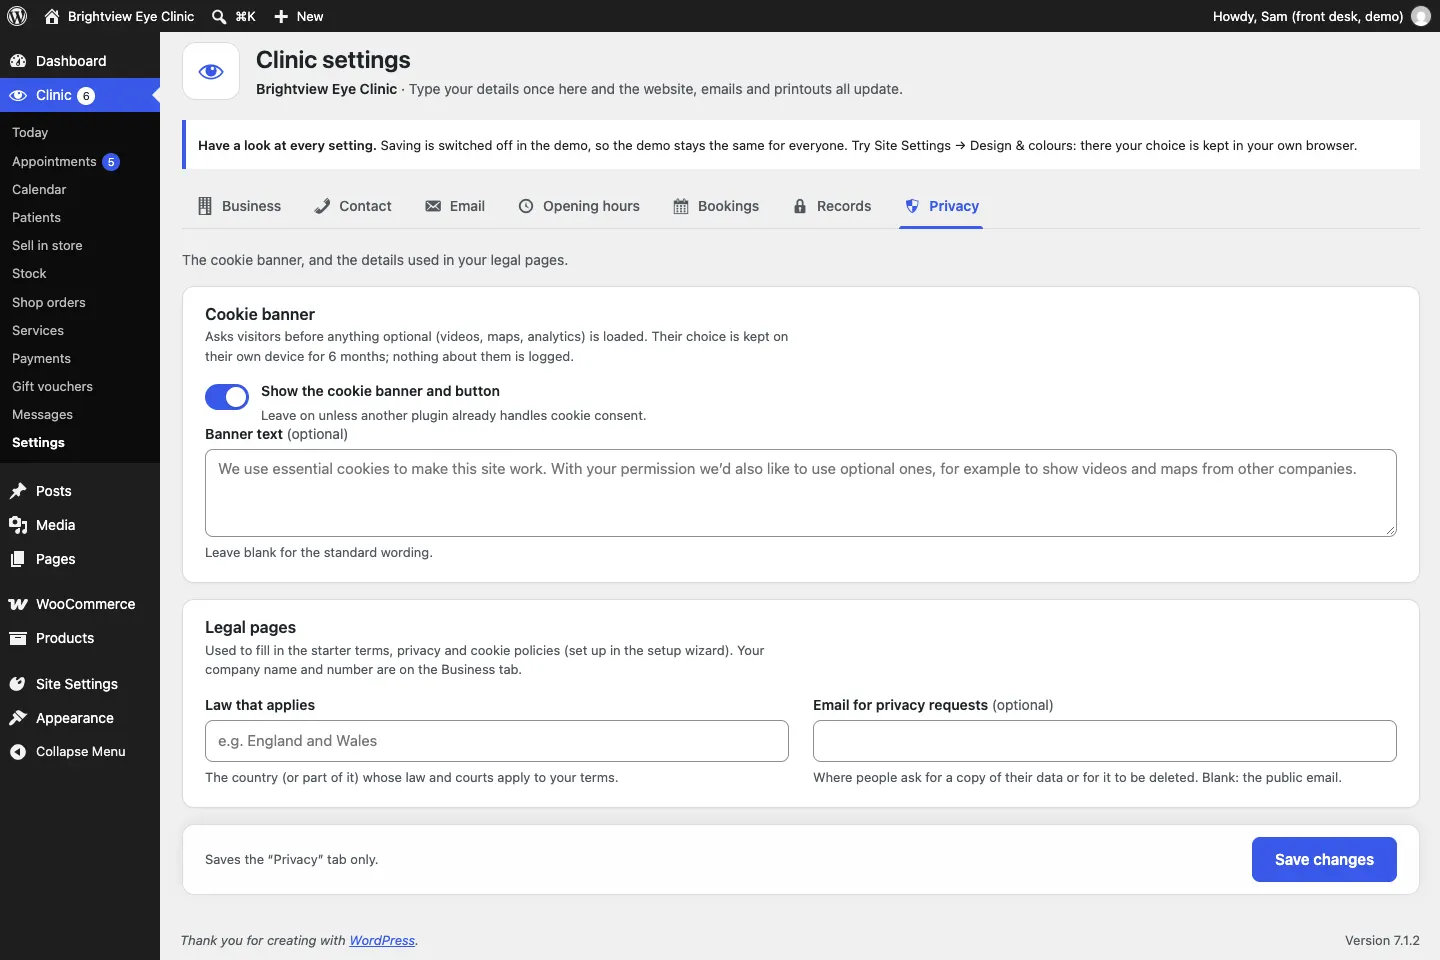
- Cookie banner: Show the cookie banner and button, and optional Banner text. Leave it on unless another plugin already handles cookie consent.
- Legal pages: Law that applies and Email for privacy requests (optional), used to fill in your starter terms, privacy and cookie pages.
See Privacy, cookies and emails.
Payments
Administrators only. This tab holds:
- Bank transfer: your Bank accounts (shown at checkout and in order emails) and Instructions for customers;
- Pay at the store: Hold orders for (days);
- How you take payments, Stripe, Deposits and Gift vouchers (Pro). See Payments and deposits and Gift vouchers.
We couldn't show this tab: the demo's staff sign-in isn't an administrator.
Licence
Administrators only. Paste your licence key (it looks like GS-XXXX-XXXX-XXXX-XXXX) and click Activate. It's also under Settings → Gradespace licence. See Buying and your licence.
Staff access
Administrators add colleagues in Clinic → Staff access with Add staff member, and choose a role. This opens Users → Add User with the role already chosen; the new person gets an email to set their own password. The roles:
- Front desk: appointments, adding appointments, patients, the till, stock, shop orders and confirming payments;
- Optometrist: appointments, patients, prescriptions, the till and stock;
- Shop manager: the shop only (no appointments by default, because they hold patients' names and phone numbers).
With Pro you can tick exactly what each role can do, for example See payments and take vouchers or Give refunds and issue vouchers. Give Administrator only to the owner and one deputy. See Staff accounts and signing in.
Site Settings → Design & colours
Your website's design, colour palette and sticky header. See Designs, pages and menus.