Setting up · shared chapter
Your look: design, colours, logo, menus and footer
Choosing a design and colour palette in Site Settings → Design & colours, previewing it, keeping the menu at the top when scrolling, adding your logo, and changing the menu and the footer.
On this page
Every kit comes with several designs and, for each design, several colour palettes. The design sets the fonts, shapes and mood of the whole website; the palette sets the accent colours. You can change both at any time without touching your words or pictures, and you can preview a choice privately before visitors see it.
This chapter also covers your logo, the main menu and the footer. Your kit's own Designs chapter shows what each of its designs looks like.
How to choose a design and colours
- Go to Site Settings → Design & colours. (Administrators and editors can open this screen.)
- Under Design, click the design you want. Each card shows a small sample and a sentence about the mood.
- Under Colour palette, click a palette. The design's own colours keeps the colours the design was made with. The palettes change with the design you picked, because each design has its own.
- Click Preview on the site to see your choice (see below).
- When you're happy, click Save.
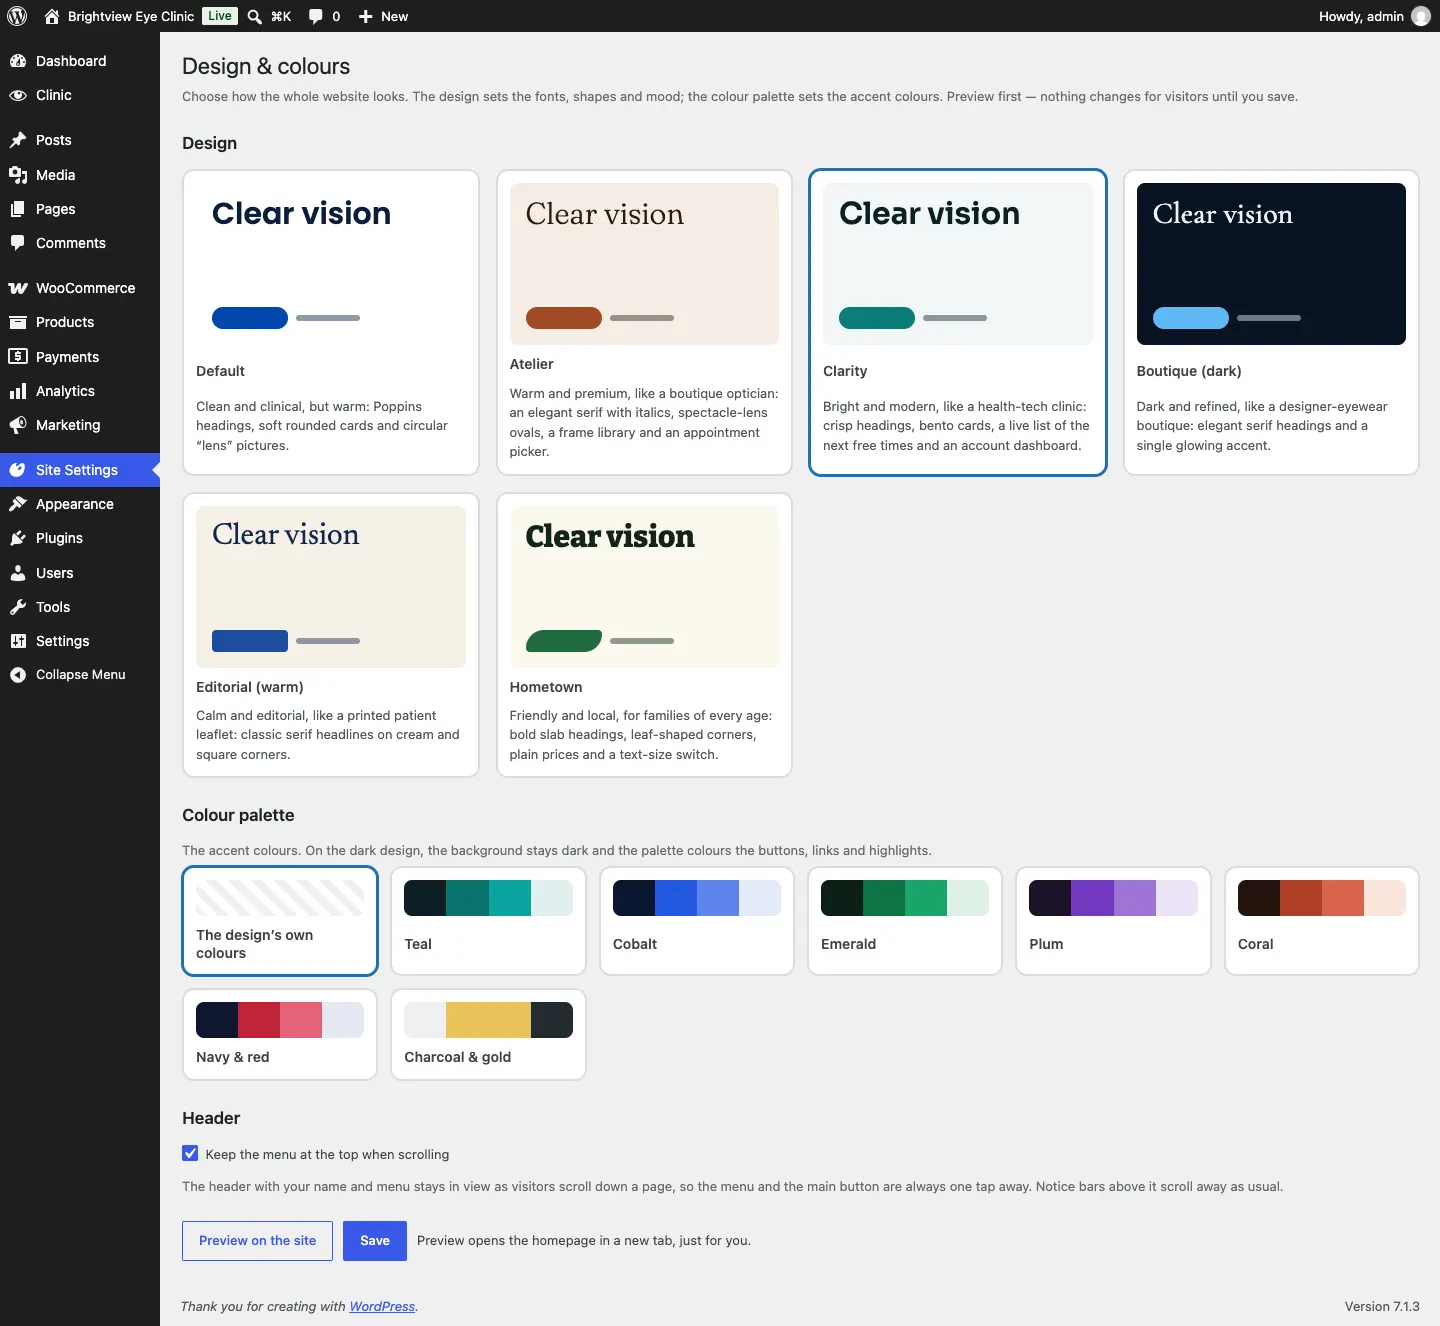
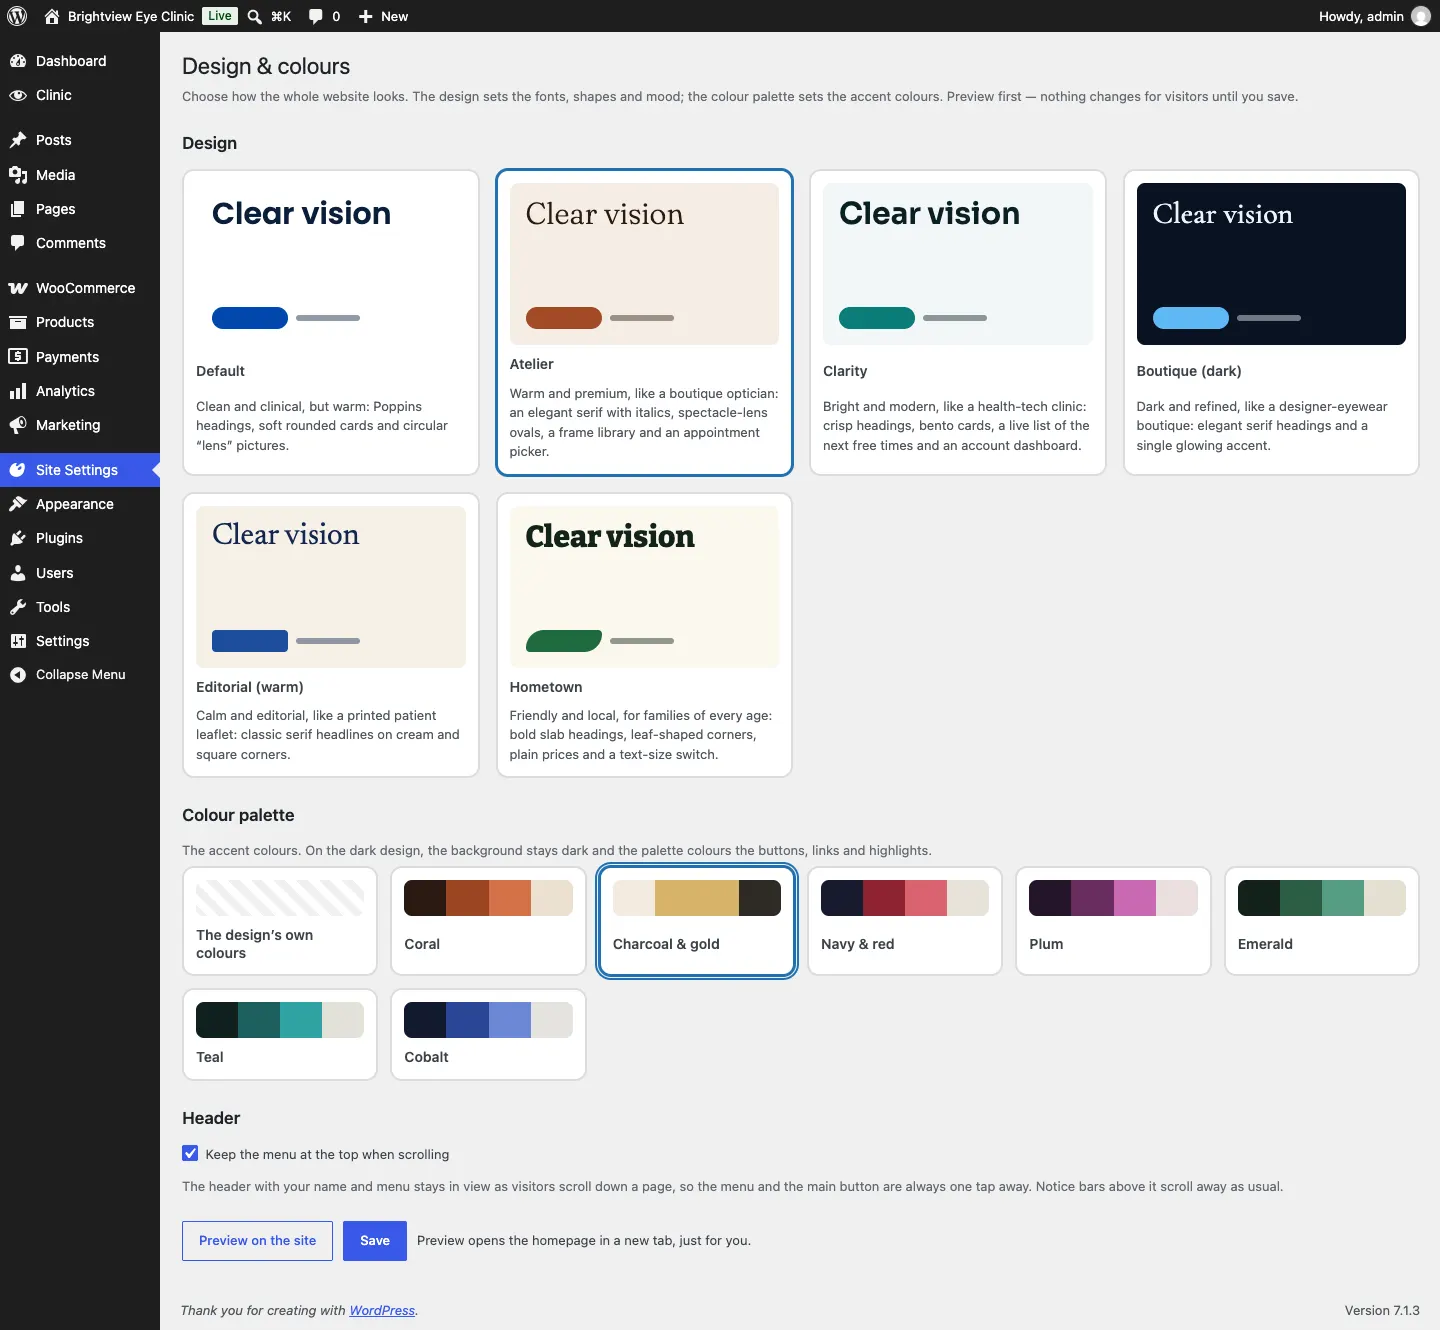
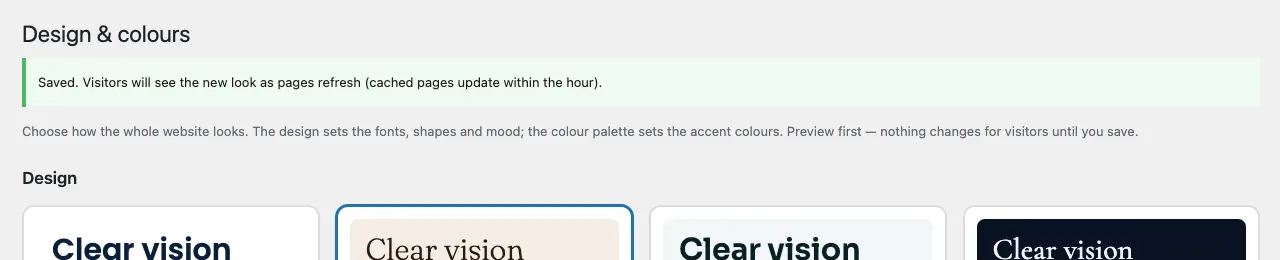
After you save, a green message says "Saved. Visitors will see the new look as pages refresh (cached pages update within the hour)."
How to preview before you save
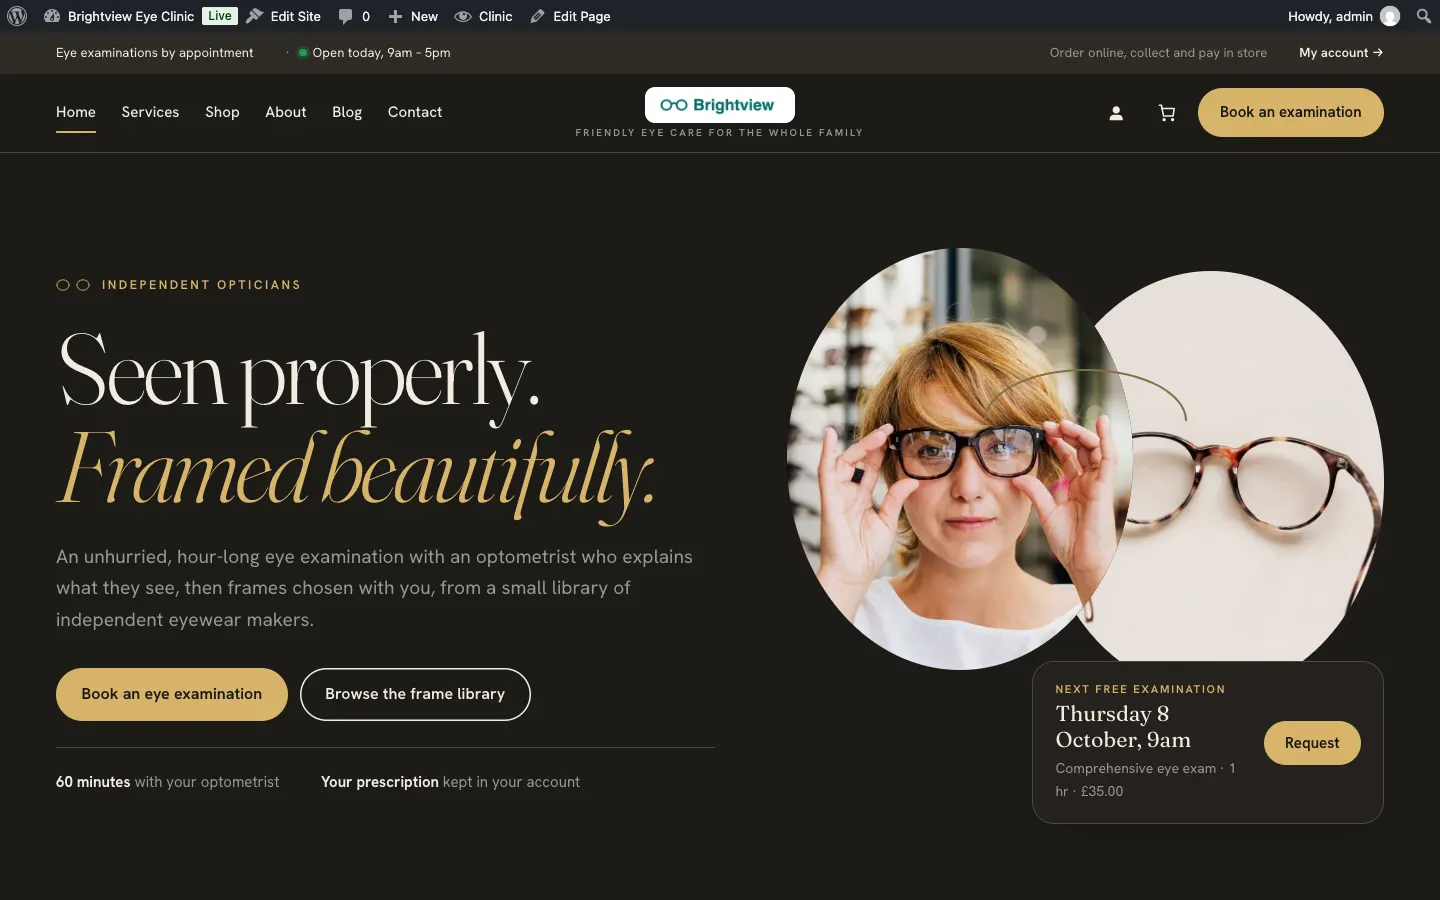
Preview on the site opens your home page in a new tab with the design and palette you've picked, just for you. Visitors keep seeing the current look until you click Save. Click around the preview to see other pages, then close the tab and go back to Design & colours to save or try something else.
If you've changed styles in the Site Editor
If someone changed colours or fonts in Appearance → Editor → Styles, Design & colours shows an extra box: "Also clear style changes made in Appearance → Editor → Styles (they would otherwise sit on top of this choice)." Leave it ticked so your new design shows as it should.
Keep the menu at the top when scrolling
When this is on, the header with your name and menu stays in view as visitors scroll down a page, so the menu and the main button are always one tap away. Notice bars above it (for example a bar with today's opening hours) scroll away as usual.
- Go to Site Settings → Design & colours.
- Under Header, tick or untick Keep the menu at the top when scrolling.
- Click Preview on the site to try it, then Save.
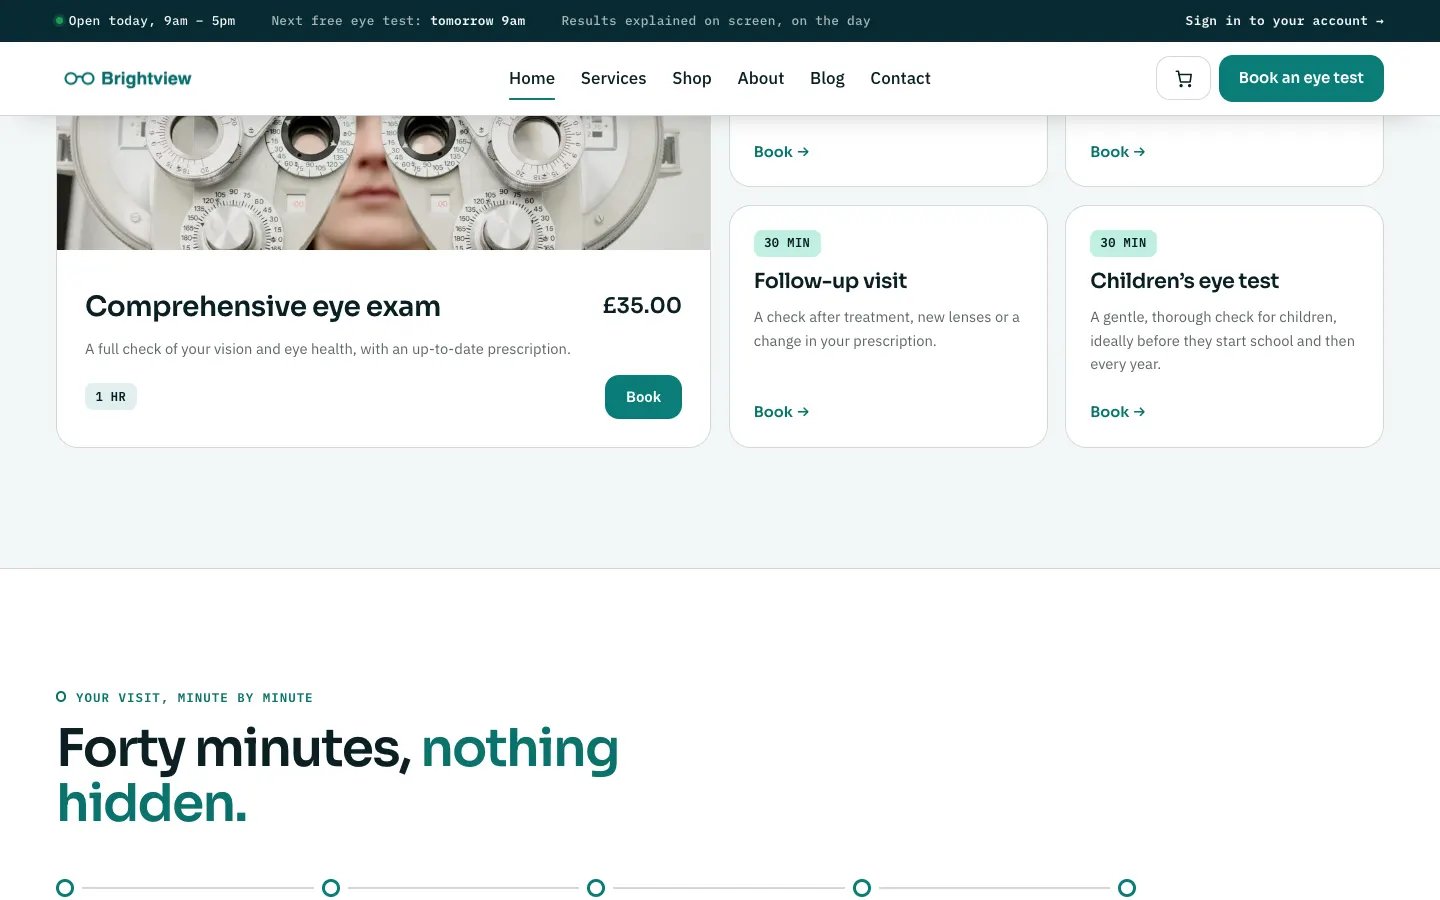
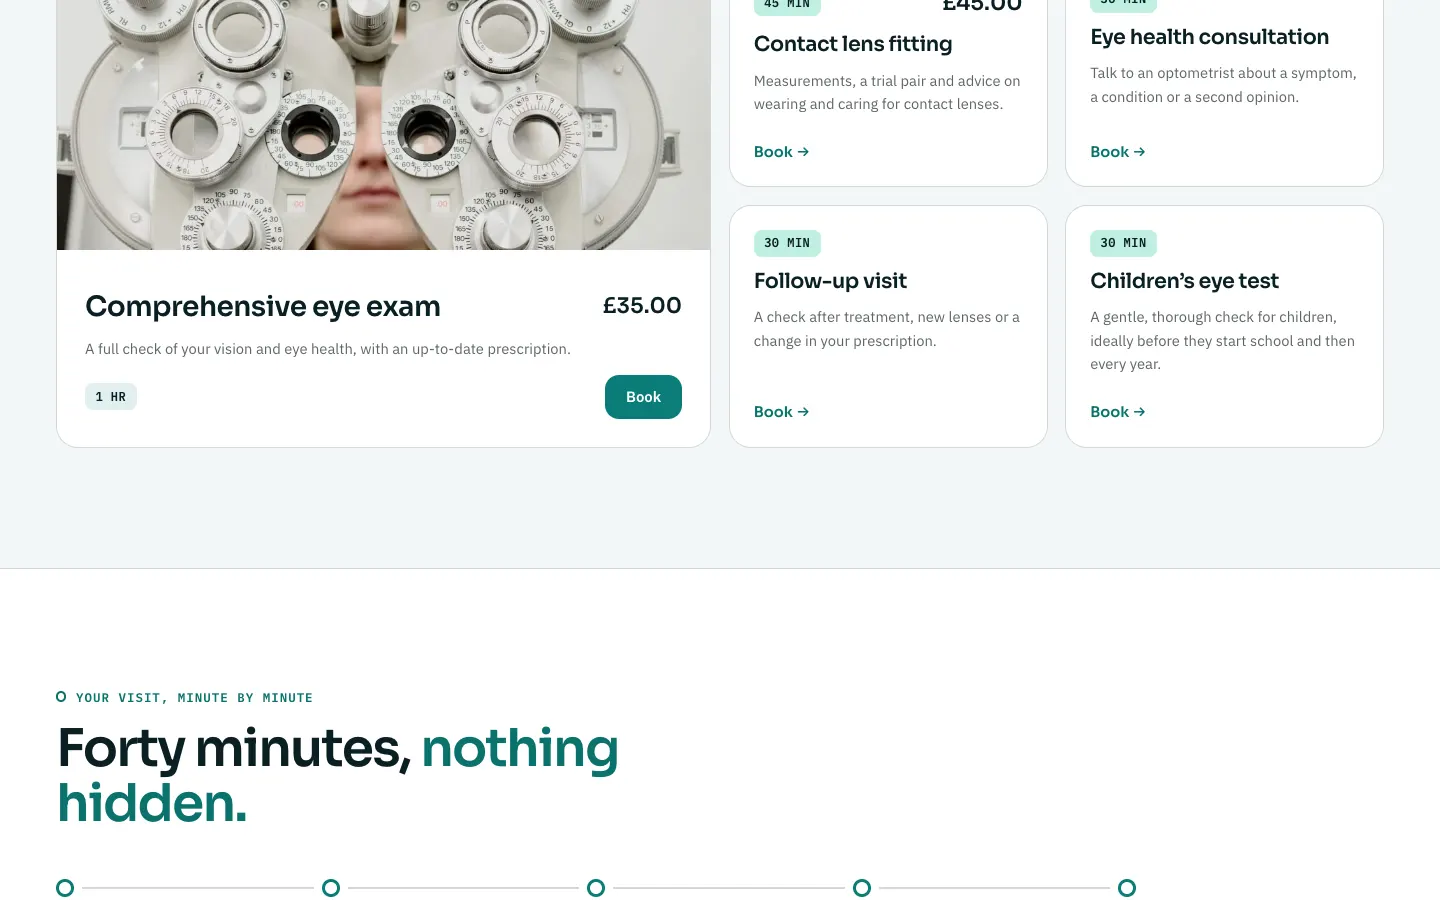
New websites set up with the wizard have it switched on. In Clinic, Church and Music the header always stayed at the top, so the setting starts on there too; untick it to let the header scroll away.
How to add or change your logo
Your logo appears in the website's header and footer, in emails and on the staff sign-in page.
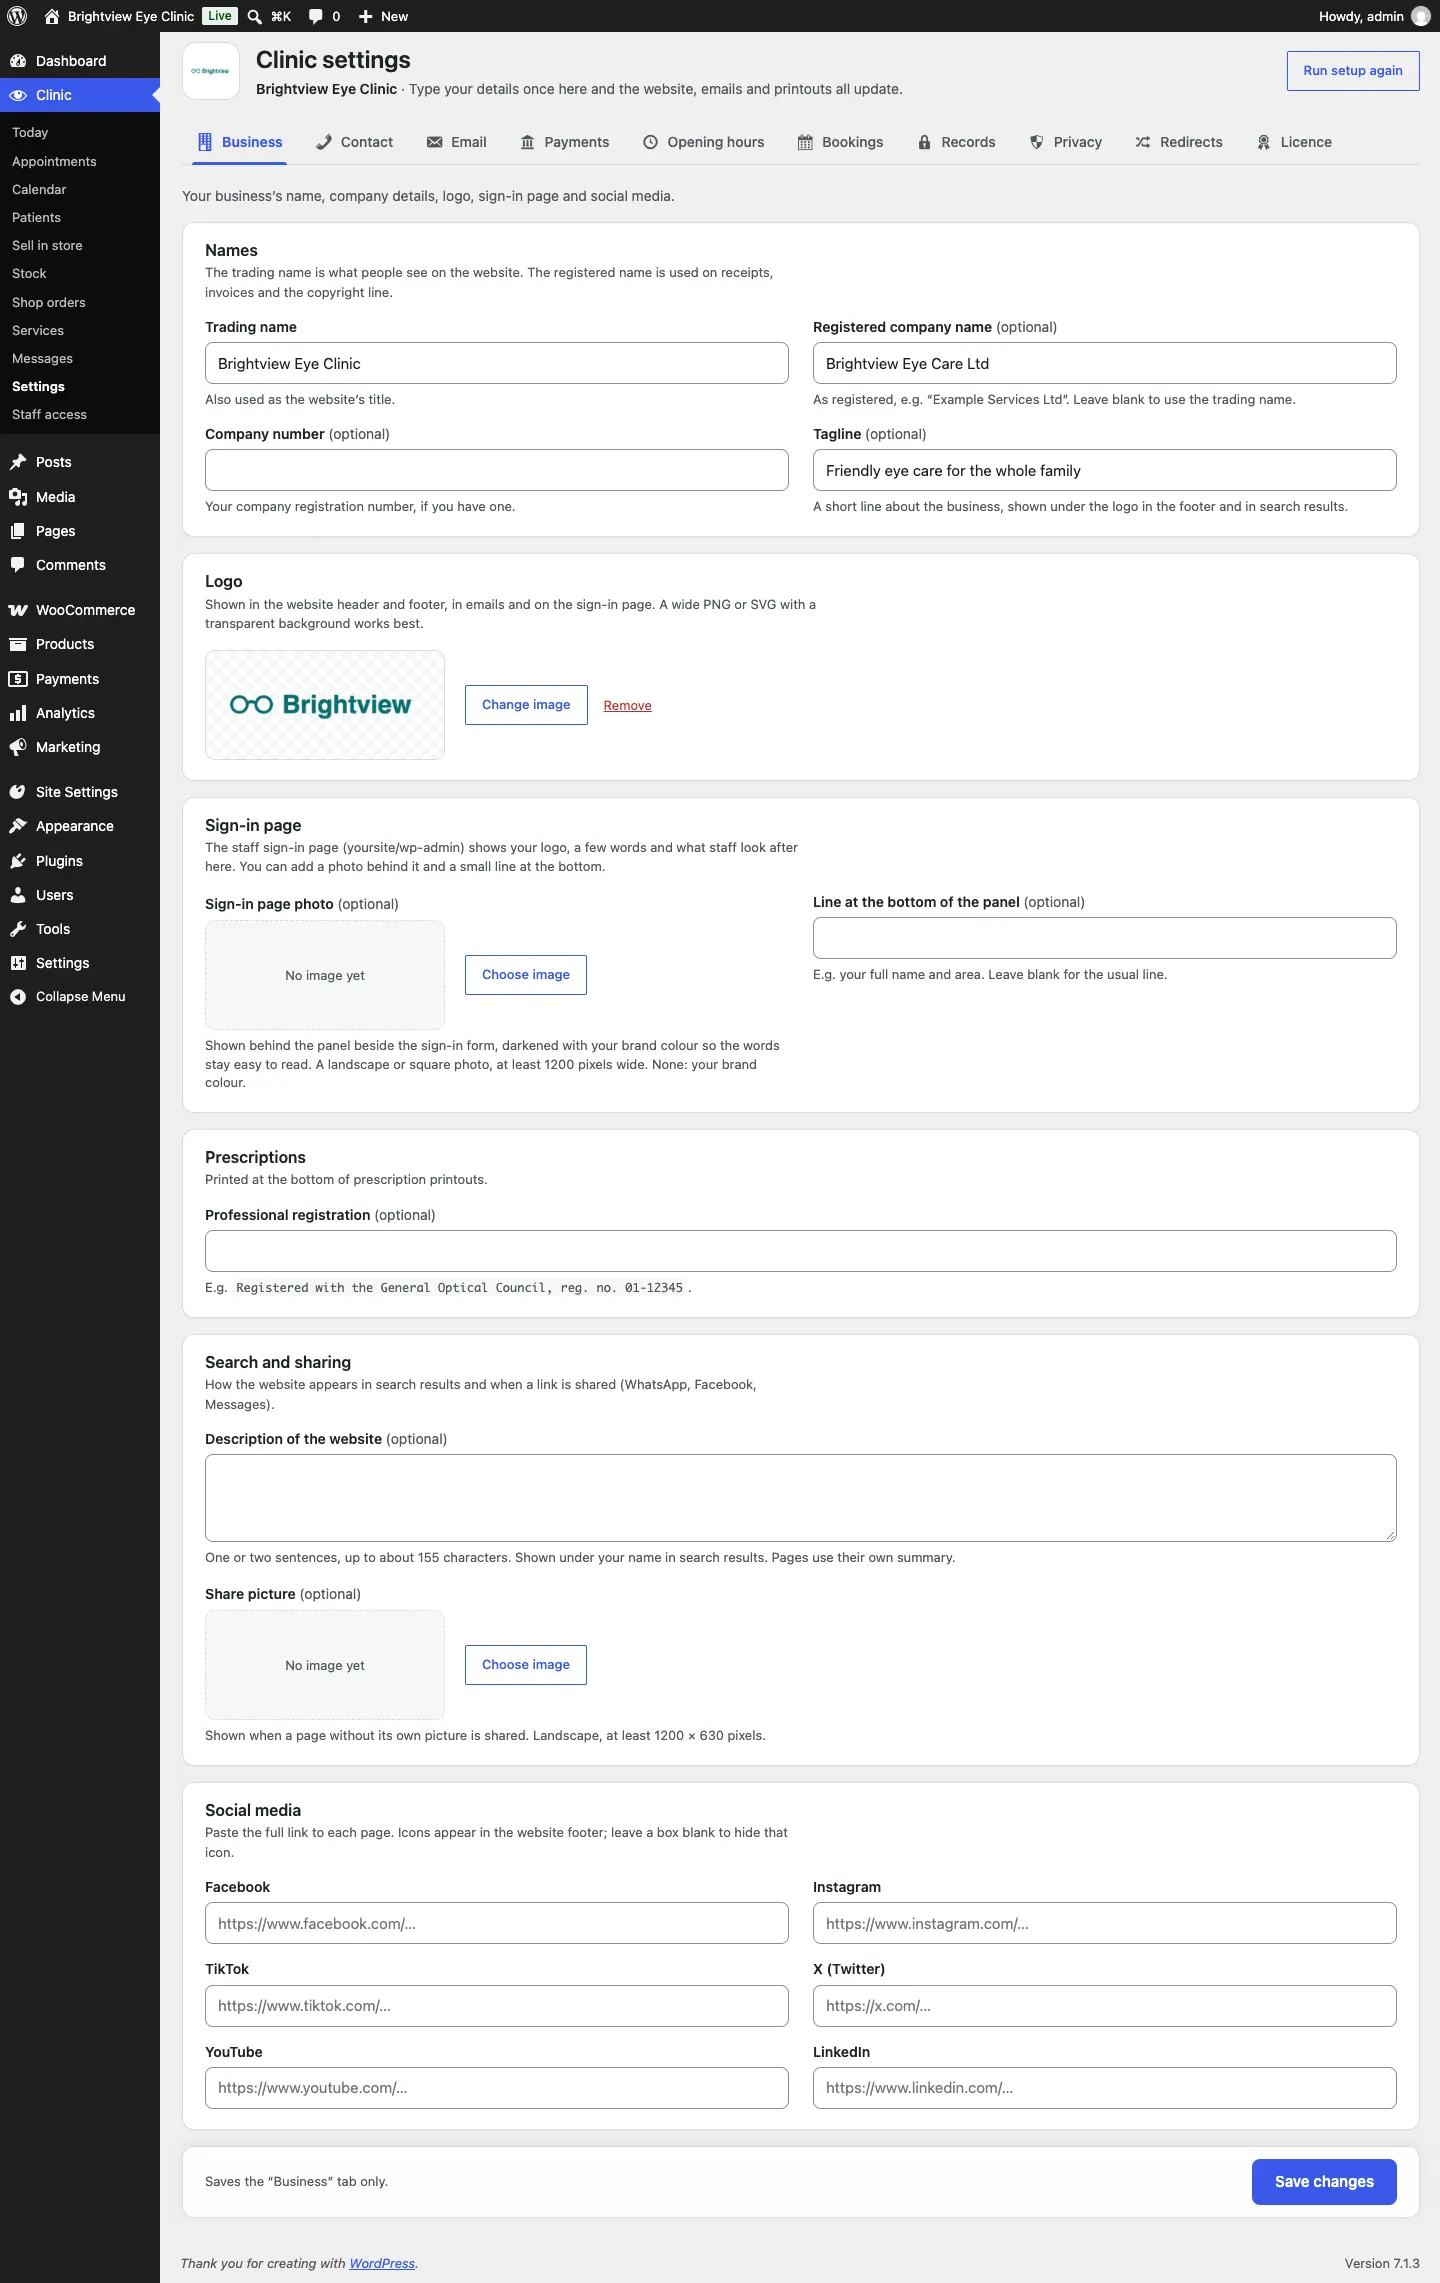
- Go to Clinic → Settings and stay on the Business tab.
- Find the Logo card and click Choose image (or Change image if there's one already).
- Pick your logo from the media library, or click Upload files to add it from your computer.
- Click Use this image.
- Click Save changes at the bottom of the screen.

The Business tab is also where you change your Trading name, Registered company name, Tagline and your Social media links. The icons in the footer appear for each link you fill in; leave a box blank to hide that icon.
Phones
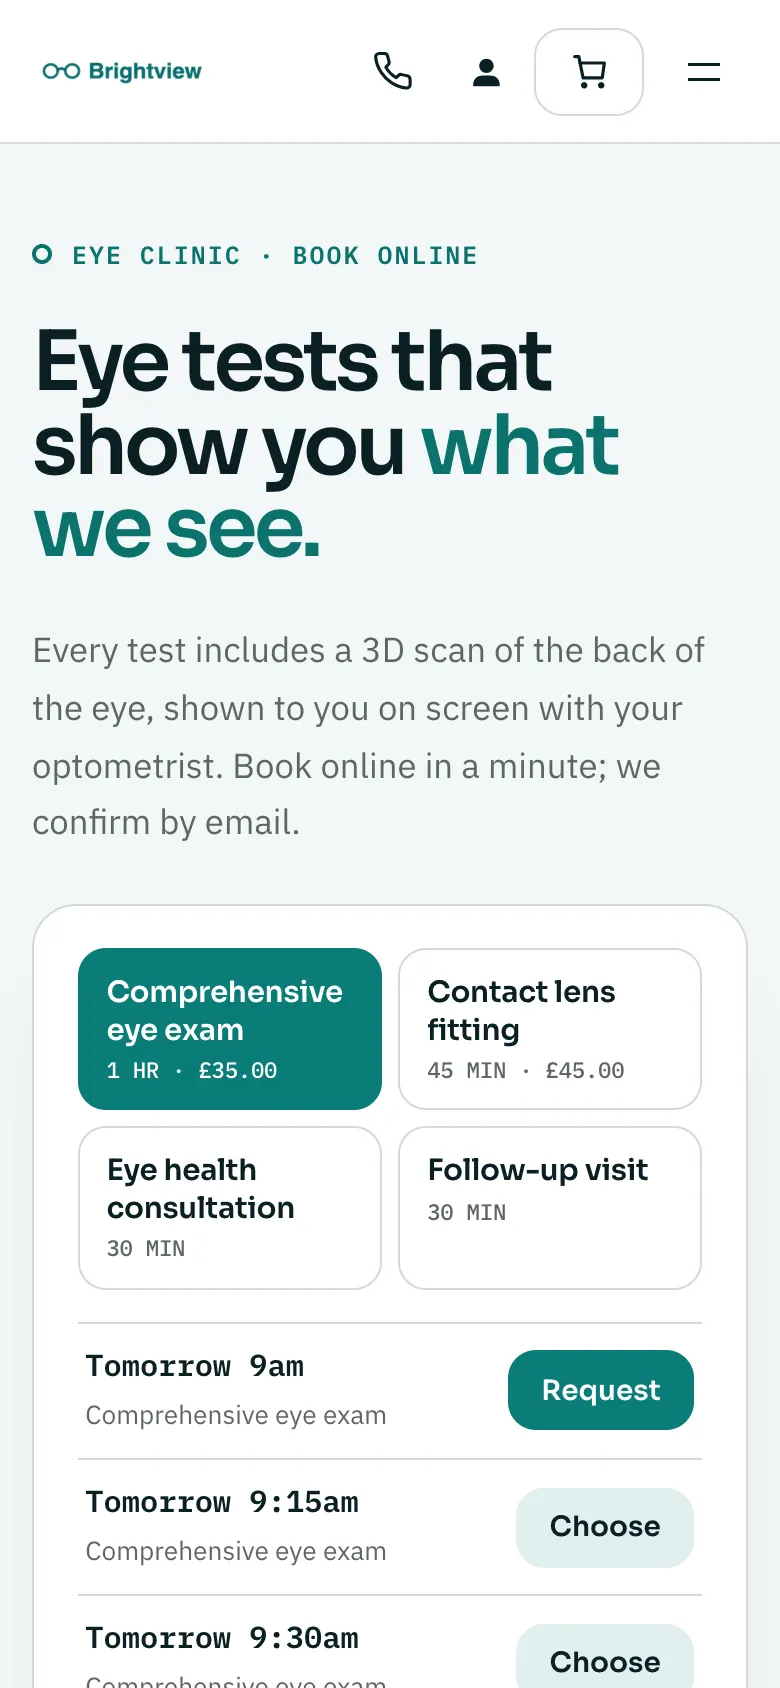
Every design works on phones. On a phone the menu folds into a button at the top right, and the phone number becomes a button to call you.
Your menu
The setup wizard makes a Main menu with your starter pages. You change it in the Site Editor.
How to change the main menu
-
Go to Appearance → Editor.
-
Click Navigation. If your website has more than one menu, the panel lists them.
-
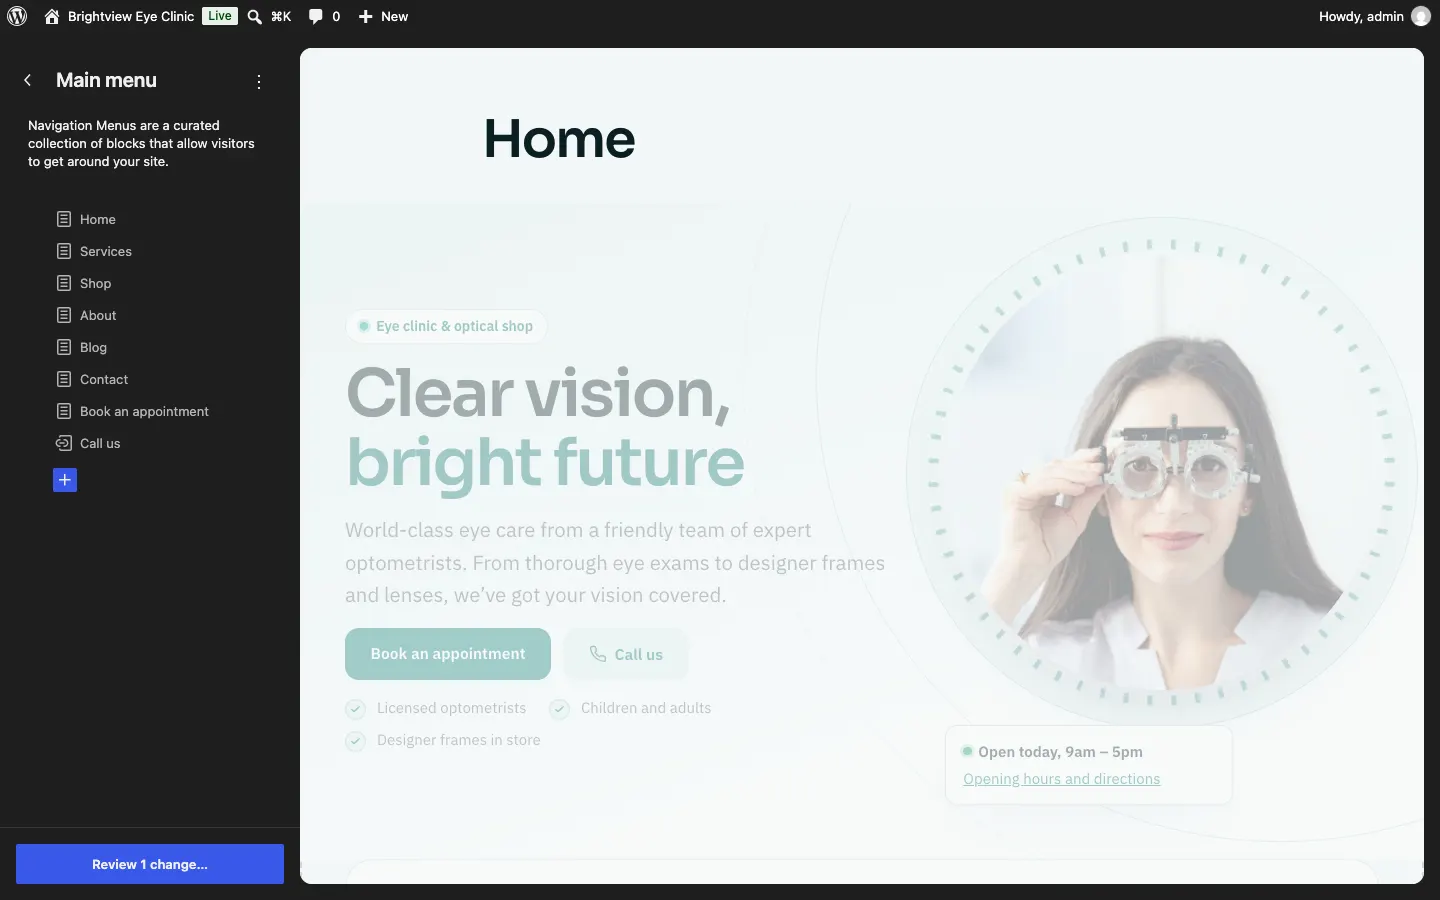
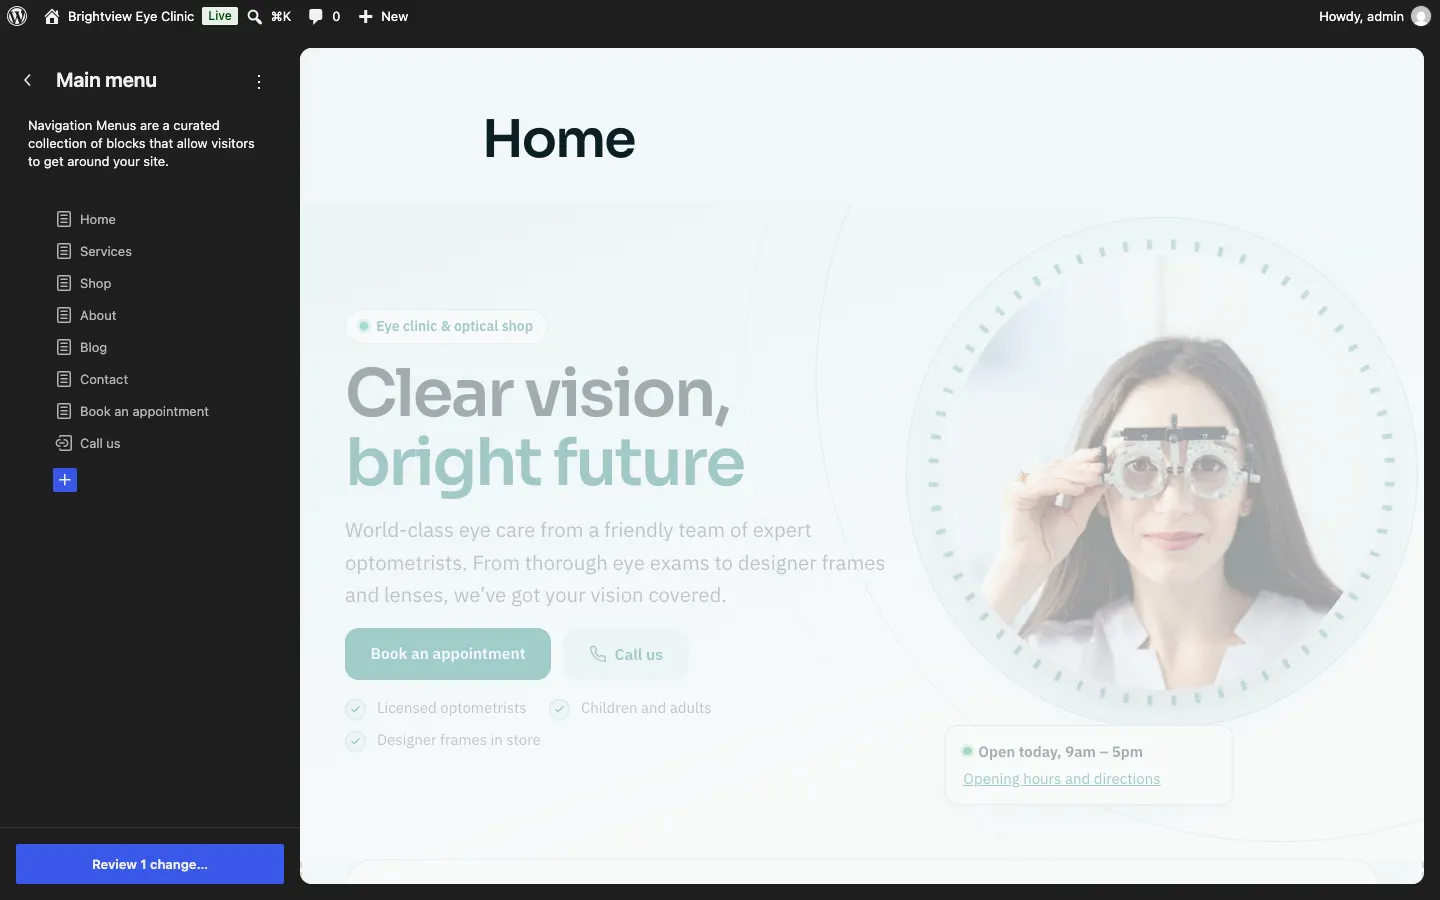
Click Main menu (if your website has only one menu, it opens straight away). The panel lists the links in the order they appear in your header.
-
To add a link, click the blue + under the list and choose a page, or type a web address.
-
To move or remove a link, point at it and click its ⋮ (options) button.
-
Changes are saved as you go: the panel says Saved at the bottom.
Your footer
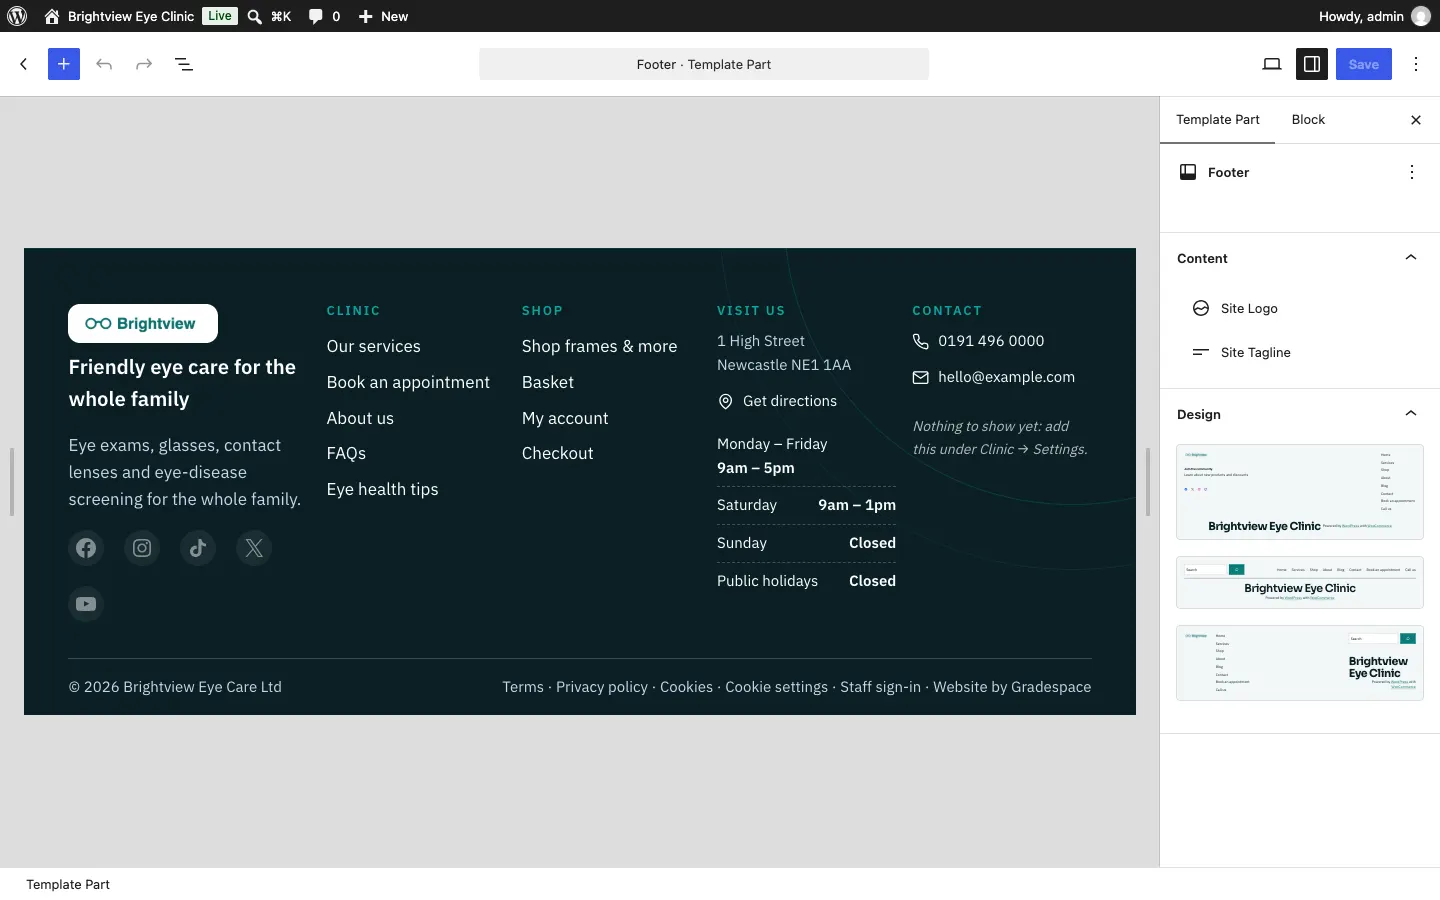
The footer is the band at the bottom of every page. Much of it fills itself in from your settings:
| In the footer | Where it comes from |
|---|---|
| Logo and tagline | Settings → Business (Logo, Tagline) |
| Address, phone, email and WhatsApp | Settings → Contact |
| Opening hours (kits that have them) | Settings → Opening hours |
| Social media icons | Settings → Business → Social media |
| © year and company name | The current year and your Registered company name (or trading name) |
| Terms, Privacy policy, Cookies | Your legal pages, once published |
| Cookie settings | Opens the cookie choices for visitors |
| Staff sign-in | Your staff sign-in page |
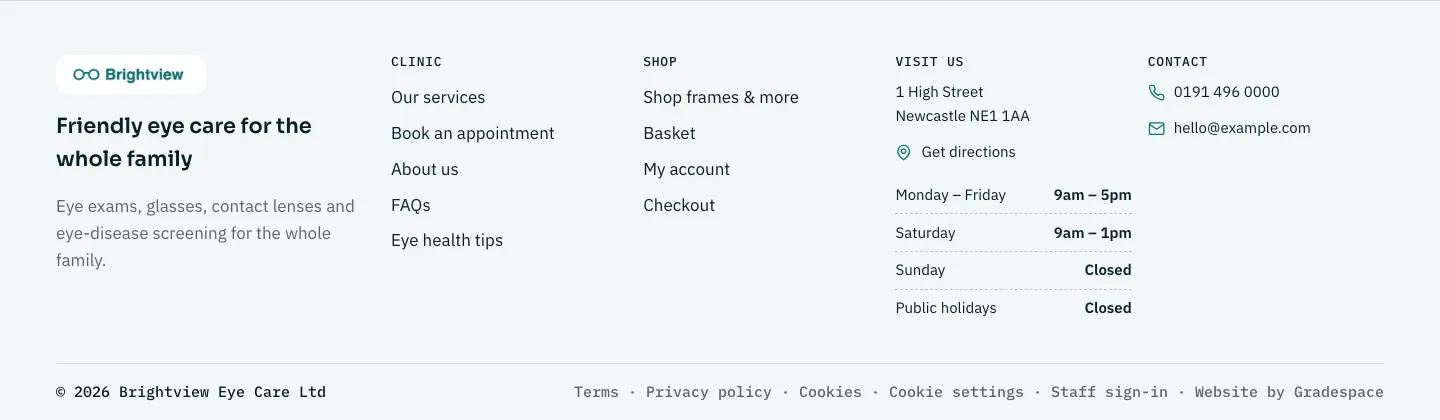
So to change your address or hours in the footer, change them in your kit's Settings, not in the footer itself. Every page updates by itself.
How to change the footer's links and words
-
Go to Appearance → Editor.
-
Click Patterns.
-
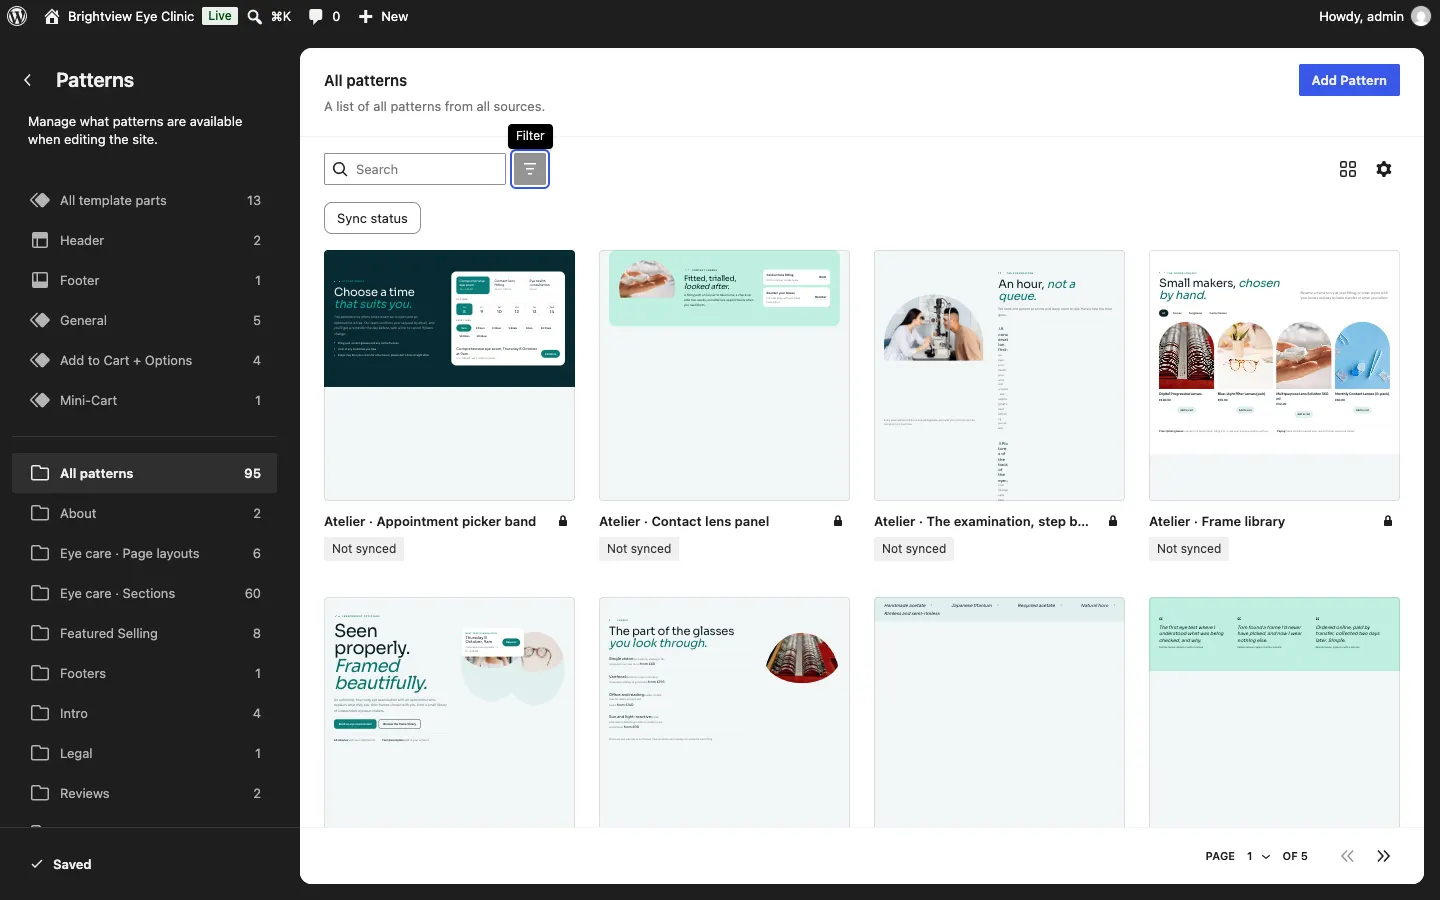
Near the top of the list, under All template parts and Header, click Footer.
-
Click the footer's picture to open it.
-
Click the words or links you want to change and type over them. Parts that fill themselves in from your settings, such as your phone number, address or the year, may show in the editor as [phone], [address] or [year]; change those in your kit's Settings, not here. To remove a column, click it and press the Delete key; the other columns close up evenly.
-
Click Save at the top right.
Related chapters
- Your kit's Designs chapter, for what each design looks like.
- Pages, posts and pictures, for changing the words and photos on pages.