Setting up
The setup wizard
The step-by-step screen that gets a new salon website ready: what you offer, your team, opening hours, online booking, and the starter pages, sample team, reviews, lookbook, shop and photos.
On this page
The setup wizard is a short series of screens that asks for what your salon website needs before clients can book: your salon's name, how people reach you, the kinds of service you offer, who works when, your opening hours and how online booking works. At the end it can add a full set of ready-made pages, a main menu, sample photos, a sample team with reviews and a lookbook, and set up the shop, so you start from a finished-looking website instead of blank pages.
It takes about five minutes. Everything you type can be changed later, and nothing you skip is lost.
This page covers the Salon kit's wizard step by step. For the wizard in general (how the steps, Back and Skip for now work), see The setup wizard in the shared chapters.
When the wizard opens
The wizard opens by itself the first time you sign in to WordPress after you switch on the Salon kit plugin (a plugin is an add-on for WordPress) and the Salon theme. See Installing.
If you want to sell products, install and switch on WooCommerce, the free shop plugin for WordPress, before you run the wizard. The Starter content step then offers Shop settings and Sample products too.
Until you finish the wizard, a reminder appears at the top of the Dashboard, the Plugins and Themes screens and the Salon screen. Click Continue setup to go back to where you left off.

How to run the setup wizard again
- Go to Salon → Settings.
- Click Run setup again at the top right.

Running it again is safe. Service groups you've already added show "(added)" and aren't added twice, nobody is added to the team twice, the starter content step never makes copies, and pages you have edited are left alone.
The steps
The bar at the top shows all nine steps. A green tick means the step is saved. You can click any step's name to jump to it.
Step 1: Welcome
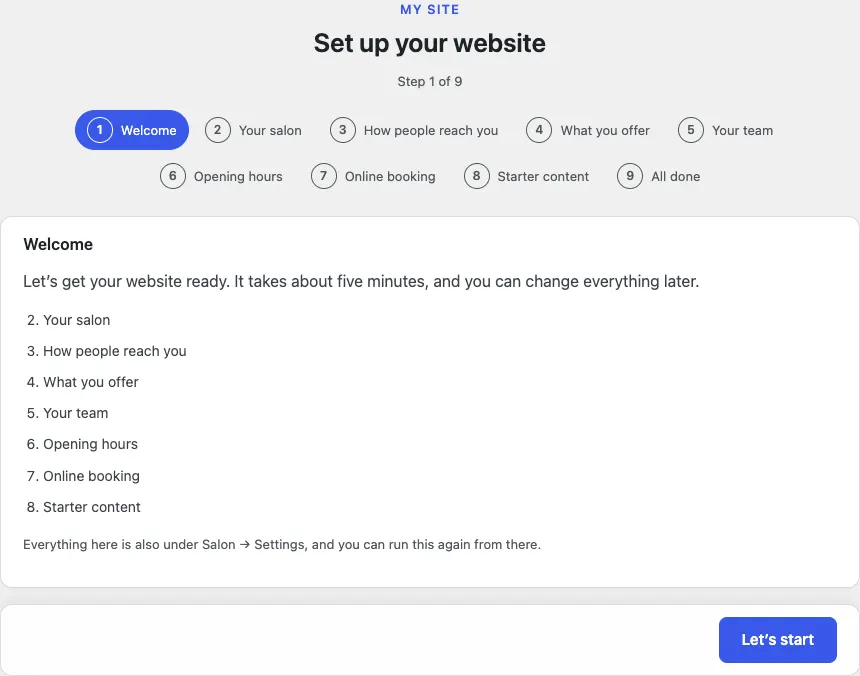
The first screen lists the steps ahead and reminds you that everything is also under Salon → Settings.
- Read the list. It is numbered the same way as the steps in the bar at the top.
- Click Let's start.
Step 2: Your salon
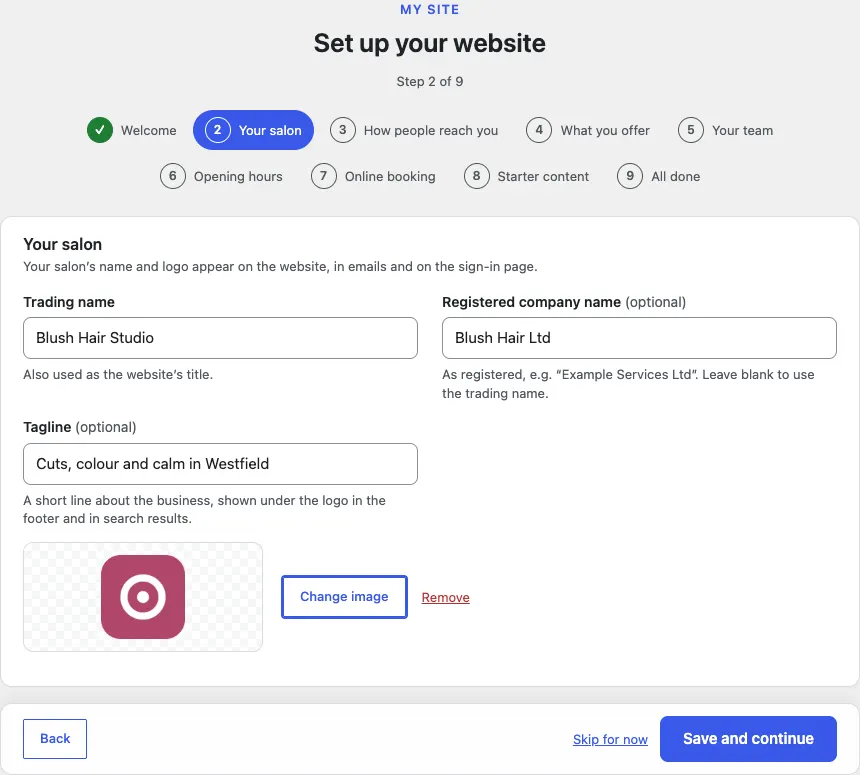
Your salon's name and logo appear on the website, in emails and on the staff sign-in page.
-
In Trading name, type the name clients know you by, for example "Blush Hair Studio". It is also used as the website's title.
-
In Registered company name (optional), type your company's name as registered. Leave it blank to use the trading name.
-
In Tagline (optional), type a short line about your salon. It shows next to the name in the header, in the footer and in search results.
-
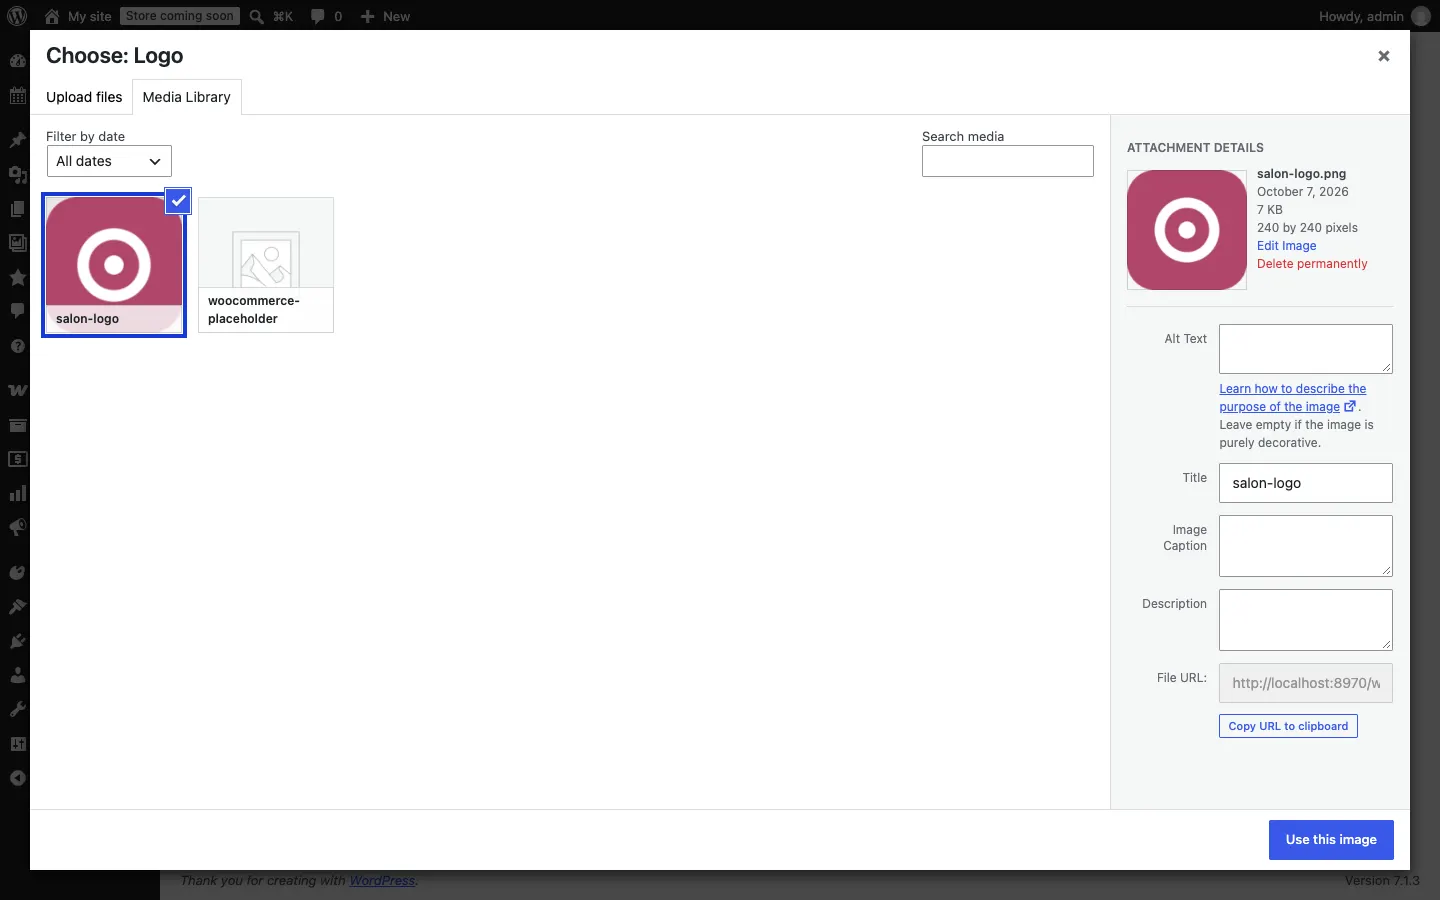
Under the boxes, click Choose image. The media library opens.
-
Click Upload files and choose your logo from your computer (or pick one you've already uploaded in Media Library), then click Use this image.
-
The logo now shows in the box, with Change image and Remove next to it. You can also leave it and add it later.
-
Click Save and continue.
Step 3: How people reach you
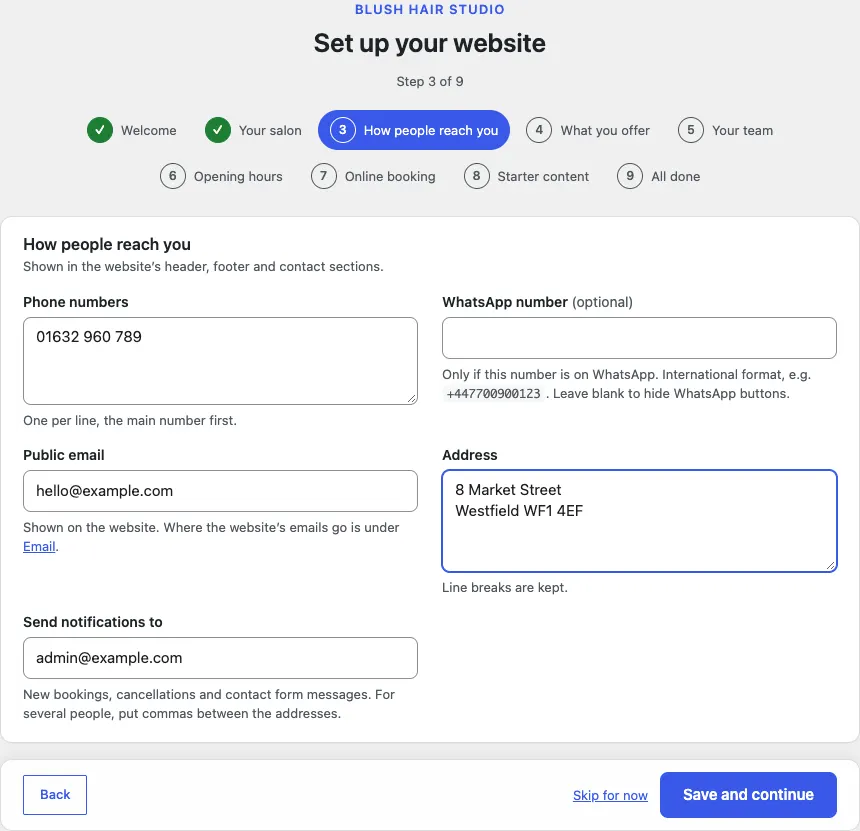
These details show in the website's header, footer and contact sections.
- In Phone numbers, type your numbers, one per line, the main number first.
- In WhatsApp number (optional), type a number only if it is on WhatsApp, in international format (for example +447700900123). Leave it blank to hide the WhatsApp buttons.
- In Public email, type the address clients should see.
- In Address, type the salon's address. Line breaks are kept.
- In Send notifications to, type the address that should get new bookings, cancellations and contact form messages. For several people, put commas between the addresses.
- Click Save and continue.
Step 4: What you offer
Tick the kinds of work you do, and the wizard adds the usual services for each, with typical times and prices.
-
Tick what you offer. Each group lists some of the services it adds:
- Hair: Cut & blow-dry, Restyle, Blow-dry, Curly cut and more
- Colour: Root tint, Balayage, Half head highlights, Toner & gloss and more (including a free patch test)
- Treatments: Bond repair, Scalp therapy, Keratin smoothing
- Barbering: Haircut, Skin fade, Cut & beard, Beard trim and more
- Nails: Gel manicure, BIAB overlay, Gel pedicure
- Lashes & brows: Lash lift & tint, Brow lamination, Brow shape & tint, Brow shape
- Skin: Signature facial, Express facial, Dermaplaning
- Massage: Back & shoulders, Full body massage, Hot stone
- Bridal: Bridal trial, Wedding morning
Hair and Colour start ticked.
-
Leave Show prices on the website on to show prices. Off: visitors see "Price on consultation".
-
Click Save and continue.
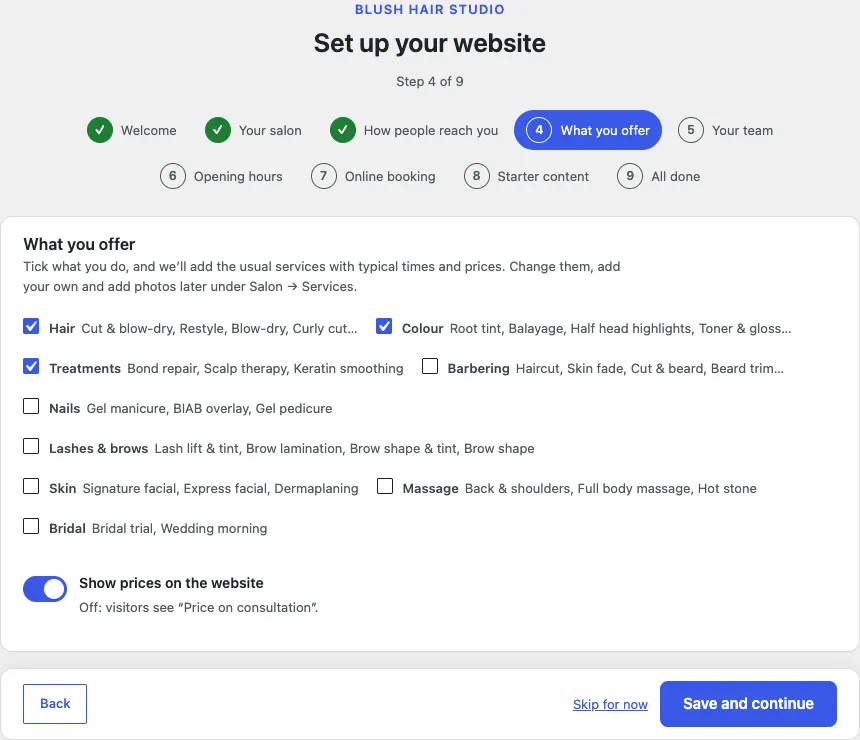
You must tick at least one group, or skip the step to add services later. Change the services, add your own and add photos under Salon → Services.
Step 5: Your team
Tell the wizard who works here and when. Each person gets their own diary. There is room for three people here; add more later.
For each person:
- Type their Name.
- In Role (optional), type their job title, for example "Senior stylist".
- In Email (optional), type their email address. It is used for news of their appointments and is never shown on the website.
- Under Working days, tick the days they work (Tuesday to Saturday start ticked).
- Set From and Until (they start at 09:00 and 18:00).
- Tick Give them a sign-in to see their own diary if they should have their own account. This gives them the Stylist role; they set their password with "Lost your password?" on the sign-in page. It needs an email address.
Leave a person's Name empty to skip that box. Then click Save and continue.
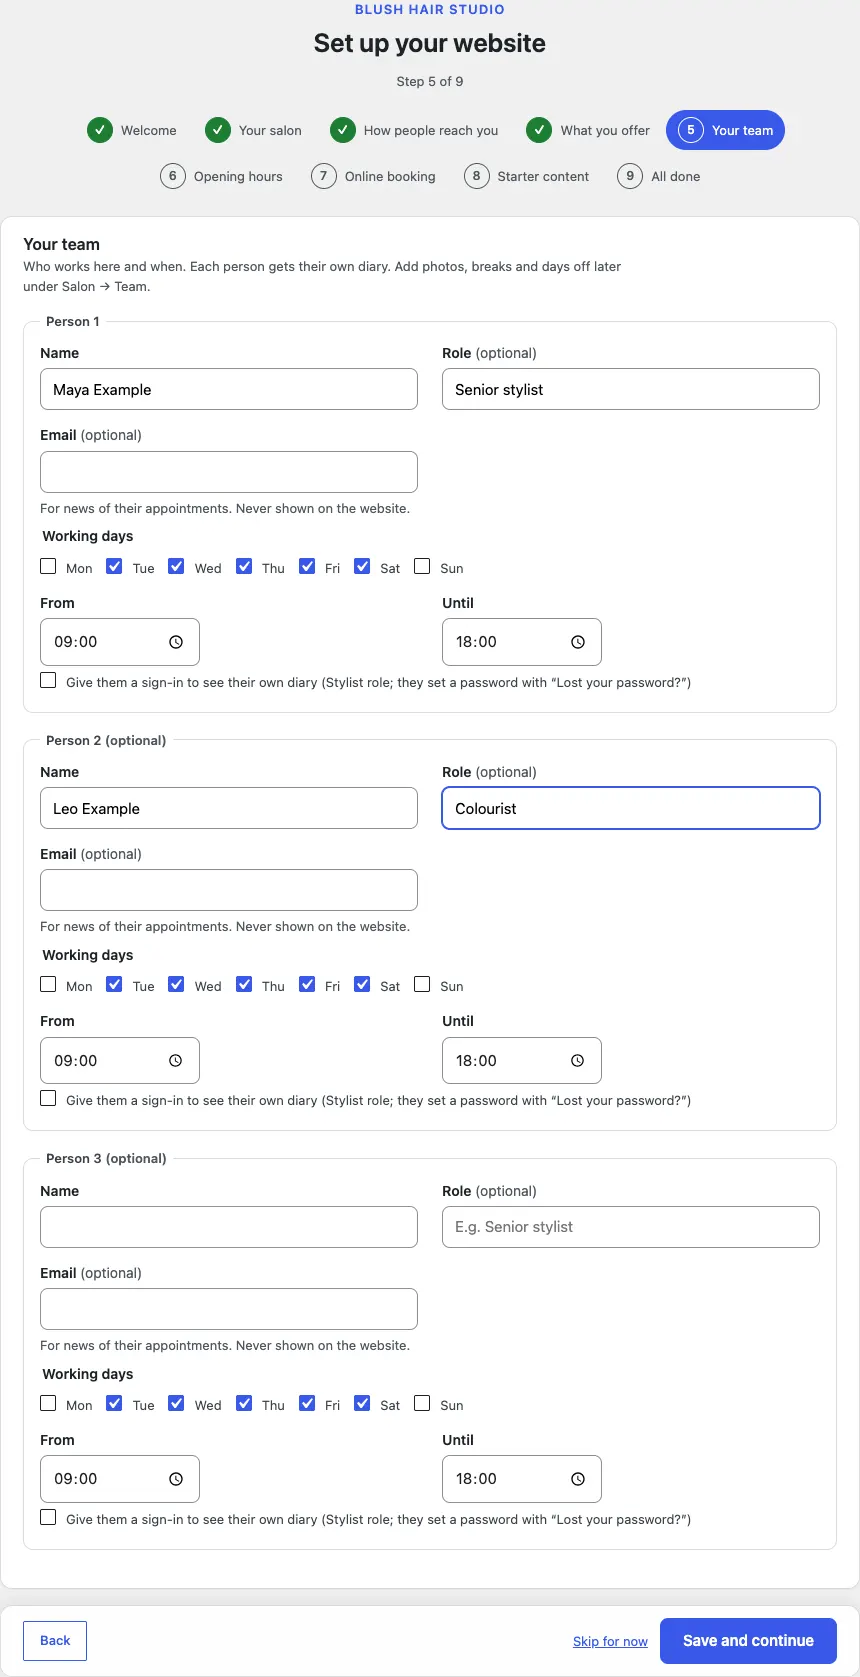
Add photos, breaks and days off later under Salon → Team.
Step 6: Opening hours
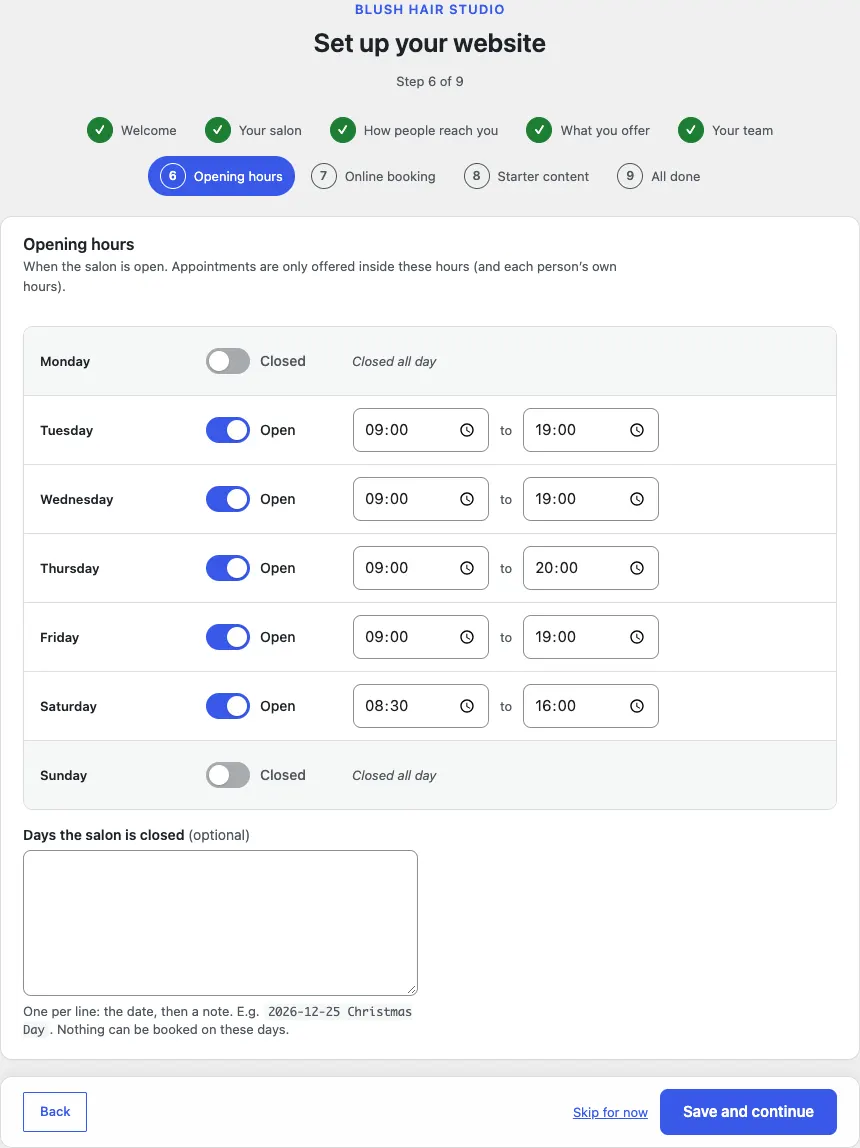
Appointments are only offered inside these hours (and each person's own hours).
- For each day, the Open switch says whether the salon is open. Switch it off for a closed day.
- Set the opening and closing times. The wizard starts with Monday closed, Tuesday, Wednesday and Friday 9:00 to 19:00, Thursday 9:00 to 20:00, Saturday 8:30 to 16:00 and Sunday closed.
- In Days the salon is closed (optional), type one date per line, then a note, for example "2026-12-25 Christmas Day". Nothing can be booked on those days.
- Click Save and continue.
Step 7: Online booking
These settings are also under Salon → Settings → Bookings. Deposits are set on each service once payments are set up (Salon → Settings → Payments).
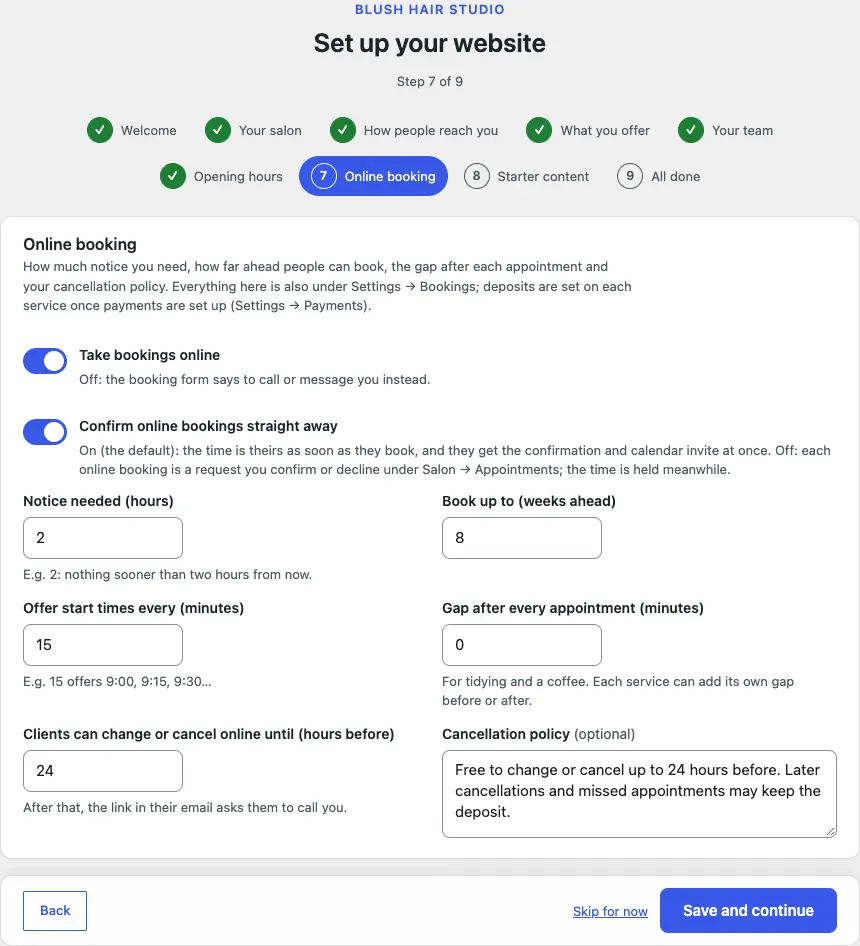
- Take bookings online starts on. Off: the booking form says to call or message you instead.
- Confirm online bookings straight away starts on for salons: the time is the client's as soon as they book, and they get the confirmation and calendar invite at once. Off: each online booking is a request you confirm or decline under Salon → Appointments, and the time is held meanwhile.
- Notice needed (hours): how soon someone can book (it starts at 2, so nothing sooner than two hours from now).
- Book up to (weeks ahead): how far ahead clients can book (it starts at 8).
- Offer start times every (minutes): 15 offers 9:00, 9:15, 9:30 and so on.
- Gap after every appointment (minutes): time for tidying and a coffee (it starts at 0). Each service can add its own gap before or after.
- Clients can change or cancel online until (hours before): after that, the link in their email asks them to call you (it starts at 24).
- Cancellation policy (optional): the wording clients see. It starts with "Free to change or cancel up to 24 hours before. Later cancellations and missed appointments may keep the deposit."
- Click Save and continue.
Step 8: Starter content
This is where the wizard builds your website. Each switch adds one kind of ready-made content. Switch on the ones you want, then click Save and continue. Running this step again never makes copies.
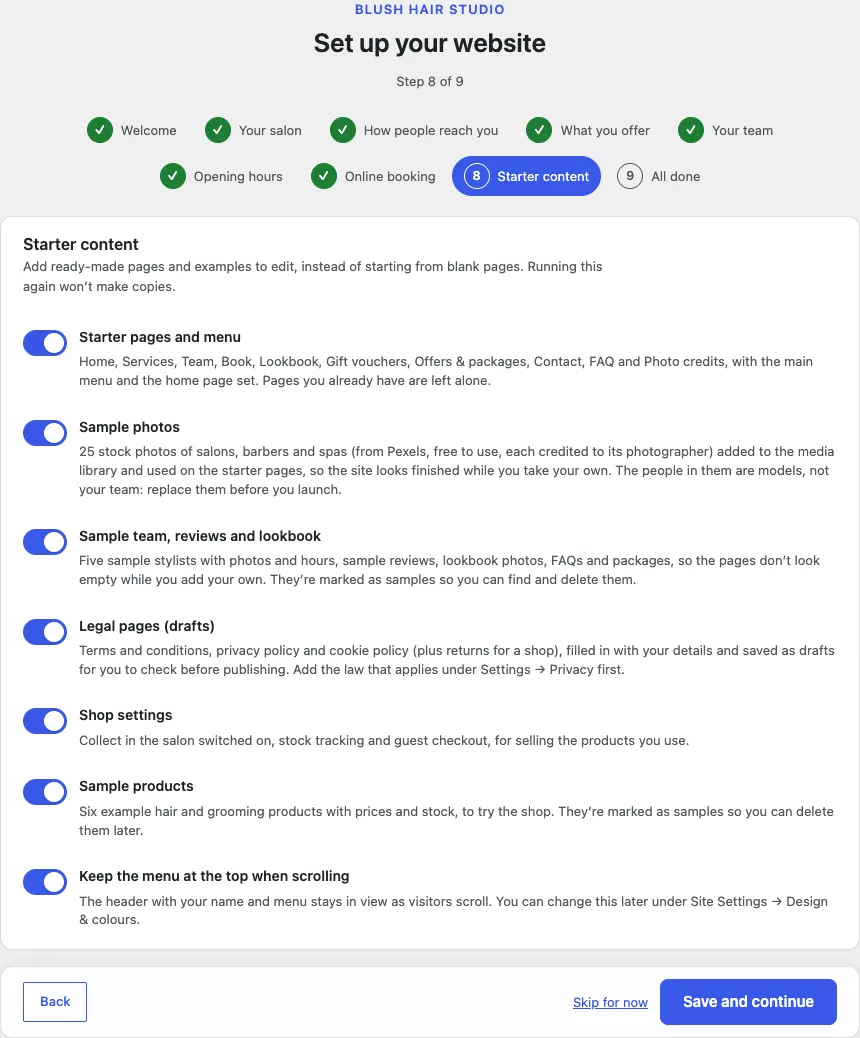
| Switch | Starts | What it adds |
|---|---|---|
| Starter pages and menu | On | Home, Services & prices, Our team, Book an appointment, Lookbook, Gift vouchers, Offers & packages, Contact, FAQ and Photo credits, with the main menu. Home is set as the front page. Pages you already have are left alone. |
| Sample photos | On | 25 stock photos of salons, barbers and spas, from Pexels (free to use), each credited to its photographer on the Photo credits page. They go into the media library and onto the starter pages, your services and your team. |
| Sample team, reviews and lookbook | Off | Five sample stylists with photos and hours, sample reviews, lookbook photos, FAQs and packages, so the pages don't look empty while you add your own. |
| Legal pages (drafts) | On | Terms and conditions, a privacy policy, a cookie policy and (with a shop) a returns and refunds page, filled in with your details and saved as drafts for you to check before publishing. Add the law that applies under Salon → Settings → Privacy first. |
| Shop settings | On | Collect in the salon switched on, stock tracking and guest checkout, for selling the products you use. Only with WooCommerce. |
| Sample products | Off | Six example hair and grooming products with prices and stock, to try the shop. Only with WooCommerce. |
| Keep the menu at the top when scrolling | On | The header with your name and menu stays in view as visitors scroll. |
While the starter content is added
When you click Save and continue, a box appears under the switches: Adding your starter content… Please keep this page open. Each part you switched on gets a line that says working… and then done. The sample photos are added a few at a time, so their line counts up, for example Sample photos: 8 of 25.
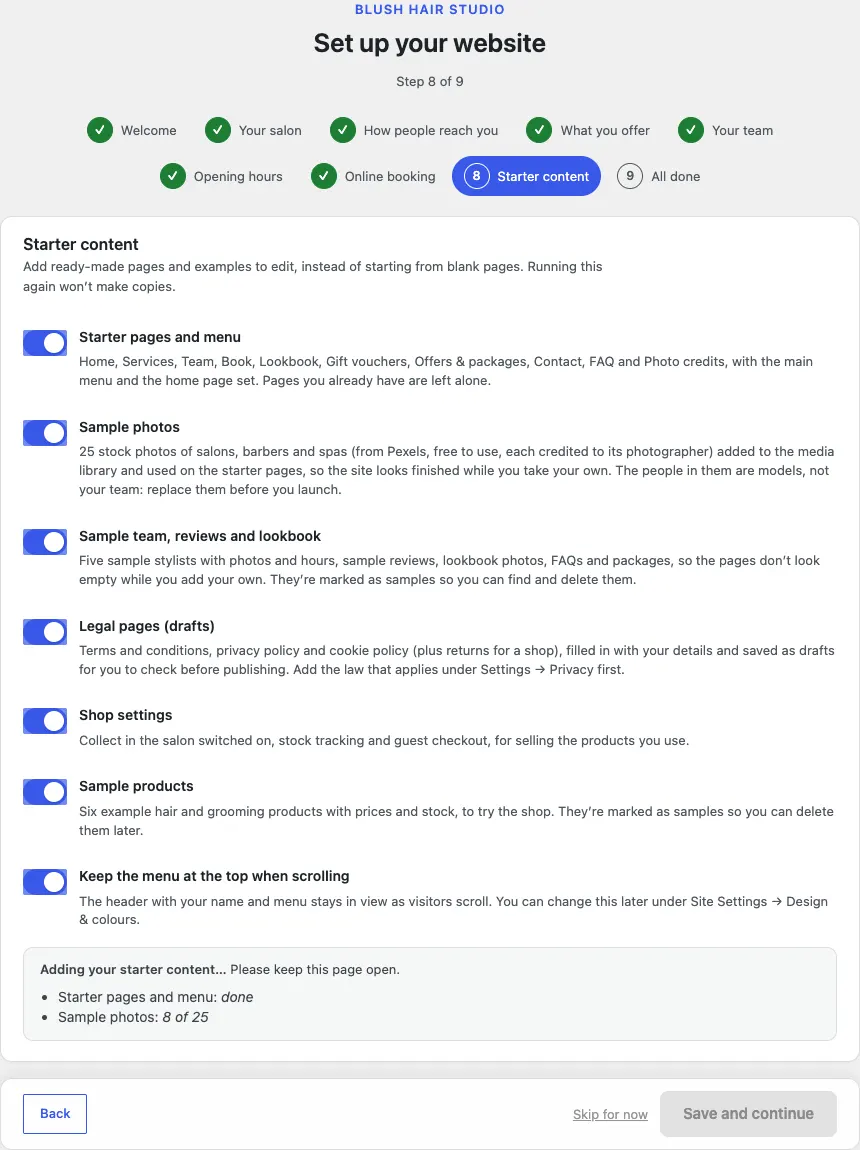
Keep the page open. It takes a minute or two, mostly for the photos. When everything is done, the next step opens by itself. If the box turns red and says This didn't finish, click Save and continue again: the wizard carries on where it stopped and never adds anything twice.
Step 9: All done
The last screen lists what this run of the wizard did (anything an earlier run added isn't listed again), then gives you four links: See the website, Open Salon → Today, Review all settings and Add staff and choose what they can do.
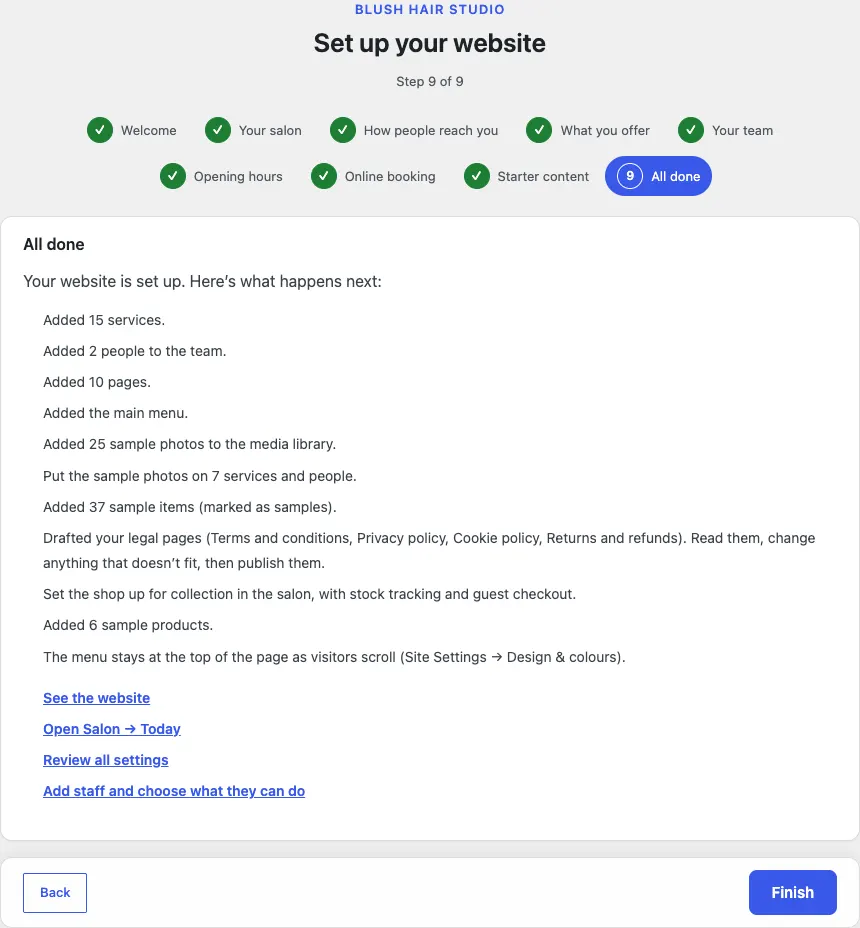
Click Finish. The wizard closes and you land on Salon → Today.
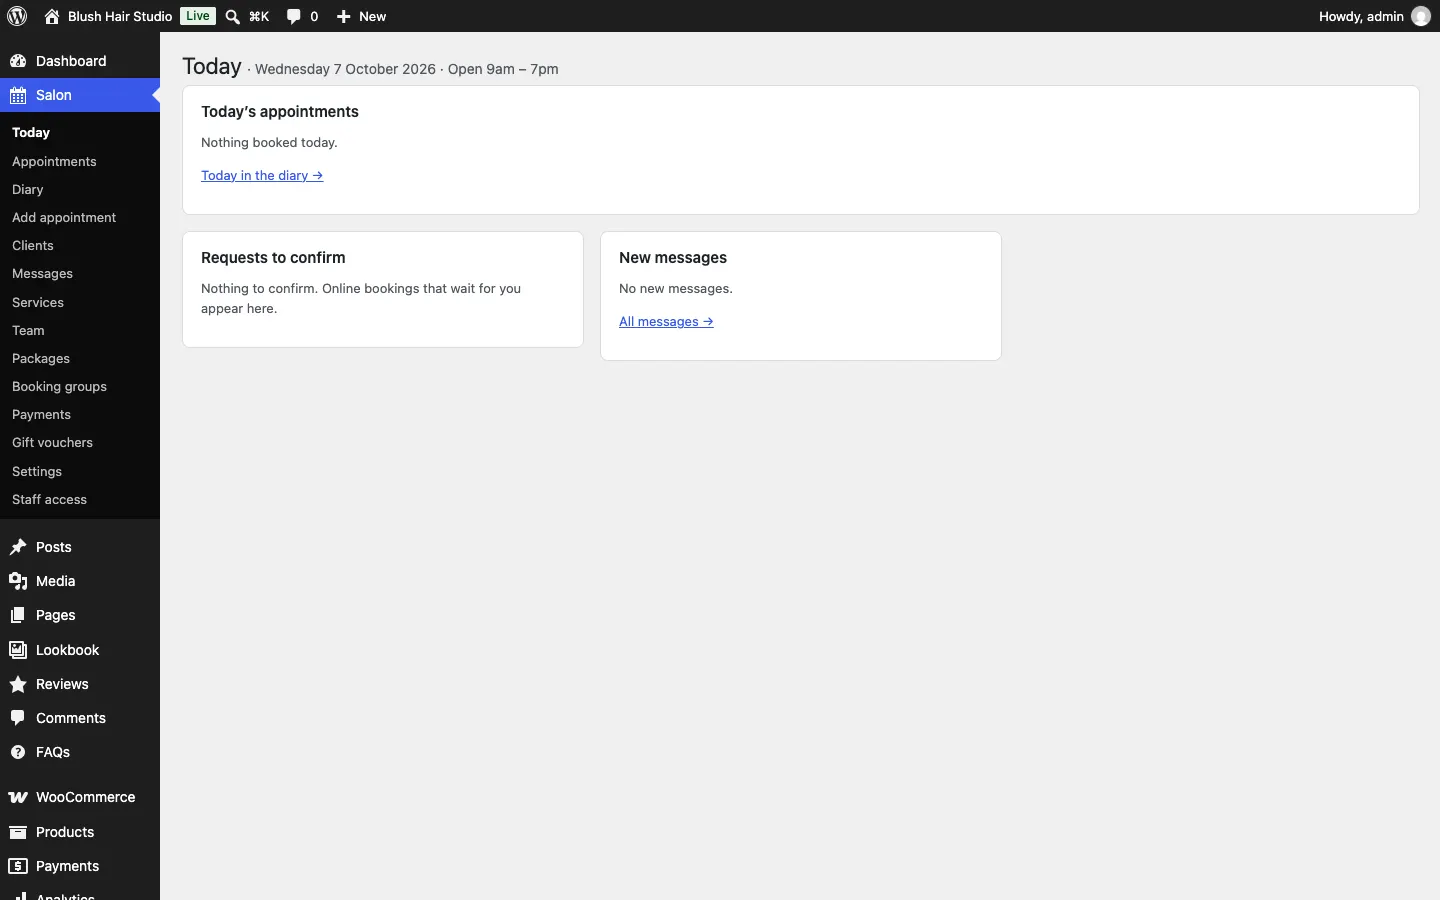
What you have at the end
With every switch on, the wizard leaves you with:
- Services: the usual services for each group you ticked in step 4 (15 for Hair, Colour and Treatments), under Salon → Services. These are your real services: change their times and prices to yours.
- Team: the people from step 5, under Salon → Team.
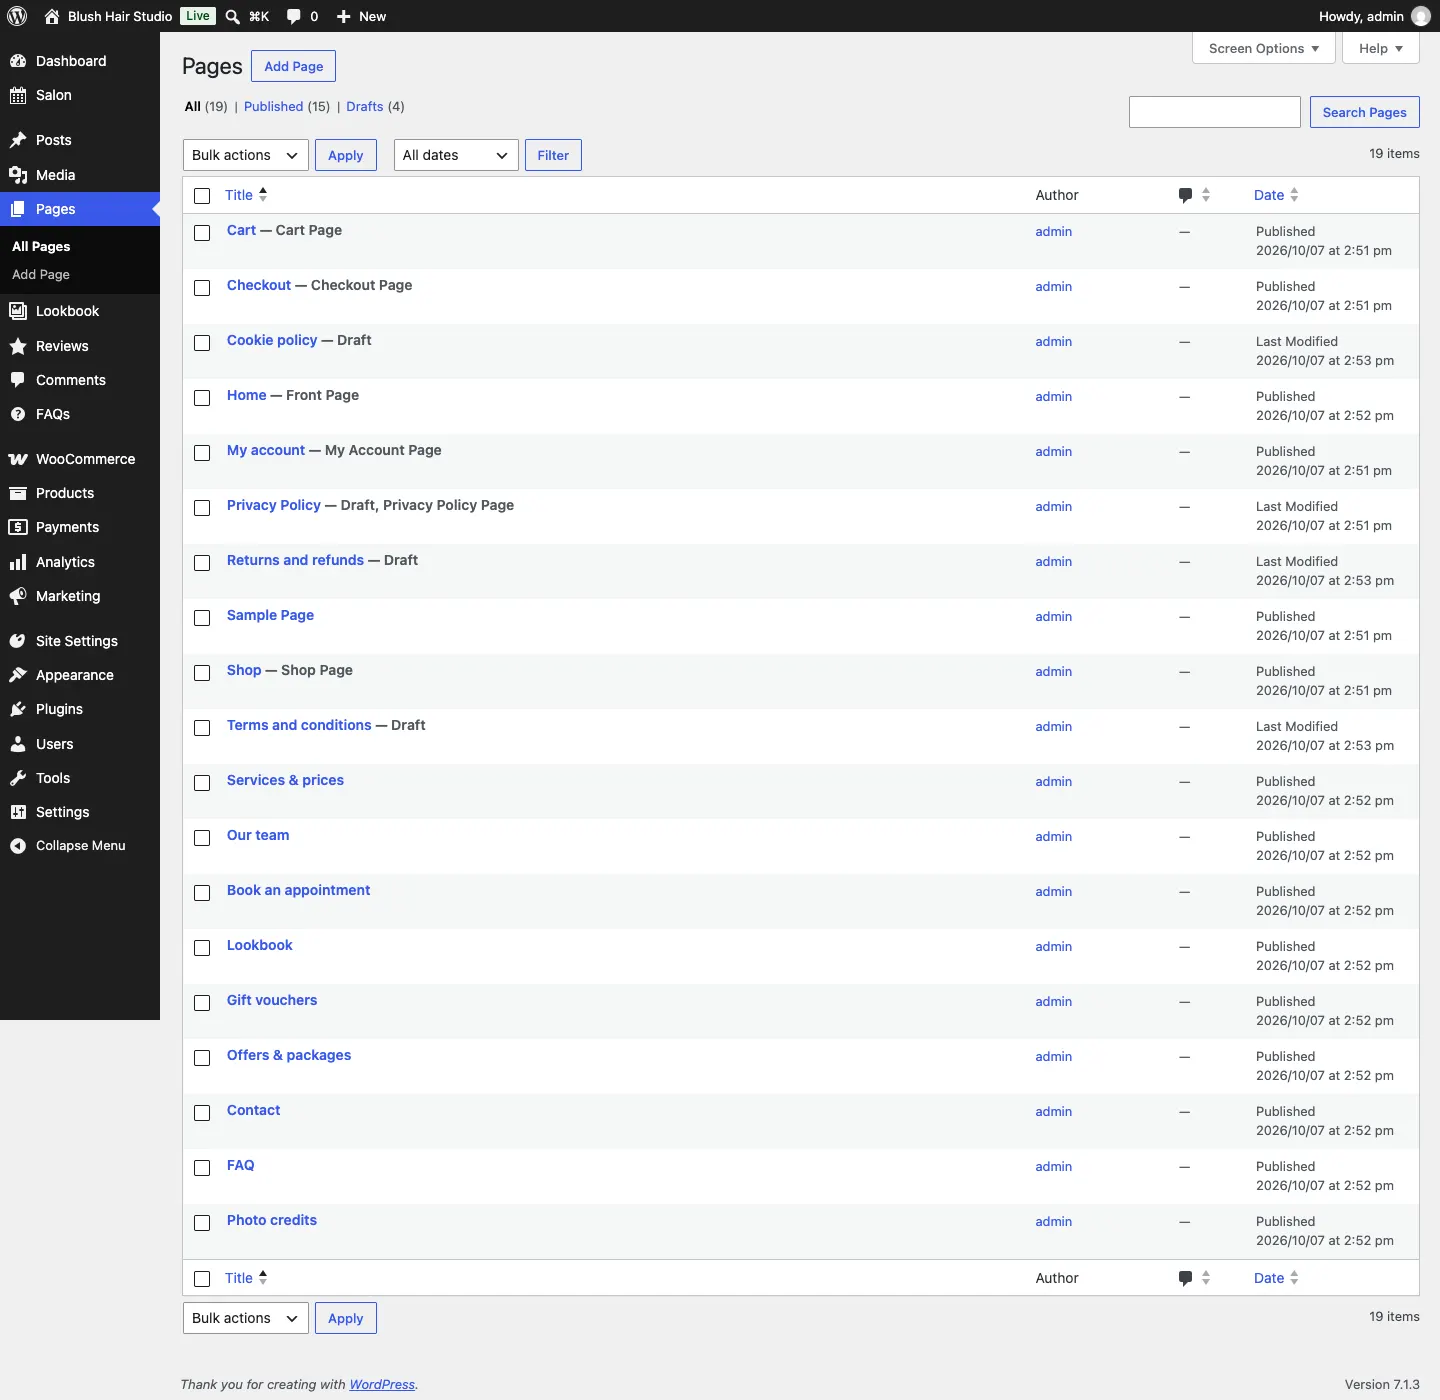
- Pages: Home (the front page), Services & prices, Our team, Book an appointment, Lookbook, Gift vouchers, Offers & packages, Contact, FAQ and Photo credits, all published. WooCommerce adds its own Shop, Cart, Checkout and My account pages.
- Drafts to check: Terms and conditions, Privacy Policy, Cookie policy and Returns and refunds. WooCommerce also makes its own draft "Refund and Returns Policy"; you only need one of the two, so delete the one you don't use.
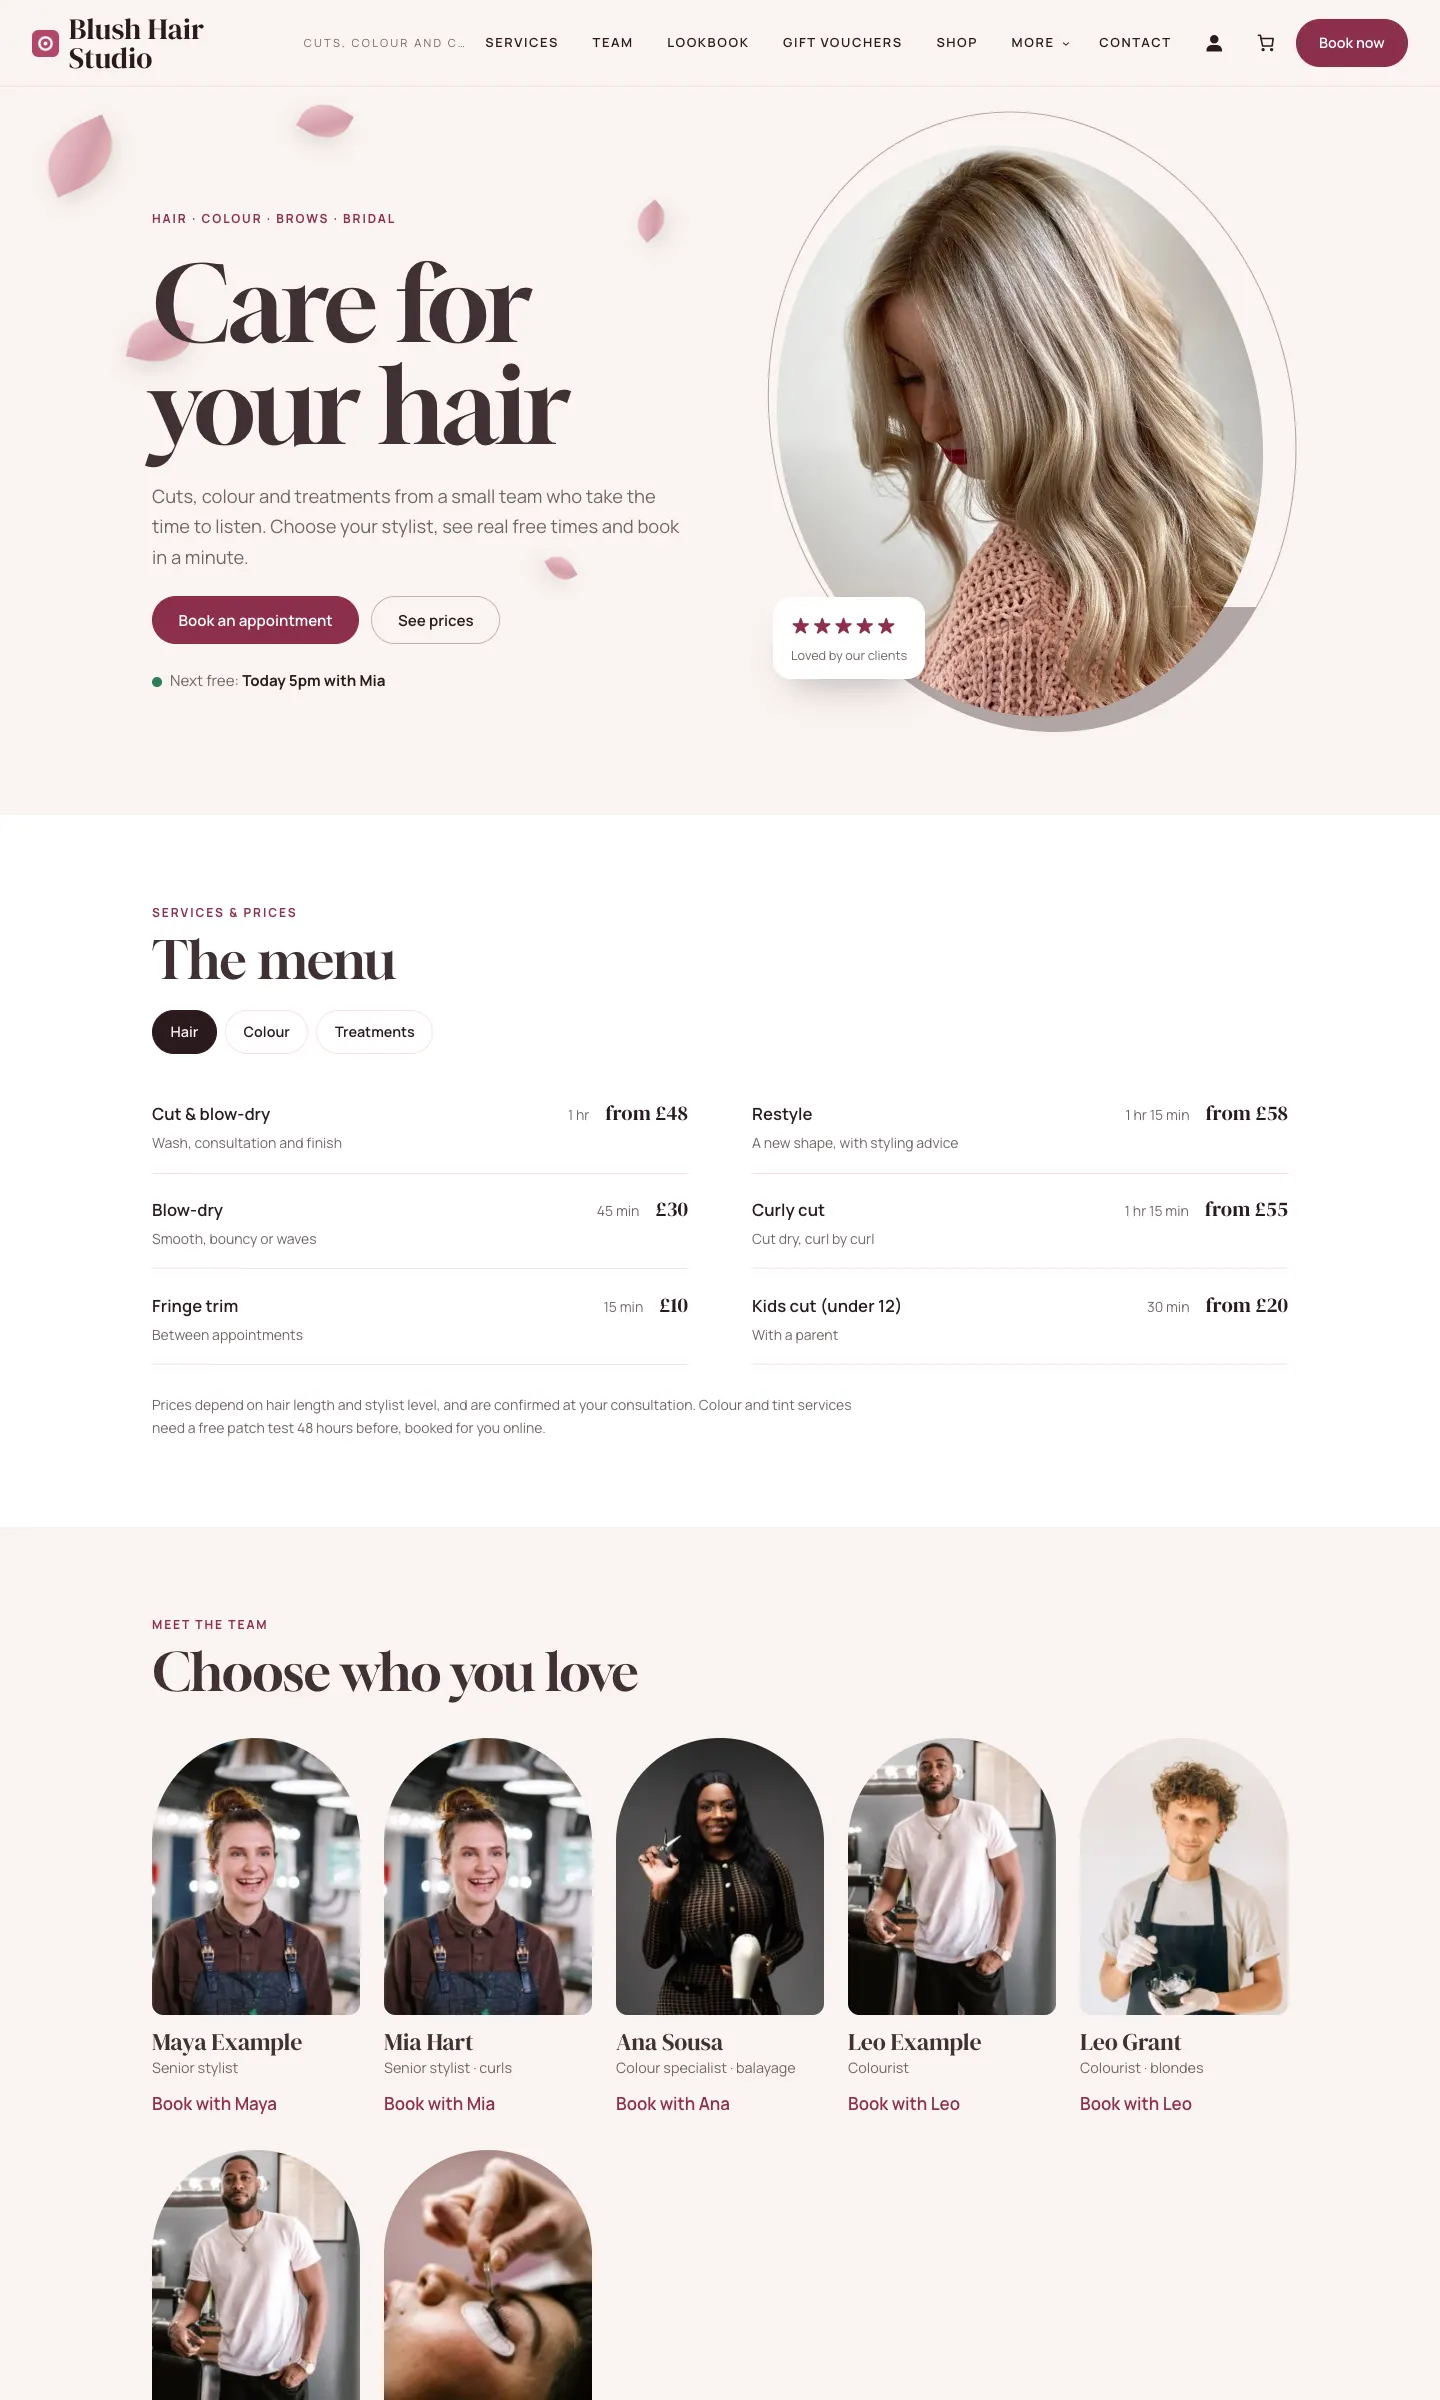
- Main menu: Services, Team, Lookbook, Gift vouchers, Shop, a More list (Offers & packages, FAQ) and Contact, with Book now and Call us buttons.
- Sample content:
- five stylists: Mia Hart, Ana Sousa, Leo Grant, Kwame Mensah and Ella Price
- five reviews, each called "Sample review"
- 17 lookbook photos, such as "Balayage being painted" and "Skin fade with a sculpted beard"
- six FAQs, such as "Do I need a patch test?"
- four packages: Glow course, Nail club, Lash refresh and Cut club
- six products: Bond repair mask, Curl cream, Heat protect spray, Gift box, Matte clay and Beard oil
- Photos: 25 sample photos in the media library, listed with their photographers on the Photo credits page.
This is the home page a visitor sees straight after the wizard:
How to remove the sample content
There's no single "remove samples" button. Most samples don't say "Sample" in their names, so use the list above to find them.
- Go to Salon → Team and move the five sample stylists (Mia Hart, Ana Sousa, Leo Grant, Kwame Mensah, Ella Price) to the Trash: tick them, choose Move to Trash from Bulk actions and click Apply.
- Do the same under Reviews, Lookbook and FAQs (in the main WordPress menu) and Salon → Packages.
- Go to Products and move the six sample products to the Trash.
To remove the sample photos, put your own photos on your services, team and lookbook first, then go to Media, search for "Pexels", select the sample photos and delete them permanently. Then update the Photo credits page.
Next steps
- Designs: the Salon kit's designs and colour palettes, and how to switch.
- Quick start: the checklist from here to your first booking.
- Your look: your logo, colours, menus and footer.