Running your website
Gallery, suppliers and the brochure
How to fill the Gallery page with tagged photos, build your directory of recommended suppliers, and offer your brochure behind a short form that turns each request into a lead.
On this page
Three things that help people picture their day and get in touch: a gallery of real days at your venue, a directory of suppliers who know the venue, and your brochure, sent by email to anyone who asks for it.
The gallery
The Gallery page shows photos from your media library that have a gallery tag (such as Ceremony, Dinner, Evening, Grounds), with a button for each tag so people can filter them.
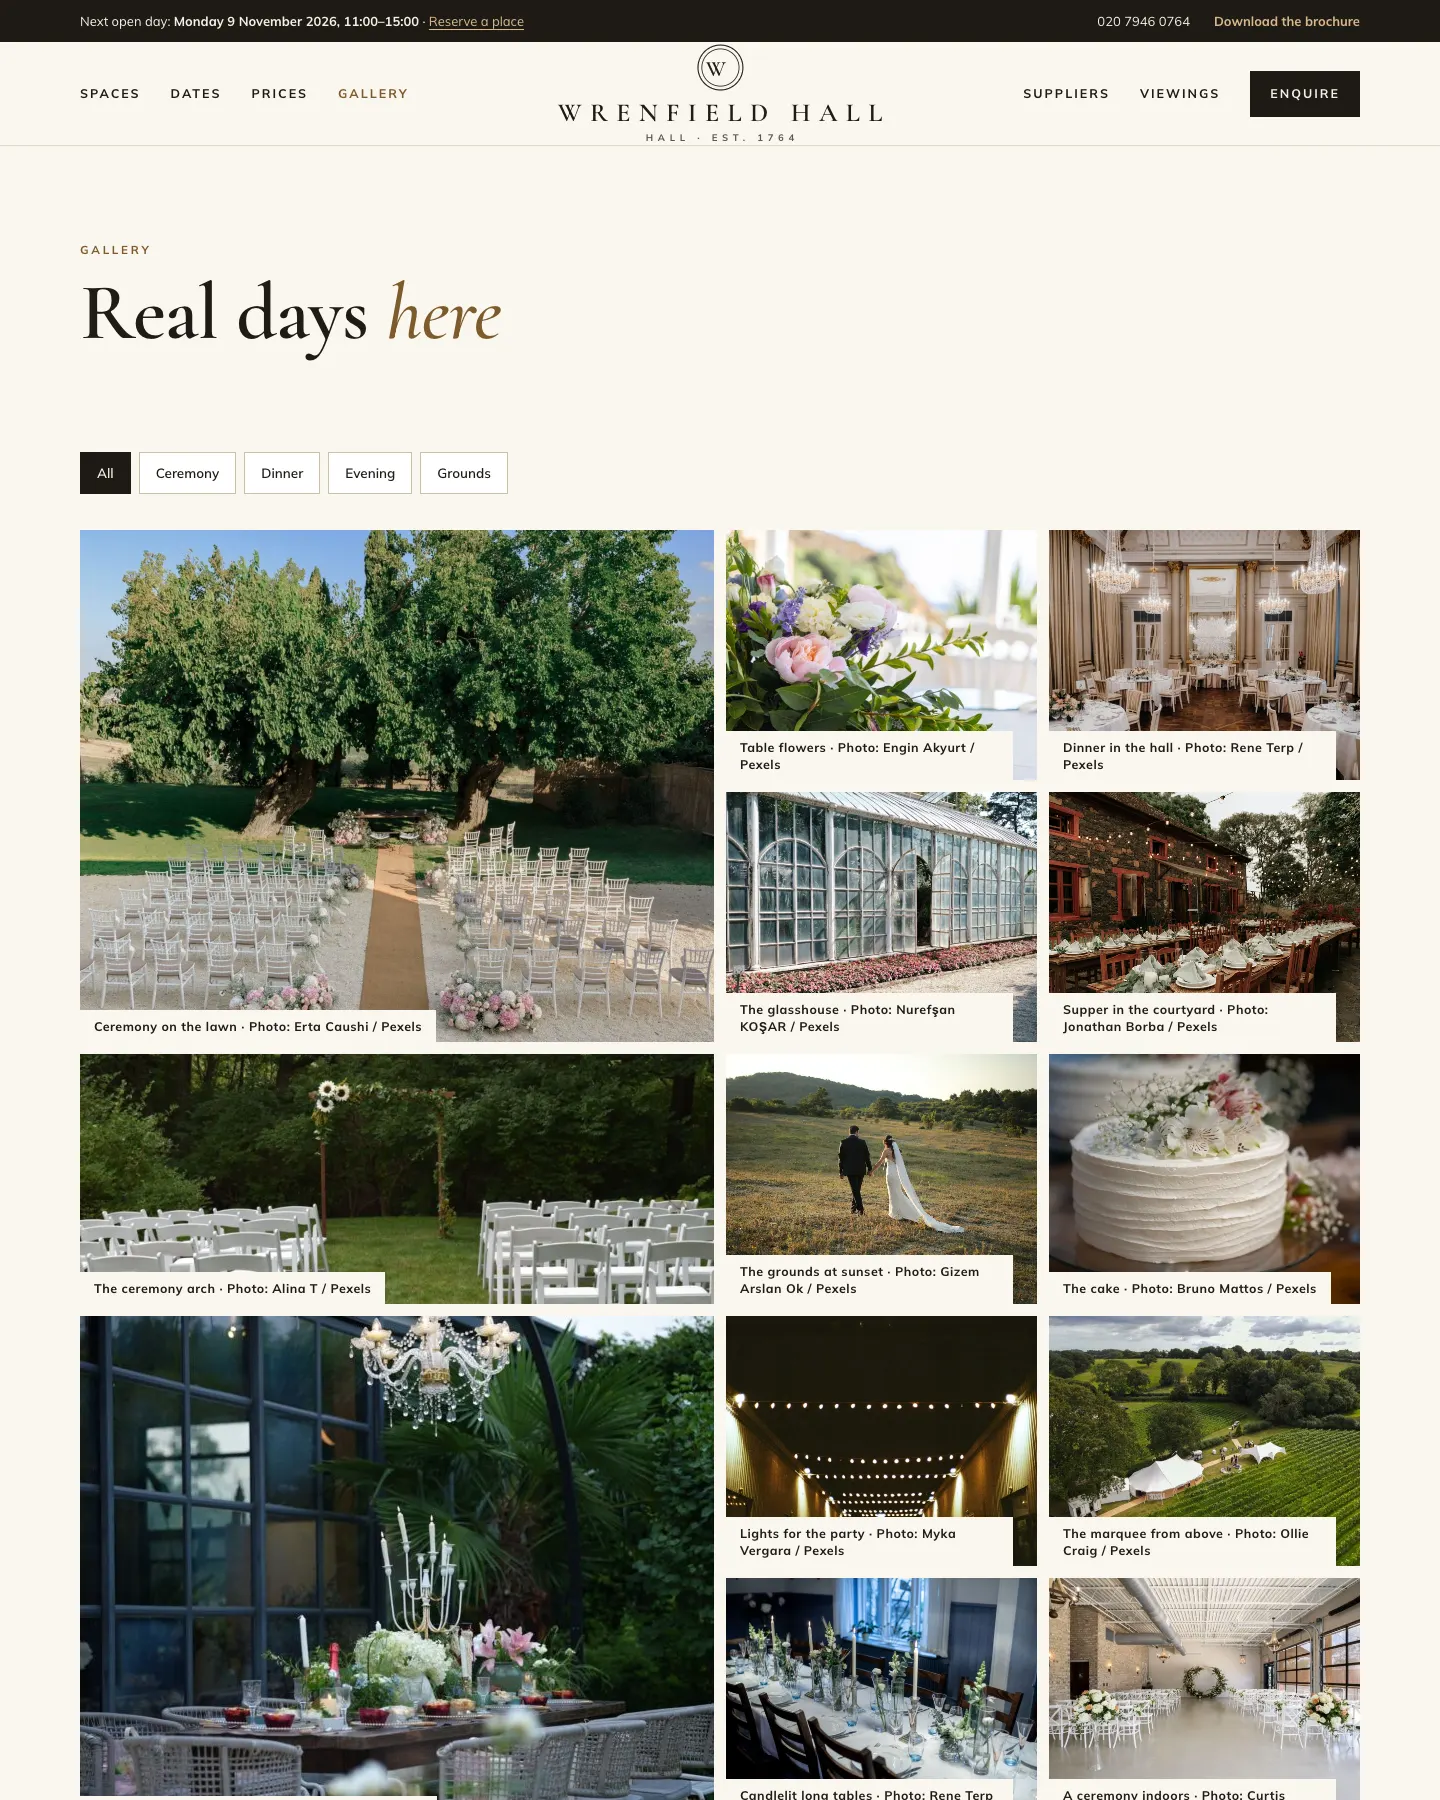
How to add a photo to the gallery
- Go to Media → Library and upload the photo, or click one that's already there.
- In the photo's details, add one or more Gallery tags.
- Add a Caption. It's shown with the photo (and is where you credit the photographer).
- The photo appears on the Gallery page straight away.
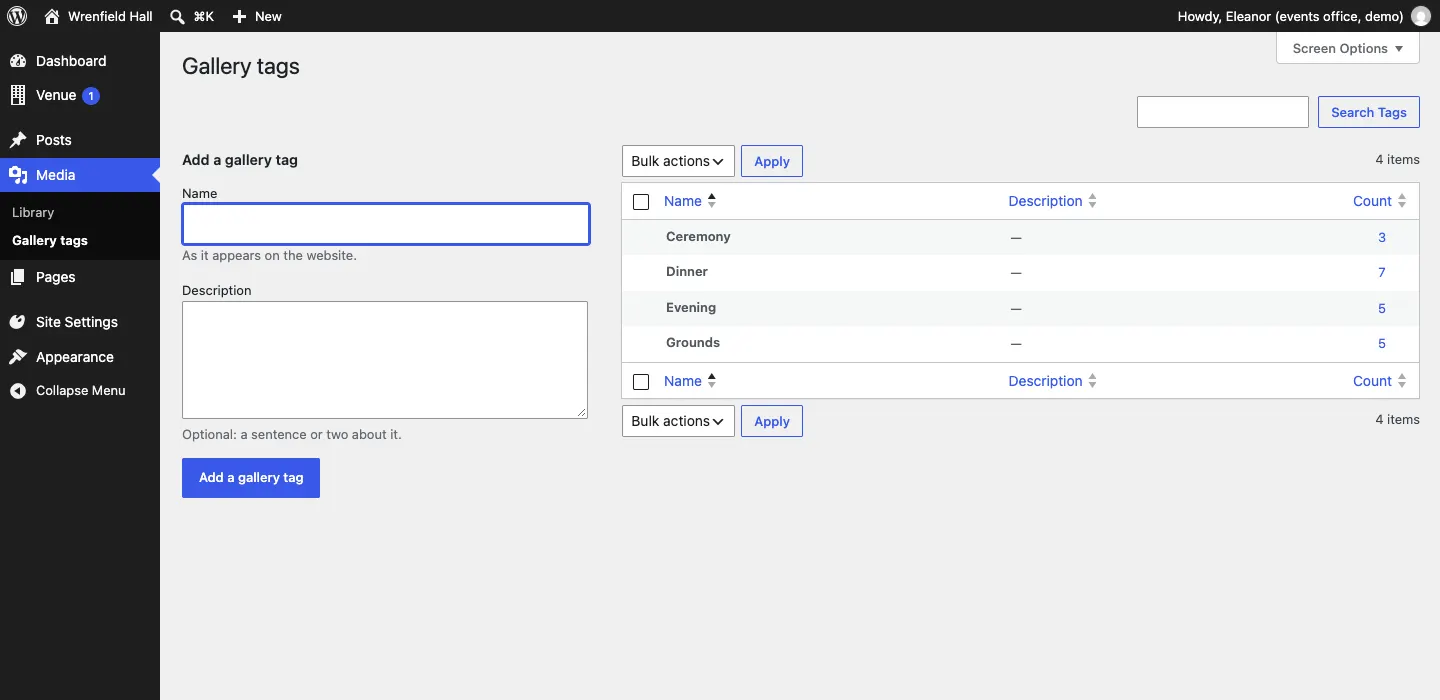
How to manage the tags
Go to Media → Gallery tags. Type a Name and click Add a gallery tag. The Count shows how many photos have each tag.
Suppliers
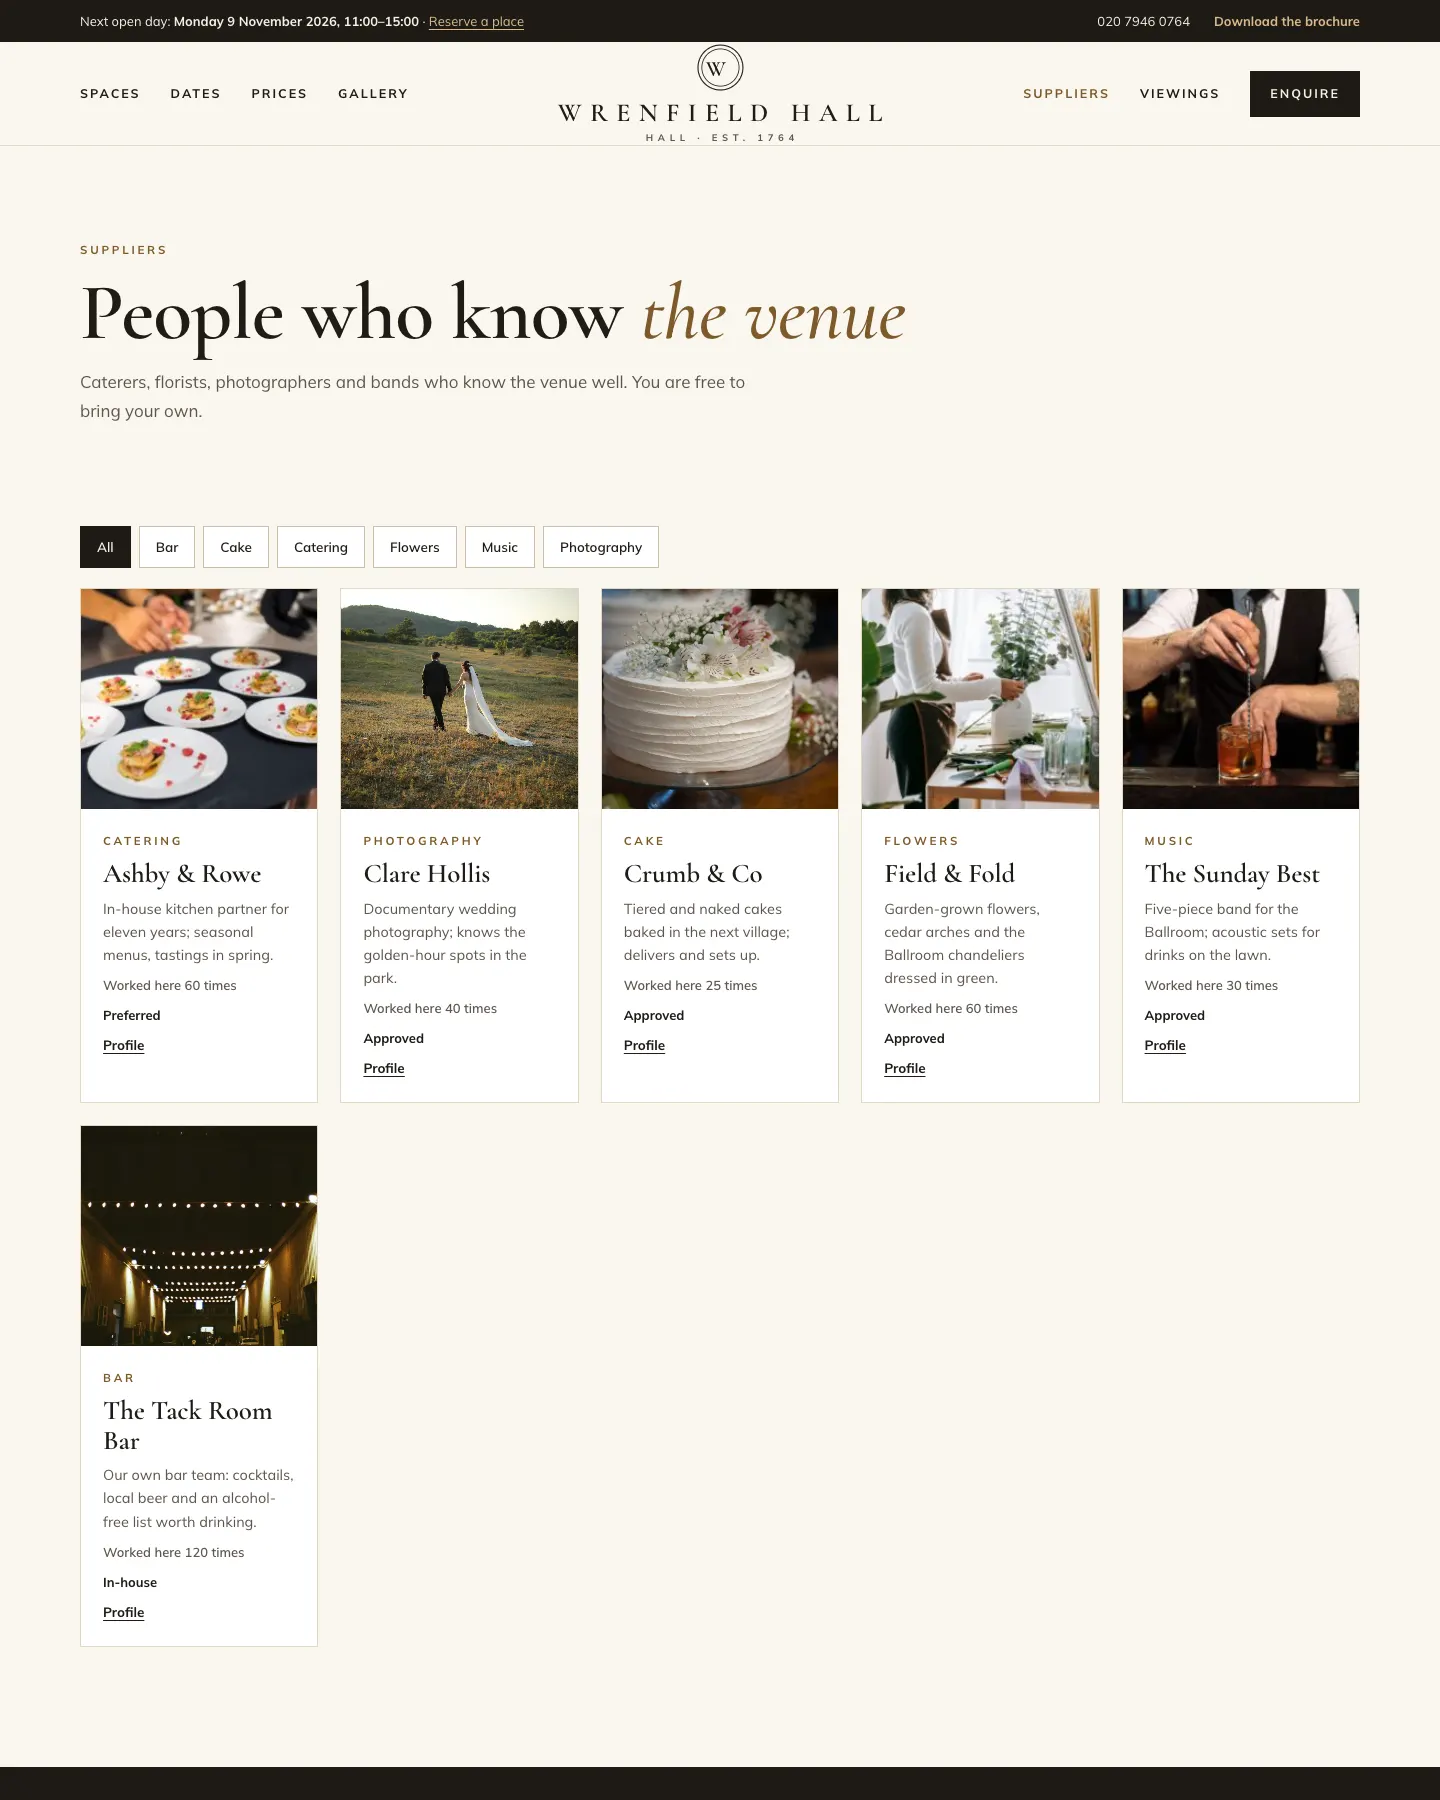
The Suppliers page lists caterers, florists, photographers, bands and others you recommend, each with a photo, a category, how many events they've done with you and whether they're In-house, Preferred or Approved. People filter by category, and each supplier has a Profile page.
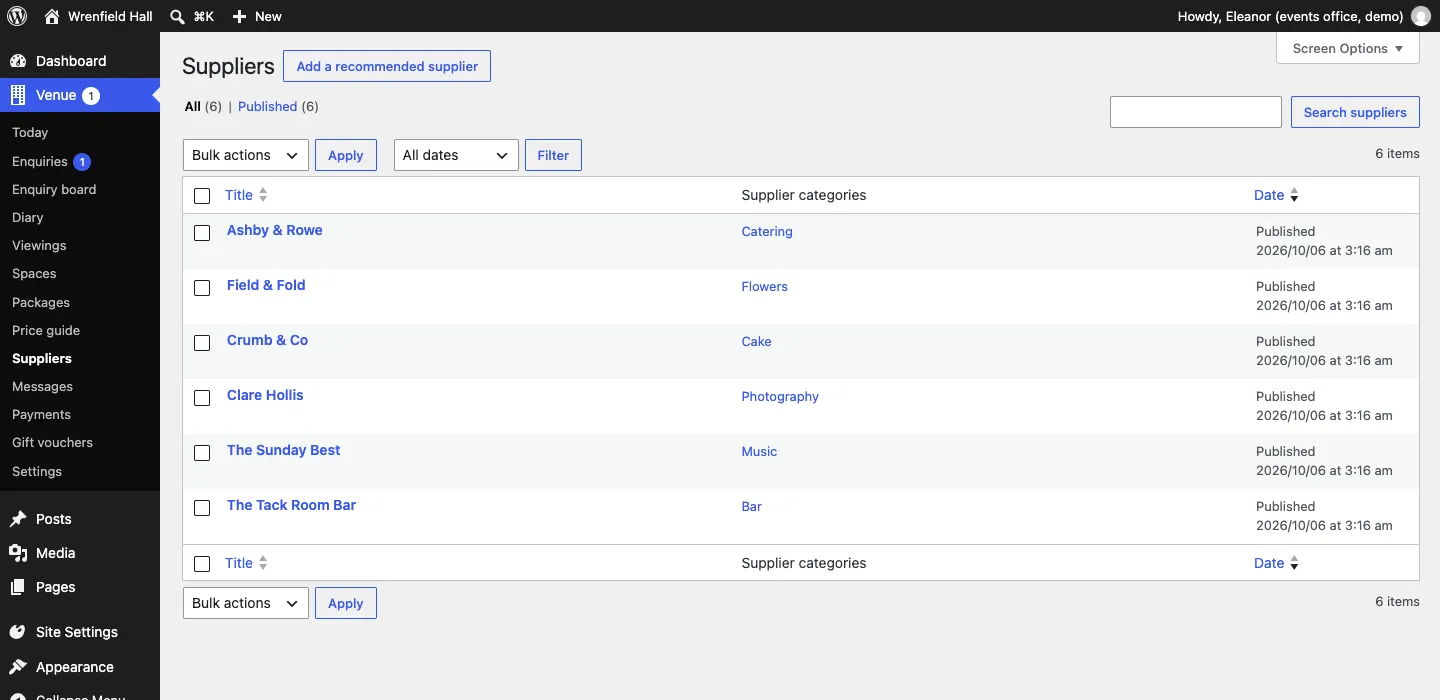
How to add a supplier
- Go to Venue → Suppliers and click Add a recommended supplier (the button at the top).
- Type their name, and a few lines about them in the main area.
- In the side panel, add a short Excerpt (shown on the card), a featured image, and a Supplier category (such as Flowers).
- Fill in Marked as (Recommended, In-house, Preferred or Approved), Events they've done here (shown as "worked here 40 times"; 0 hides it), Website, Email (optional) and Phone (optional).
- Click Save (or Publish).
The brochure
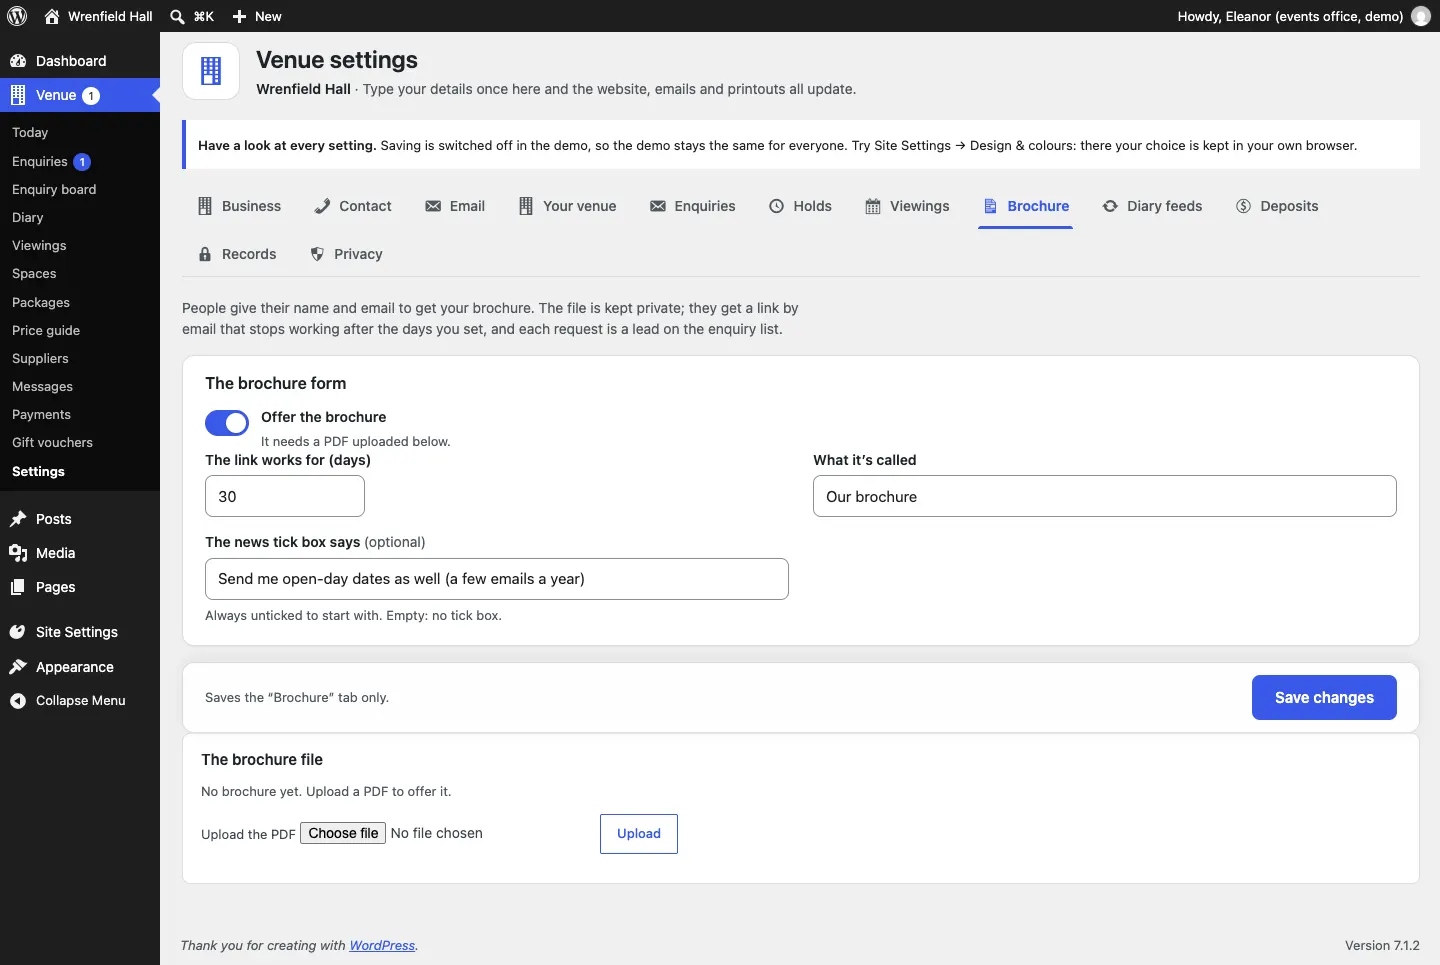
Your brochure PDF is kept private. People give their name and email to get it, and they're emailed a link that stops working after the days you set (30 to start with). Each request appears in Venue → Enquiries as a brochure request, so you can follow it up.
The form also has a separate tick box for news (such as open-day dates), always unticked to start with.
How to offer your brochure
- Go to Venue → Settings → Brochure.
- Under The brochure file, click Upload and choose your PDF.
- Under The brochure form:
- Offer the brochure: on.
- The link works for (days): 30 to start with.
- What it's called: such as Our brochure.
- The news tick box says: the words beside the news tick box. Leave it empty for no tick box.
- Click Save changes.
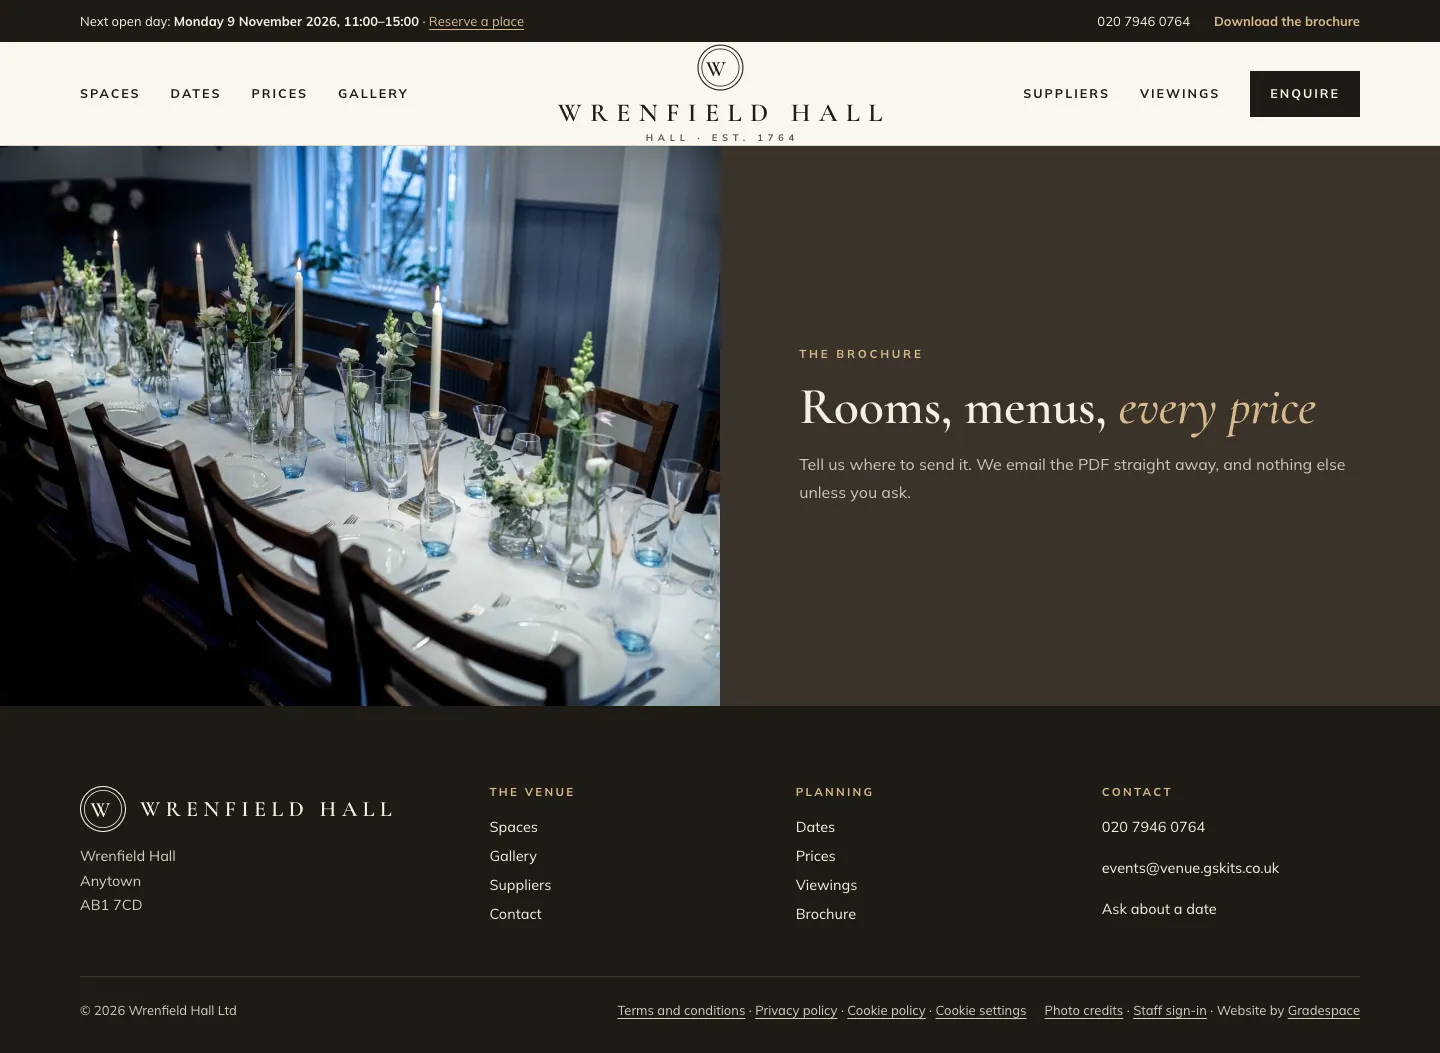
The Brochure page then shows the form, and the Download the brochure link in the header goes to it.
Brochure requests
Brochure requests are listed in Venue → Enquiries: choose Brochure request in Every kind and click Filter. Each one shows whether they ticked the news box (Open-day news) and how many times they've downloaded it (Downloads). You can turn one into a full enquiry by moving it along the stages like any other.
If you'd like an email for each request, switch on Brochure requested under Venue → Settings → Email (it's off at first, because the requests are on the enquiry list anyway).
Lost enquiries and brochure requests come up for review after 12 months. See Daily running and settings.